
Tuesday, February 28, 2012
New Look!
So guess what I am not a pro at this whole blogging universe. For sometime I have not been happy with the way that the blog looks and never knew how to fix it and make it look better. Then one of my awesome best friends Kacy from Artsy Crafty Cool hooked me up and actually showed me how to add cool gadgets! I am super pleased with the way the blog looks now. Thanks a million Kacy! I am happy to say that the blog now looks so much more like a normal blog by someone that knows what they are doing...sometimes ;)

Monday, February 27, 2012
What color is that?
We have had a few people ask what colors we have been using inside our I have finally got around to grabbing the swatches. So without further ado...
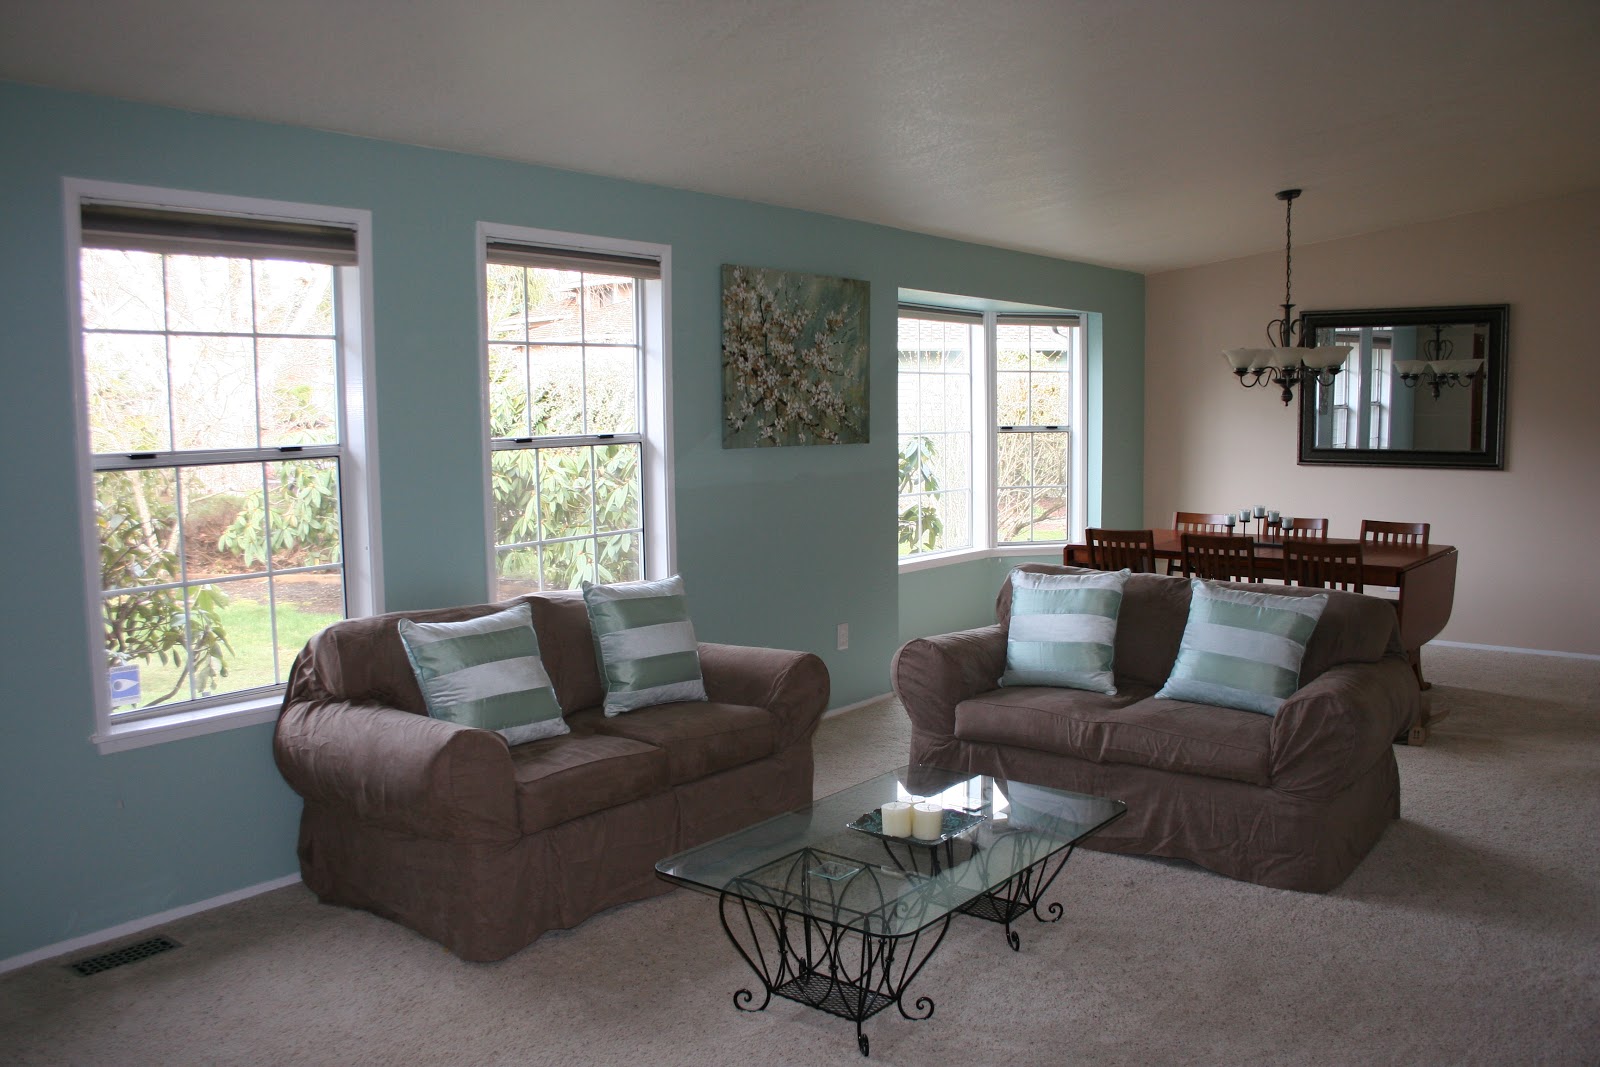
Main color used throughout the house

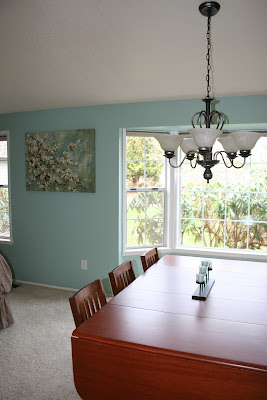
Living room Accent Wall

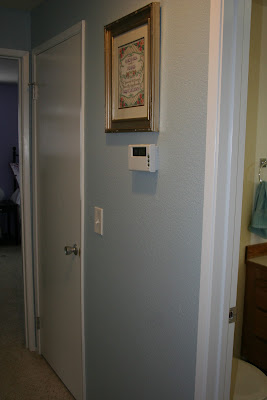
Hallway

Master Bathroom

Office

Tuesday, February 21, 2012
President's Day Weekend Accomplishments
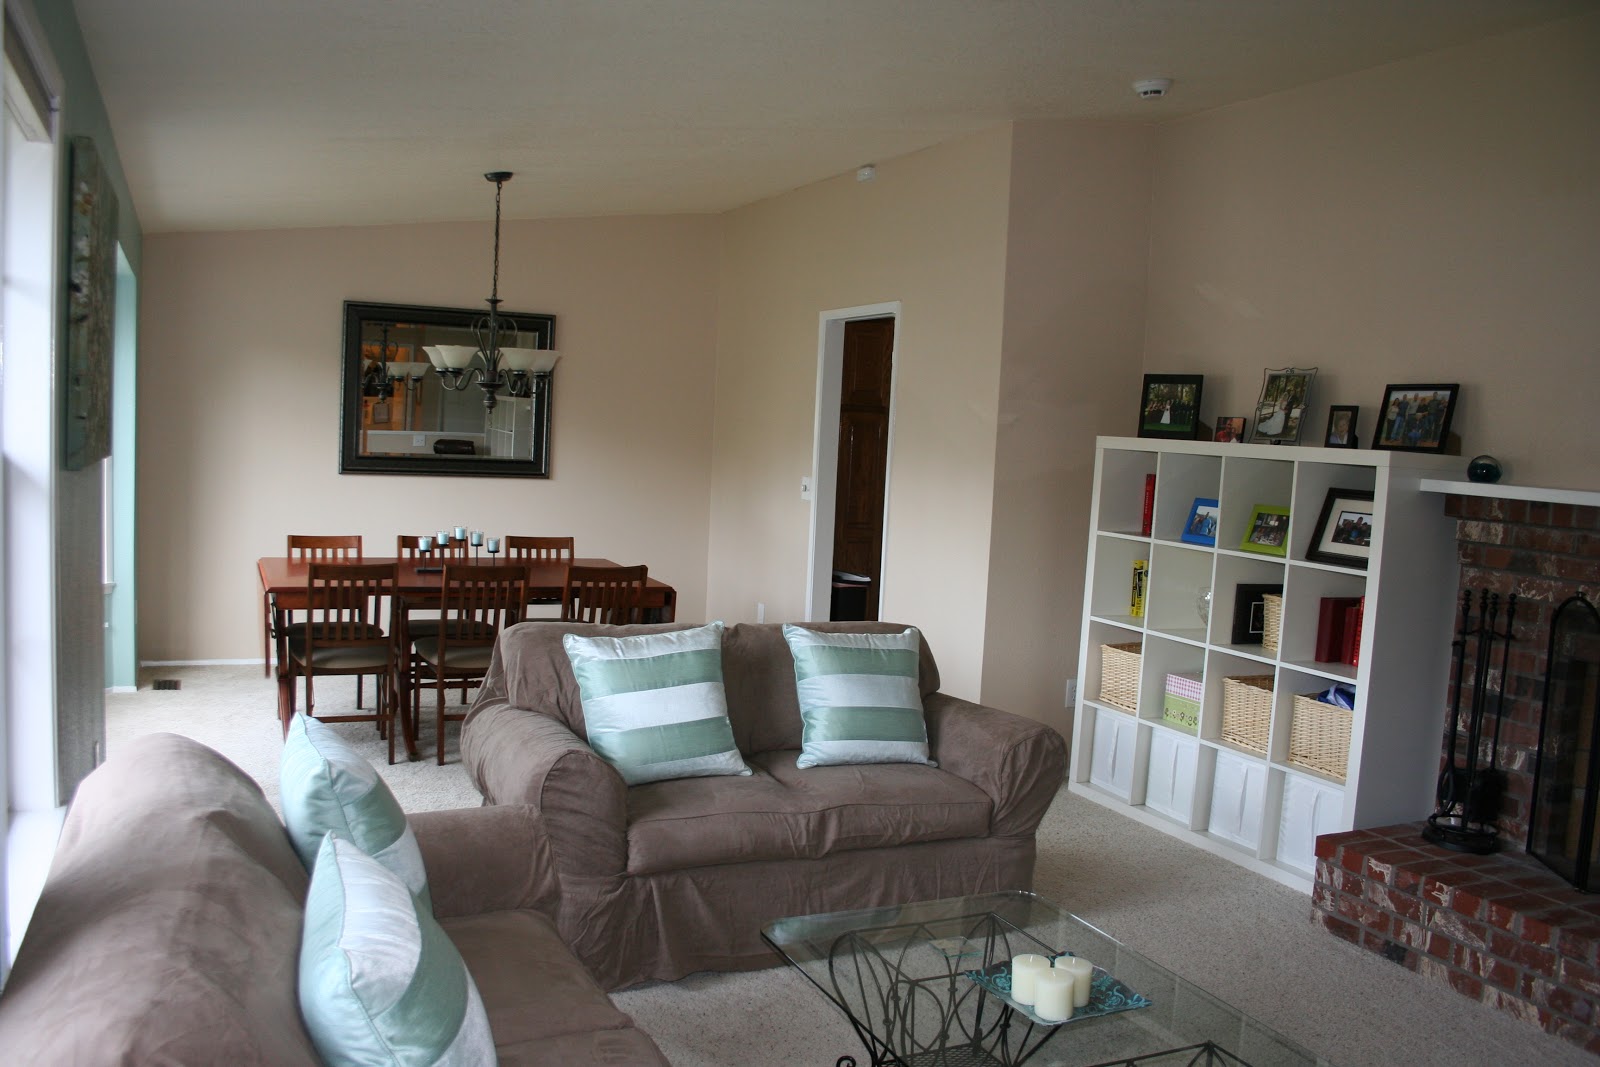
We got a lot help from Terry's parents this weekend and we sure were thankful for all they did in helping us complete the rest of the wall painting in our home. Thanks a million for all your help! We did a lovely light sea foam green accent wall in our living room & dining room.


We also finished painting the rest of the walls the neutral light brown color.

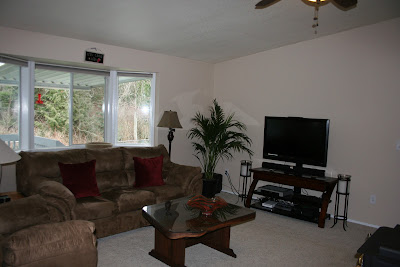


We also finished painting the rest of the walls the neutral light brown color.

The hallway leading to the bedrooms we painted a grey blue color. It was hard to get some good shots of this color because the hallway is already so dark.


After we finished all of that painting we decided that we wanted to rebuild our laundry room wash sink and transform it into a place we can put our litter box for our three crazy cats. In the past it was in our formal living room....NOT an ideal place for a litter box. We tried fitting it underneath our old wash sink in the laundry room but it was too wide/tall. So my genius husband and father in law ended up purchasing a new larger wider wash sink. They then designed and built a taller stand for it to sit on. Leaving room for the litter box underneath it. I am just so happy about this I could scream. It was such an eye sore for me in the living room.
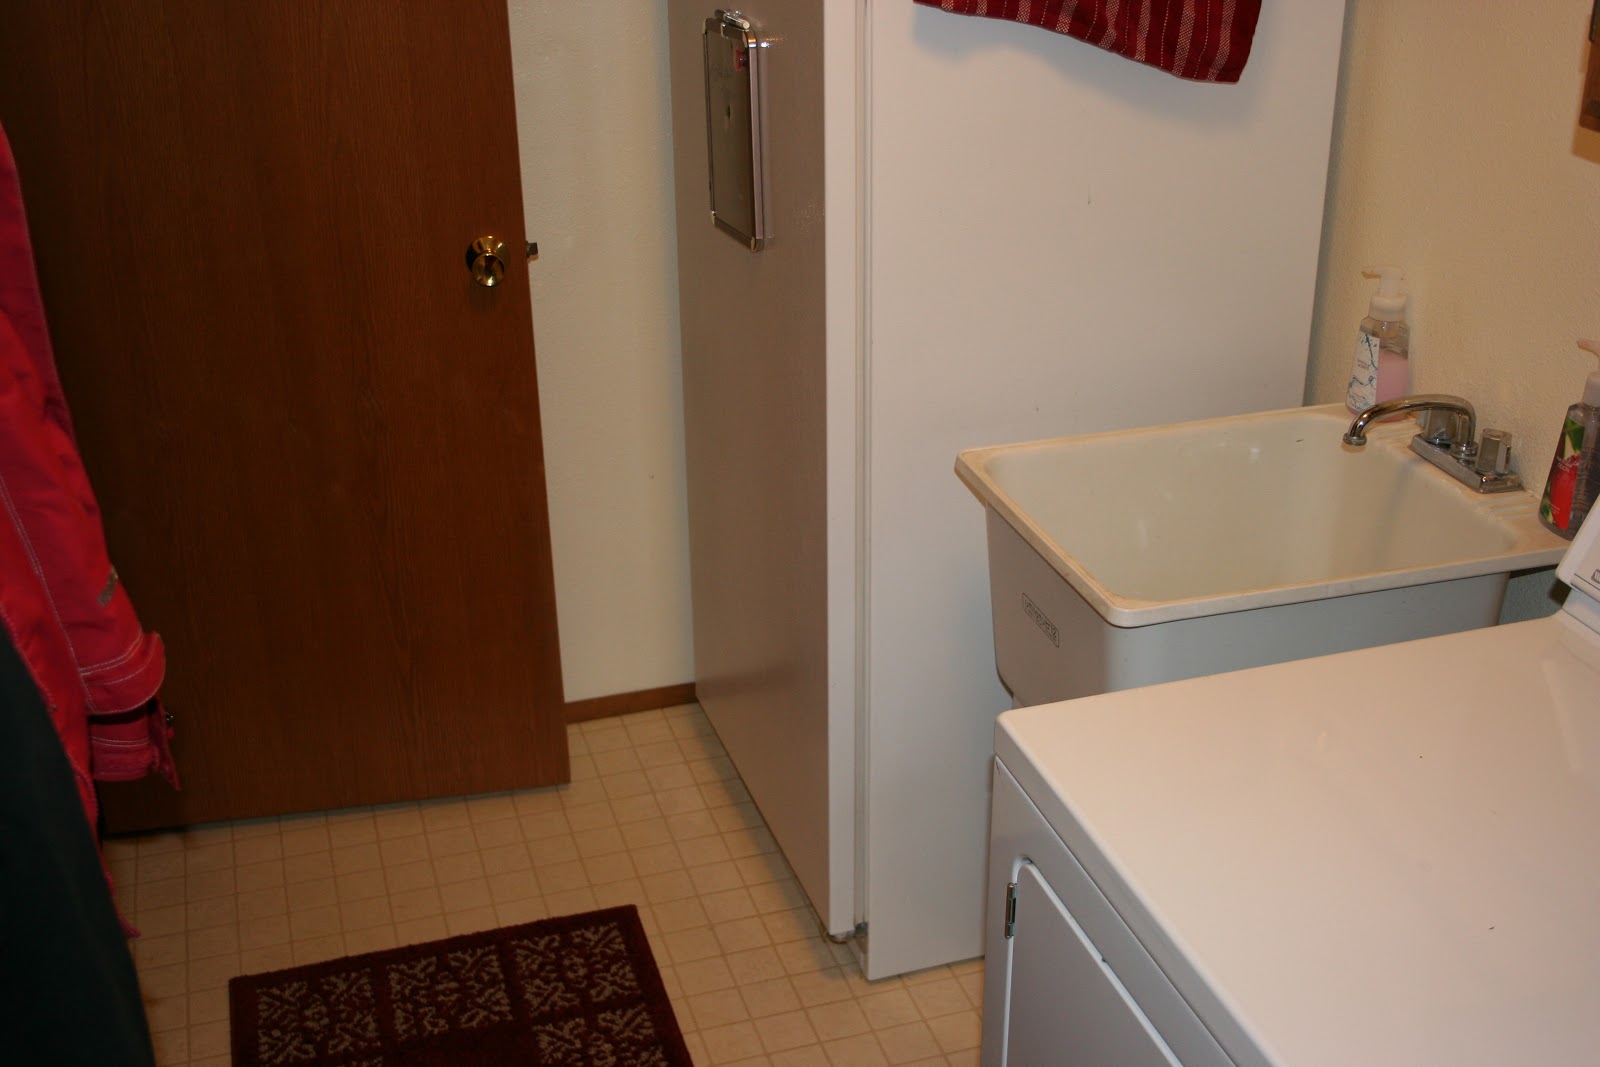 |
| Old wash sink |
 |
| Inprocess |
 |
| Putting in the stand |
 |
| Finished Product! |

We are very happy to say that pretty much all of the major wall painting is done in our house except for the built-in cabinets in our family room, kitchen cabinets, laundry room, guest bath and our guest bedroom. Even though it seems like we have a lot left to still paint... now that I am typing it out but we still feel like we have accomplished a lot in just 4 short months!
Sunday, February 12, 2012
Gone with the Wind...
On Monday, 2/6, a little wind storm finished off a section of our fence that had survived January's snowpocalypse storm. We knew this fence was on borrowed time when we bought the house, but thought that it would last until summer. The fence posts were rotted off in the concrete footing, which was buried under about 6-in. of dirt and only about 12-in. deep. It's also my opinion that wood fence posts should not be buried in the concrete footing as the concrete traps the moisture next to the wood and will not allow it to drain away. This results in the post rotting off just as fast or faster than dirt, except now you have 120-lbs. of concrete to dig out when you replace the post. Here is what the fence looked like in September 2011.
Front Side

Back Side

Well the demolition for this project basically included dragging the fence out of the way and digging out the old concrete post footers. This sounds simple, but getting the old concrete footer out isn't easy. After a few hours of work with an 8-lb. sledgehammer and a shovel and I had the old footers out and a wheel barrow of concrete chunks.


Next a run to the hardware store to buy supplies. We decided to go with pre-fabricated wood panels as we wanted to get the fence repaired quickly. We poured a 10-in. diameter by 2-ft. deep concrete footer, but rather than setting the post in the footer directly we used a steel column base insert that we set into the concrete footer (see below). This keeps the wood above grade where it can remain dry, avoiding future rot damage.

We covered the footers and let them set overnight to cure. The next day we were ready to start setting our posts and panels. For the posts we used 6-ft. pressure treated 4x4s. We held the post off the bottom of the steel column base by about 1-in. to ensure that the base of the post wouldn't sit in any water that pooled on the footer. The post was then bolted into the base using two 1/2-in.x5-in bolts. After we set the first post and tied it into the two existing fences it was time to attach the prefab wood panel so we could set the second post in the exact position we wanted it.

As we started drilling the bolt holes for the second post my trusty cordless drill battery died... So Rachael ran to the hardware store to pick up a corded drill while I proceeded to cut down and reassemble the second prefab panel into a custom gate. To add rigidity to the gate and prevent it from sagging out of alignment I installed four corner brackets.

I finished the gate by the time Rachael got home with the new drill, so it was time to finish setting the second post and attach the gate. A tip for the other DIYers out there, go buy a corded drill before a drill intensive project. Not only will the battery not die on a corded drill, but they have a lot more power.

After we hung the gate we set the third post and attached the gate latch to finish the fence.
After Front

After Back

Now we just have to wait for a few days of dry weather, so that we can apply a waterproof stain to the wood.
Monday, February 6, 2012
What you can accomplish in 15 hours!
This past weekend we worked our behinds off! We accomplished SO much and are thoroughly pleased with the outcome. Below is what we accomplished in working 15 hours one Saturday!
We painted all of the trim on the windows and floor trim white.


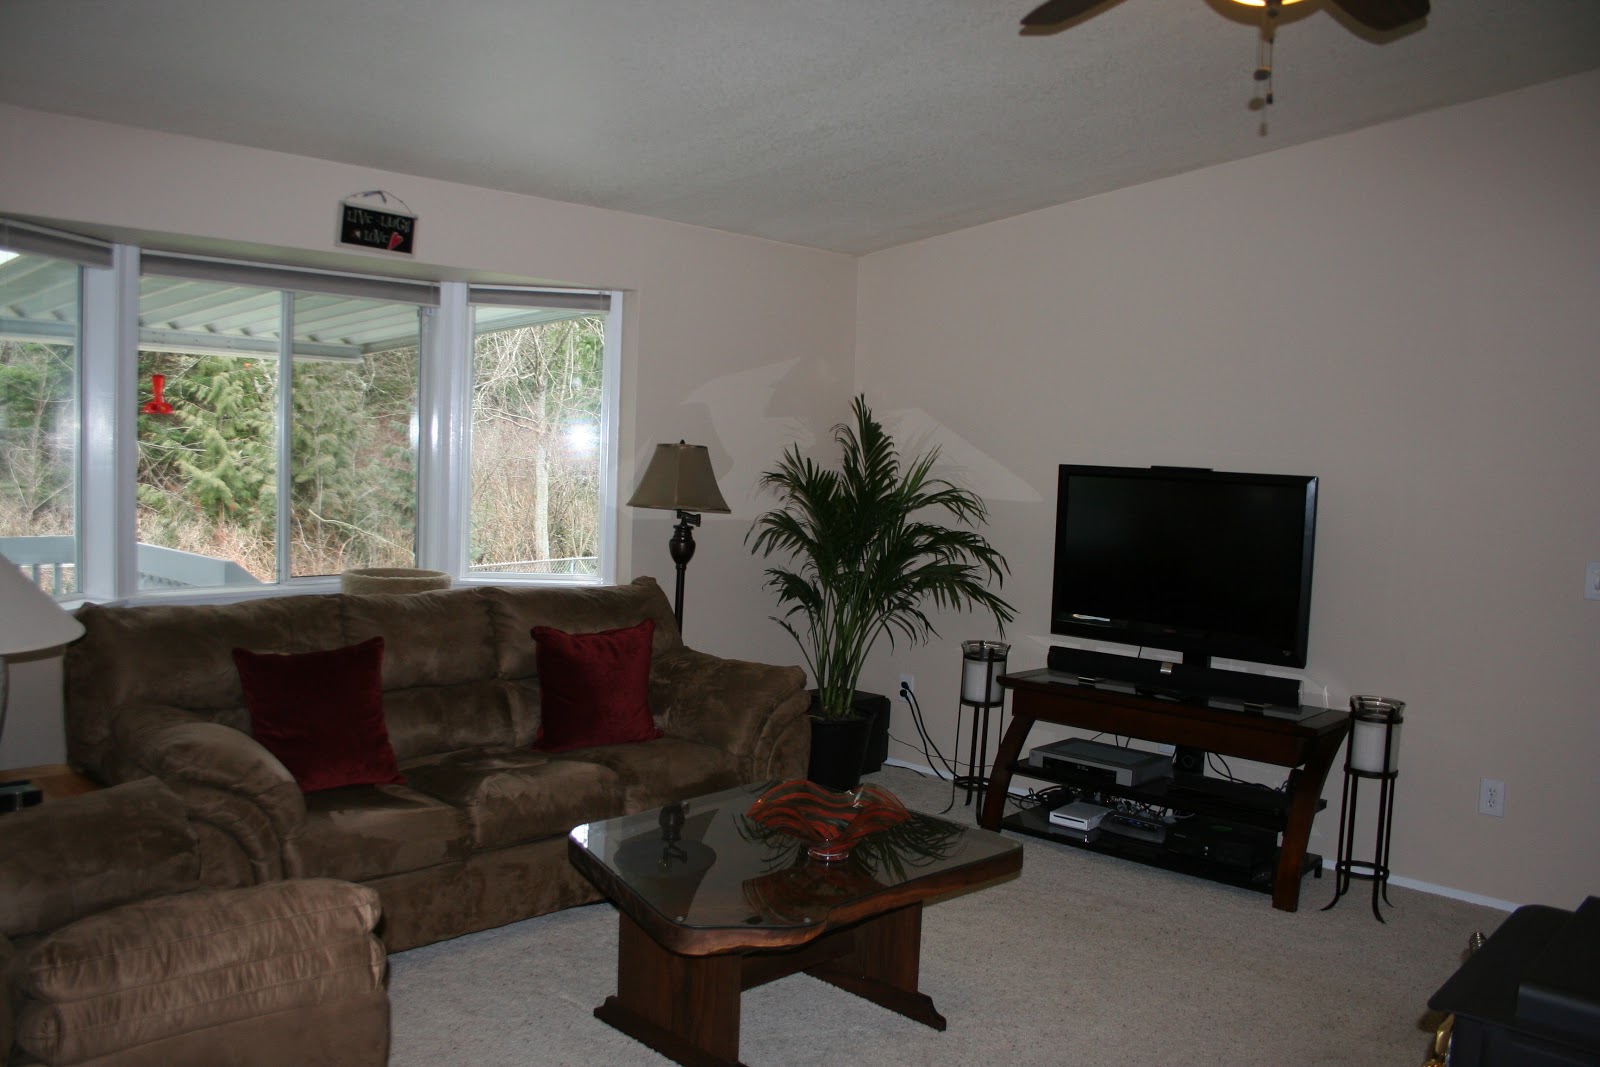
The Fireplace mantel, all the trim were painted white and we also painted the fireplace wall a neutral light brown color. This is the color we will use throughout the house.


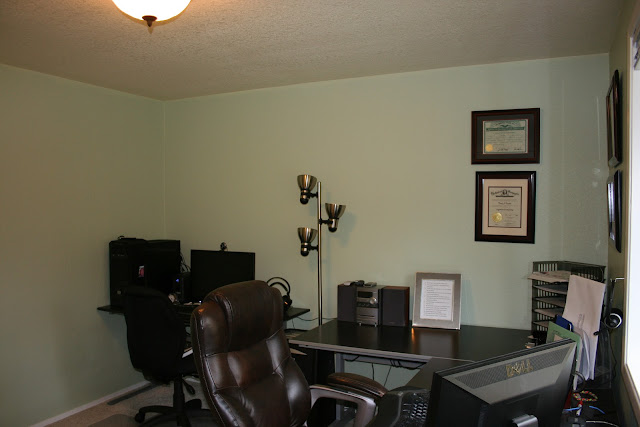
We also finished Terry's office. We initially wanted to paint it Yellow....but the color we picked out was way too bright! It was like a super lemon color. So we ran to the store just before closing and switched to a light green shade. I think it was called "Spring Time Green". We are just thrilled at the way it turned out and Terry is glad that his office is completely finished now :)


We painted all of the trim on the windows and floor trim white.


The Fireplace mantel, all the trim were painted white and we also painted the fireplace wall a neutral light brown color. This is the color we will use throughout the house.
Before

And After

We also finished Terry's office. We initially wanted to paint it Yellow....but the color we picked out was way too bright! It was like a super lemon color. So we ran to the store just before closing and switched to a light green shade. I think it was called "Spring Time Green". We are just thrilled at the way it turned out and Terry is glad that his office is completely finished now :)


Friday, February 3, 2012
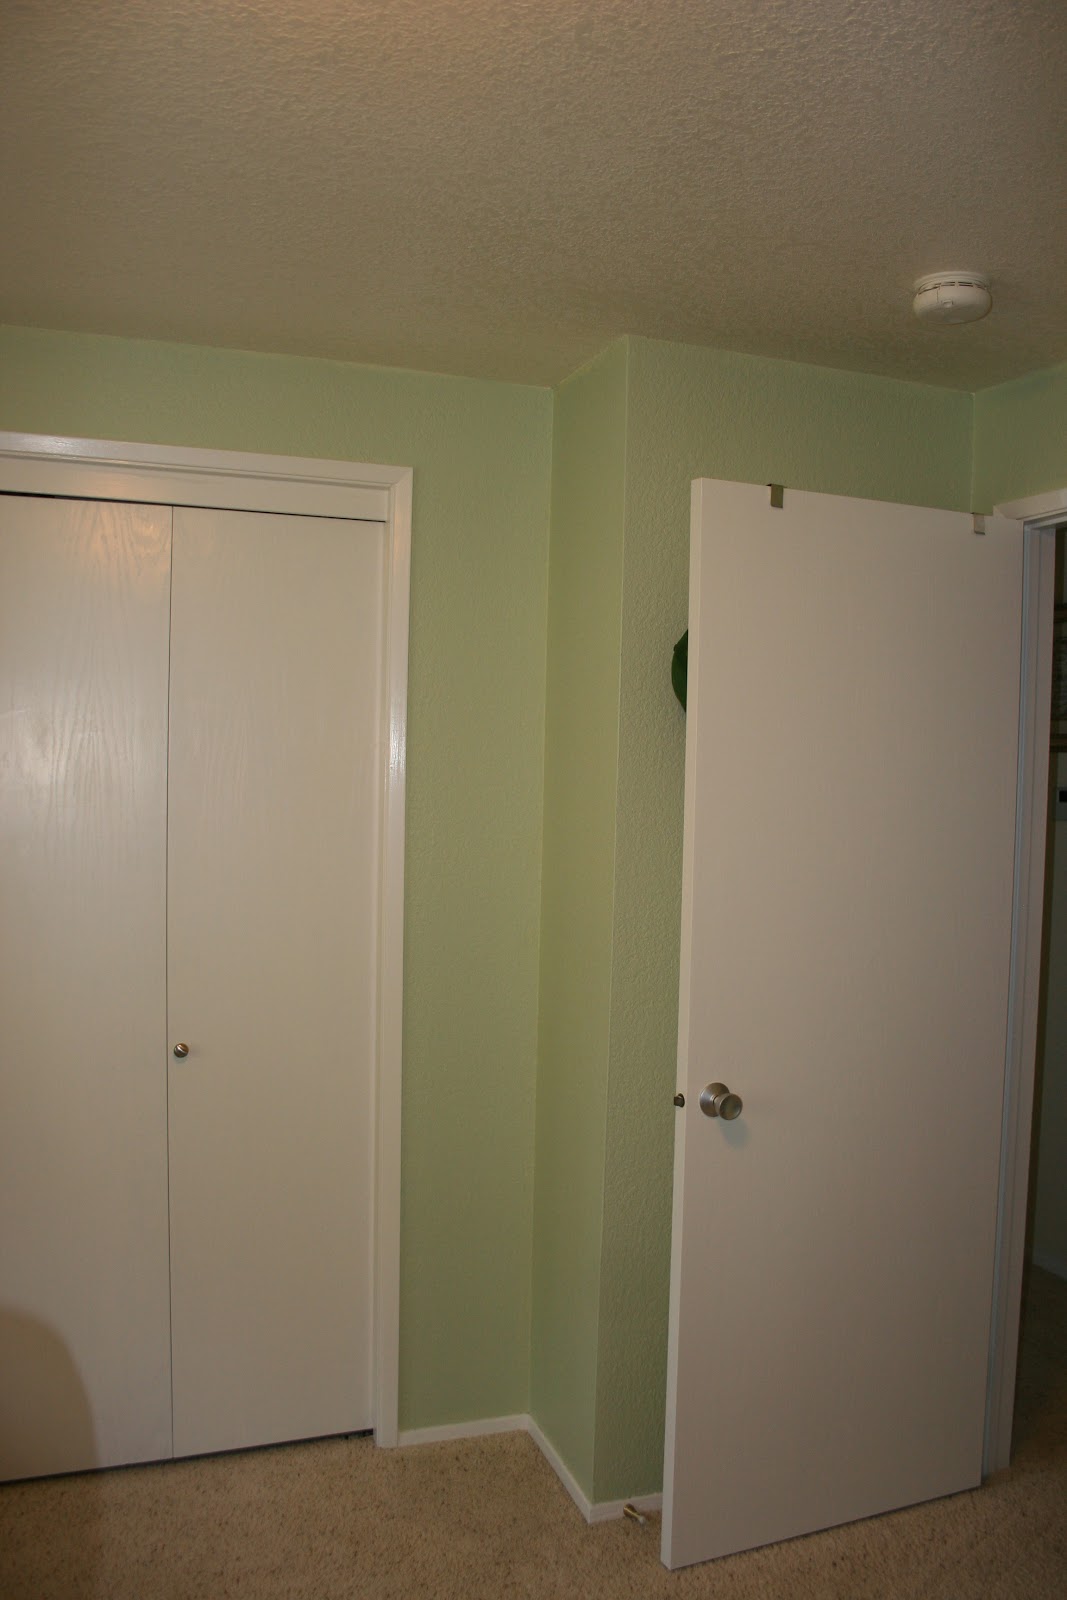
Hallway revamp!
We are so very happy to say that we finally finished painting the trim and doors in our hallway! It was a ton of work but we think it looks so much better, brighter and bigger! We will soon be painting the walls a grey blue in the coming weeks. More photos to follow!


Subscribe to:
Posts (Atom)