The final project we started last Sunday and completed earlier this week was the transformation of our front door. It was just so dark before and was not matching the rest of our newly painted interior so I was itching to get this project done and off our paint list. Which by the way is only down to just
3 more projects! We can finally see the light at the end of the tunnel folks and it feels wonderful! Anyways, here is the process we went through in painting the front door.
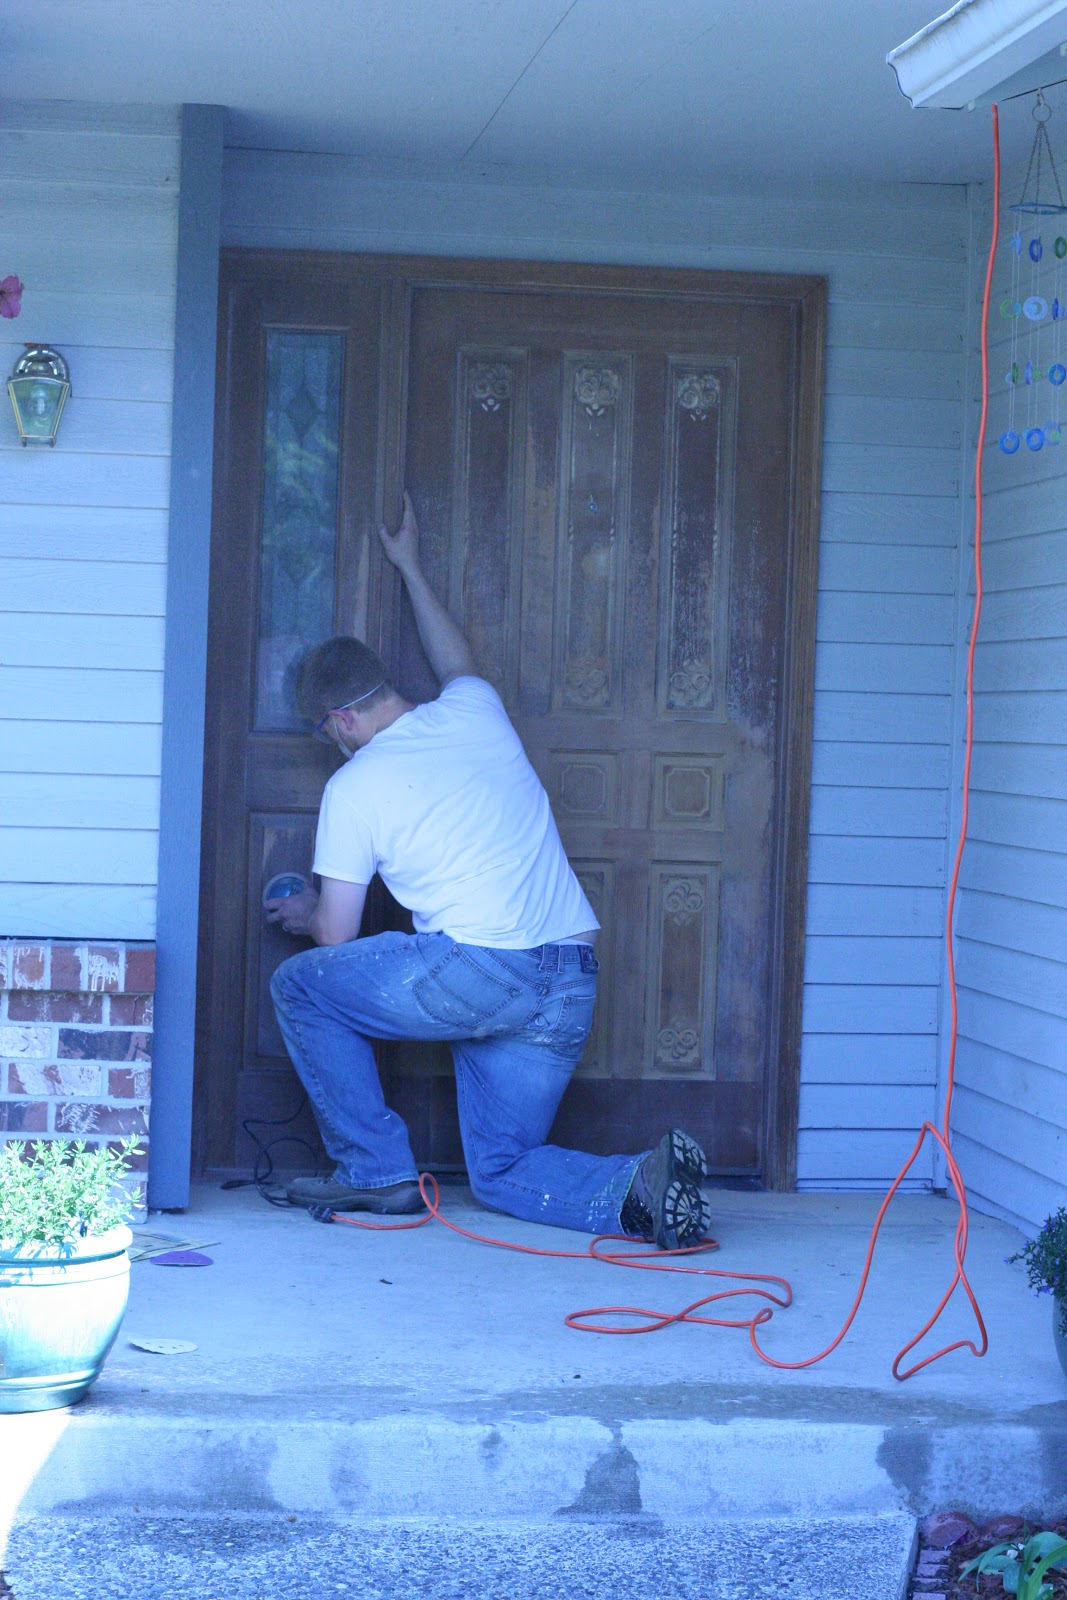
Here is what the door looked like before we started. Its a beautiful door, don't get me wrong...it just doesn't match the rest of the inside of the house and needed to be painted! The door was cleaned first with the TSP product I noted in earlier posts. We use this product to clean and de-grime everything before we slap some paint on it.
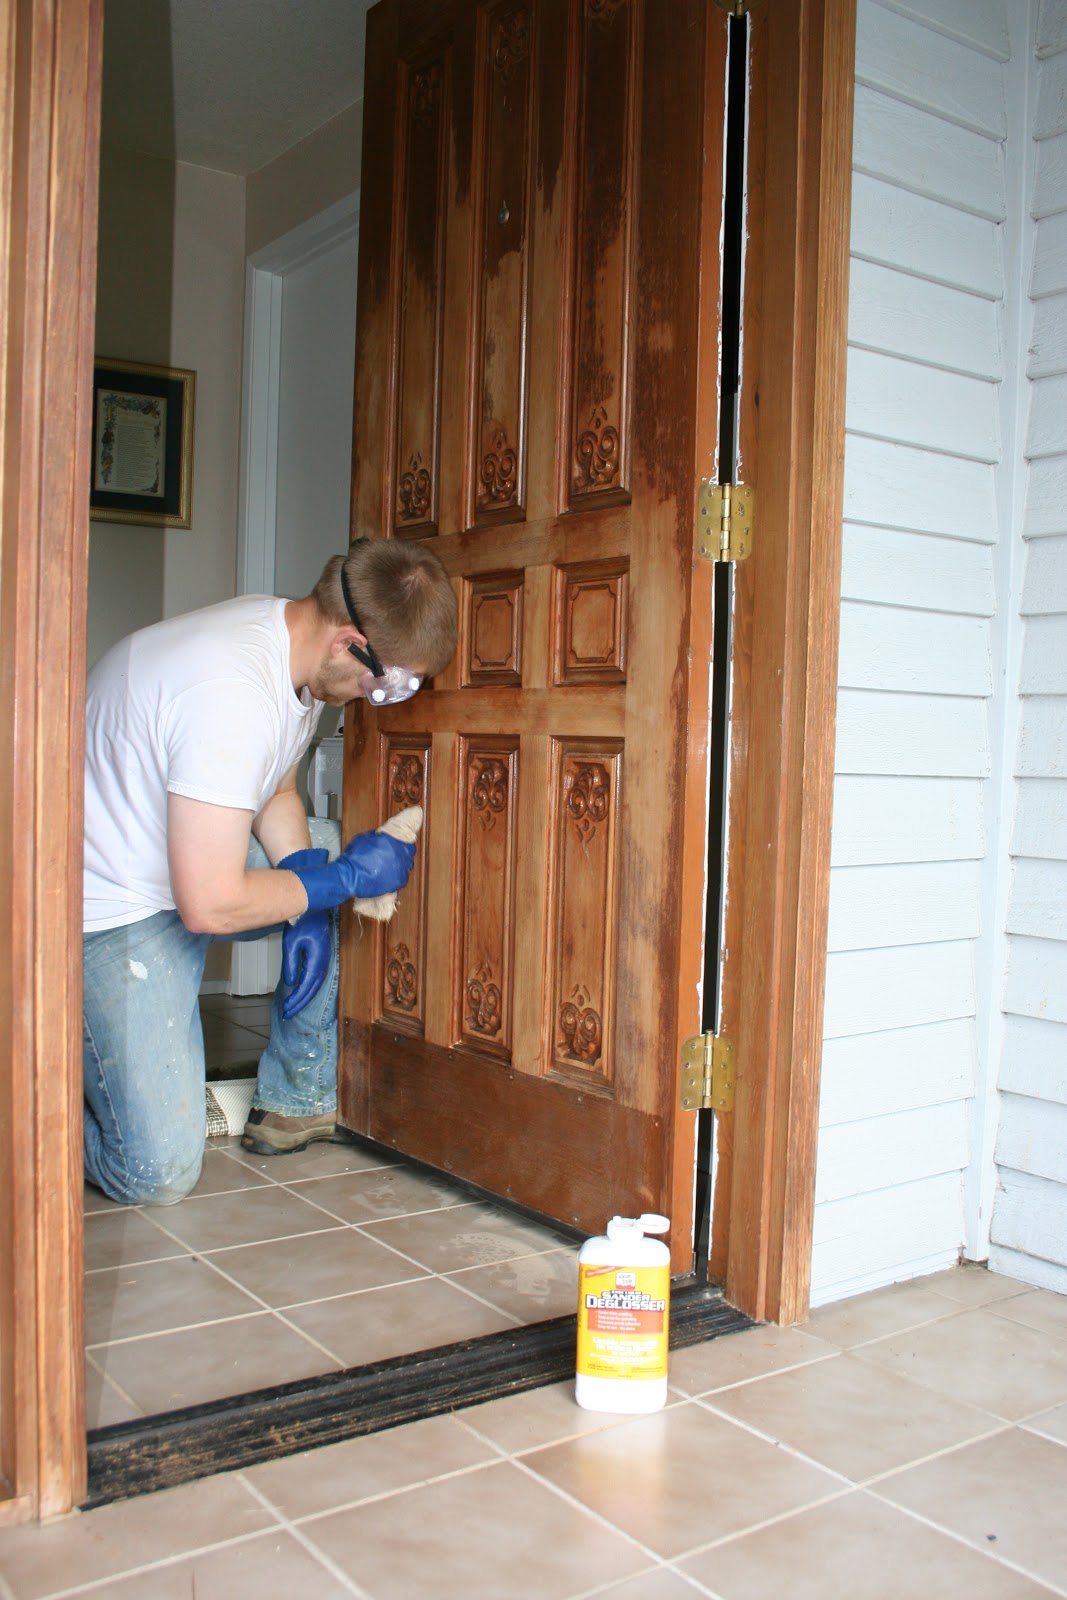
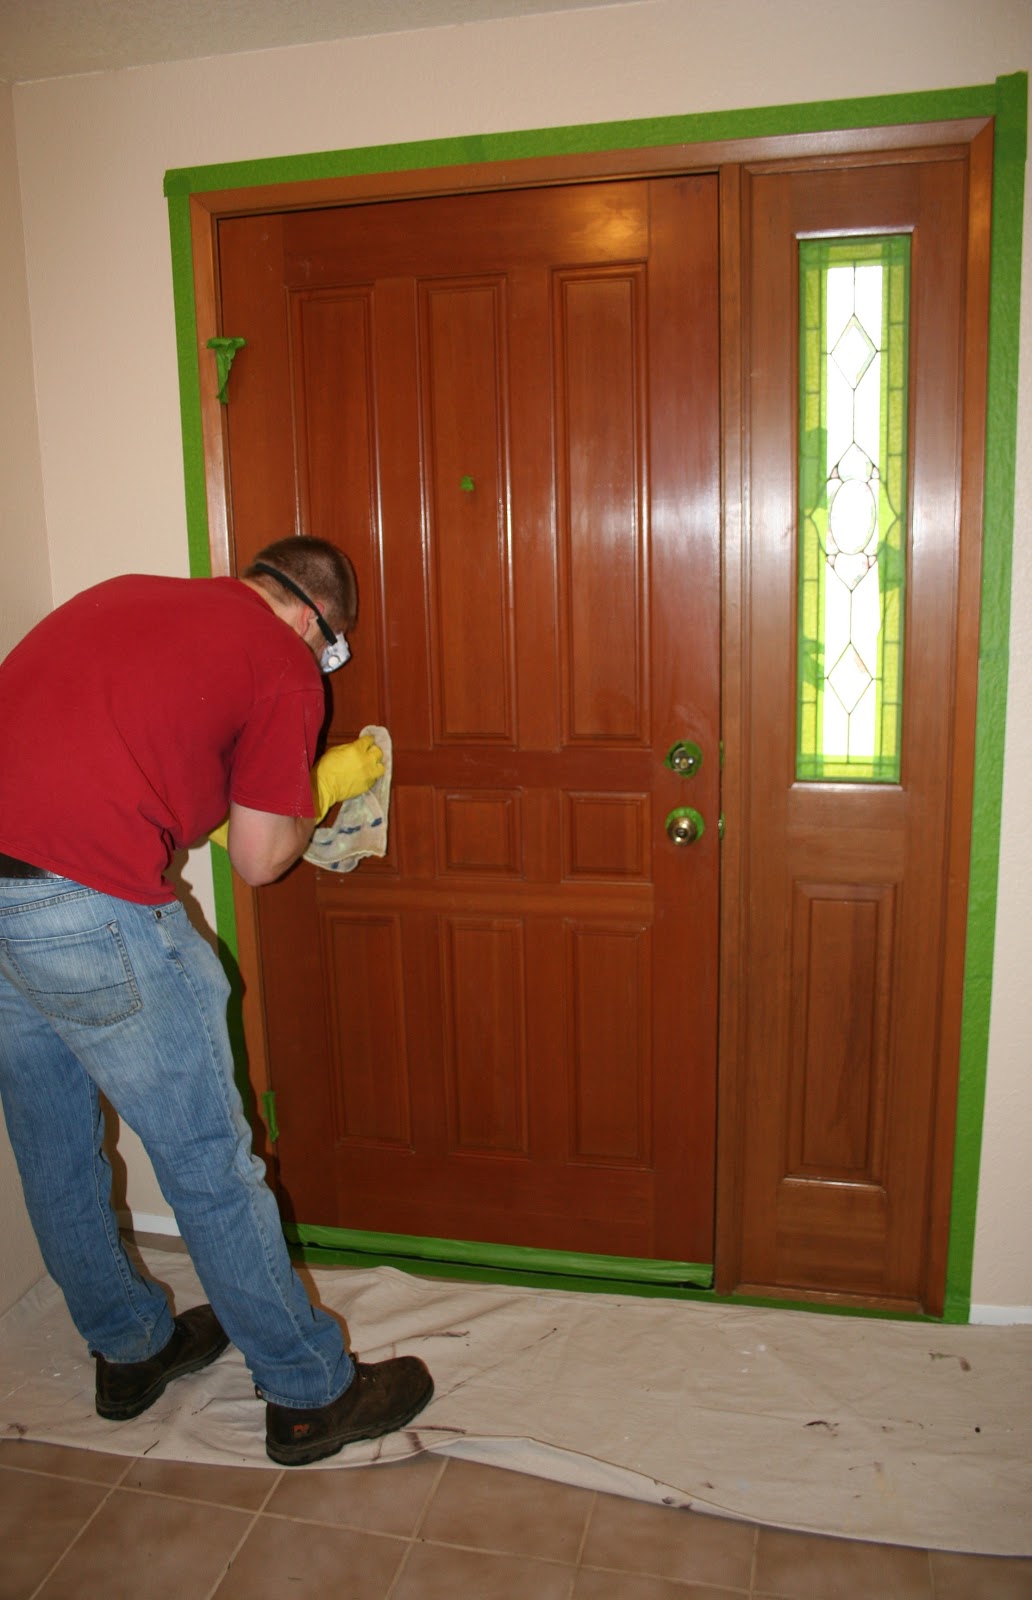
Then this time around since the front door had a thicker varnish on it than the other items we have painted in our house. We wanted to get our primer to really bond and stick to the door. So we found this product called
Klean-Strip at our local Ace Hardware that you wipe on and it sands and de-gloss all at once. Highly recommend following the directions on the back of the bottle and wearing protective gloves/eye wear. You might also want to open a door or window as it is quite smelly!
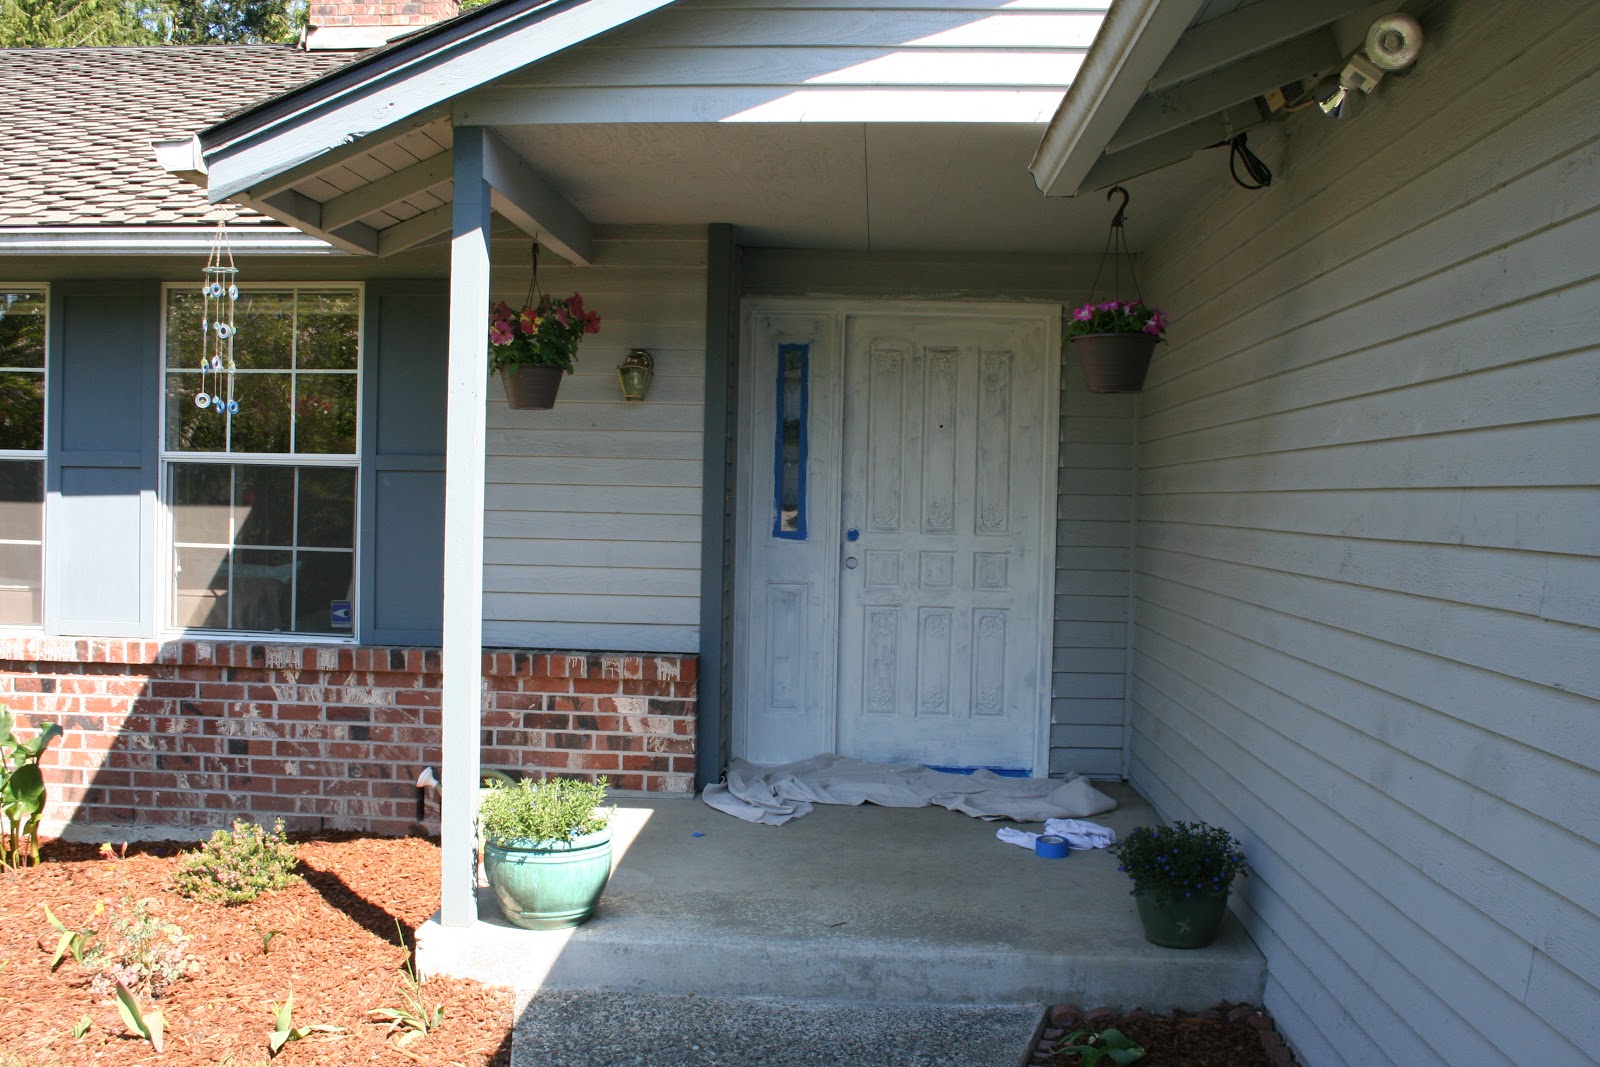
Also get some Frog Tape and tape off around everything you that you don't want stripped or painted. We have been cheap on our tape for most of our painting projects and we wish we would of just spent the extra money and purchased the green Frog Tape. This stuff is well worth the extra money. It sticks so much better than the blue painters tape and you get less bleeds too. I have spent many hours with my little craft paint brush touching up all the walls and molding that had bled through on the blue tape.
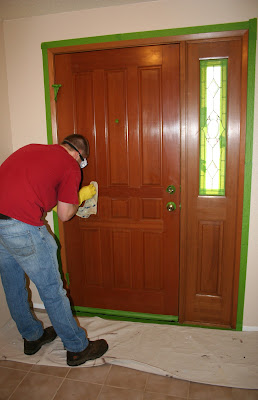
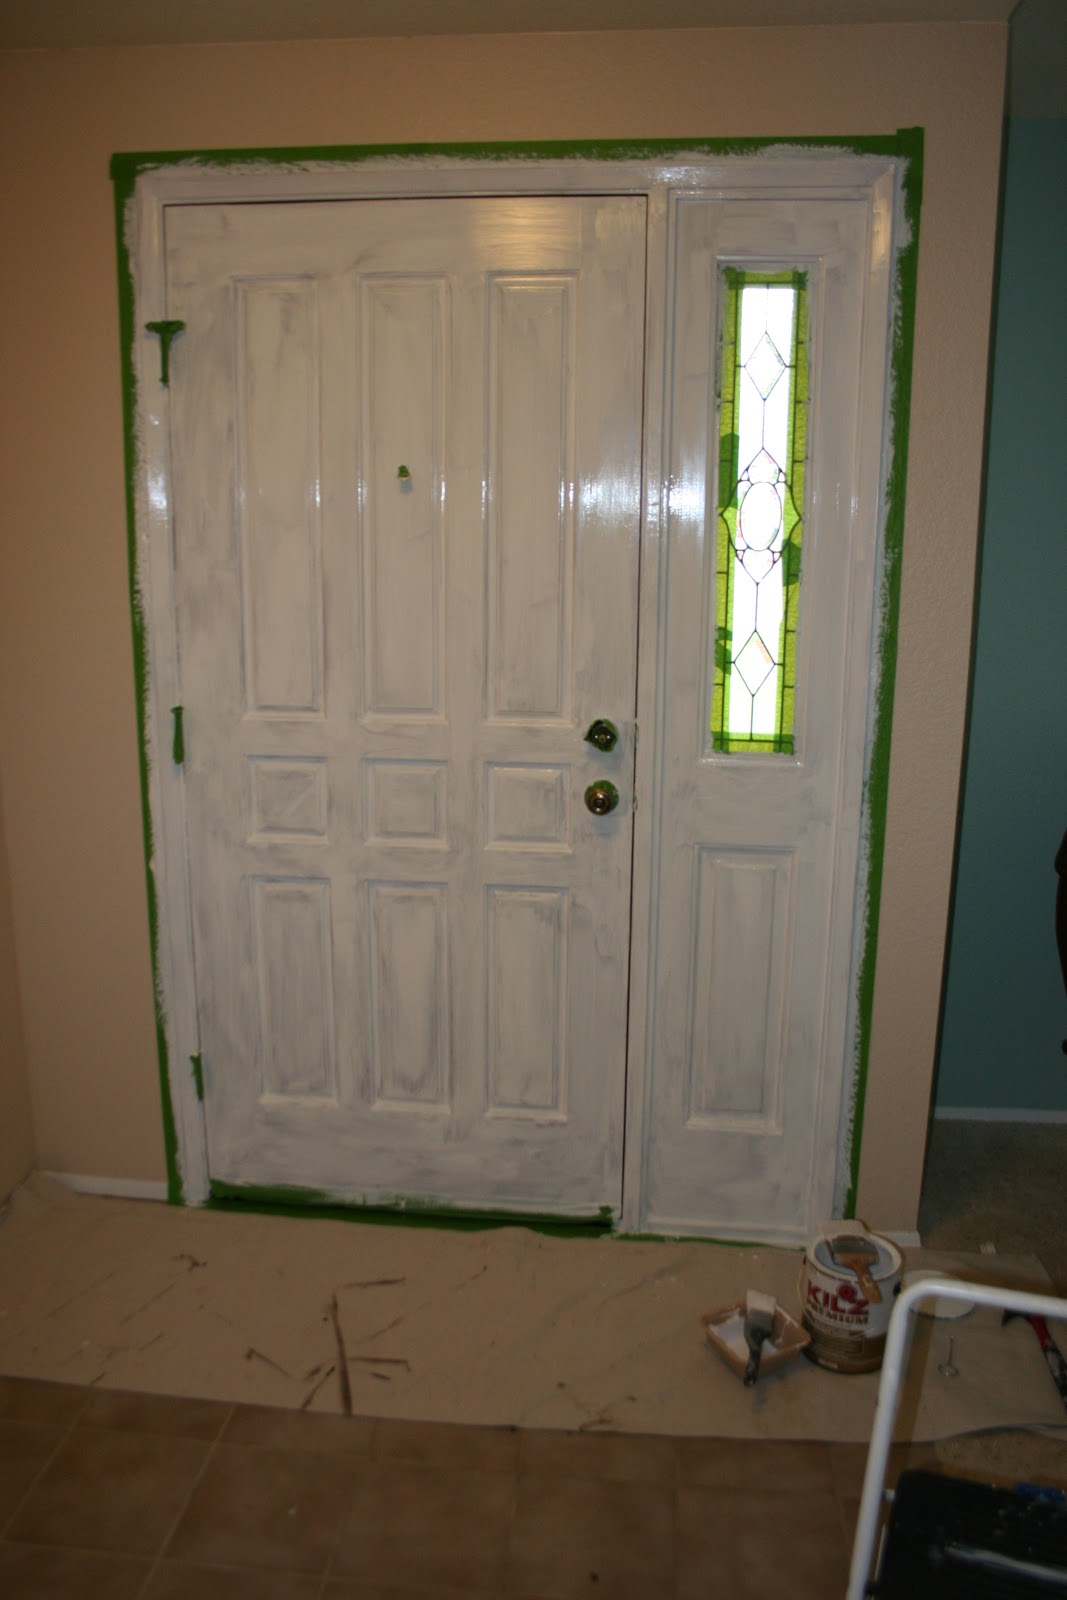
After the Klean-Strip product dries (10 mins) you can start your priming process and start priming away. One thing you have to remember is to put on a good thick coat. That way you don't have to end up doing two coats of primer and two coats of paint. One of the major pains about this project was I had to sit for an hour or so after I applied each coat and watch for and wipe off all the drips on the door. Mostly because left the door on while we painted and all detailed squares in the door like to catch the excess paint then slowly drip down the door.
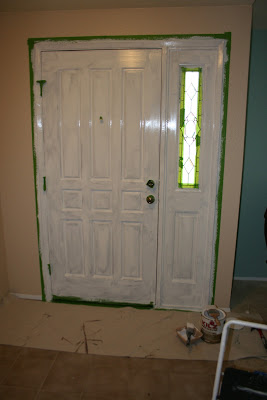
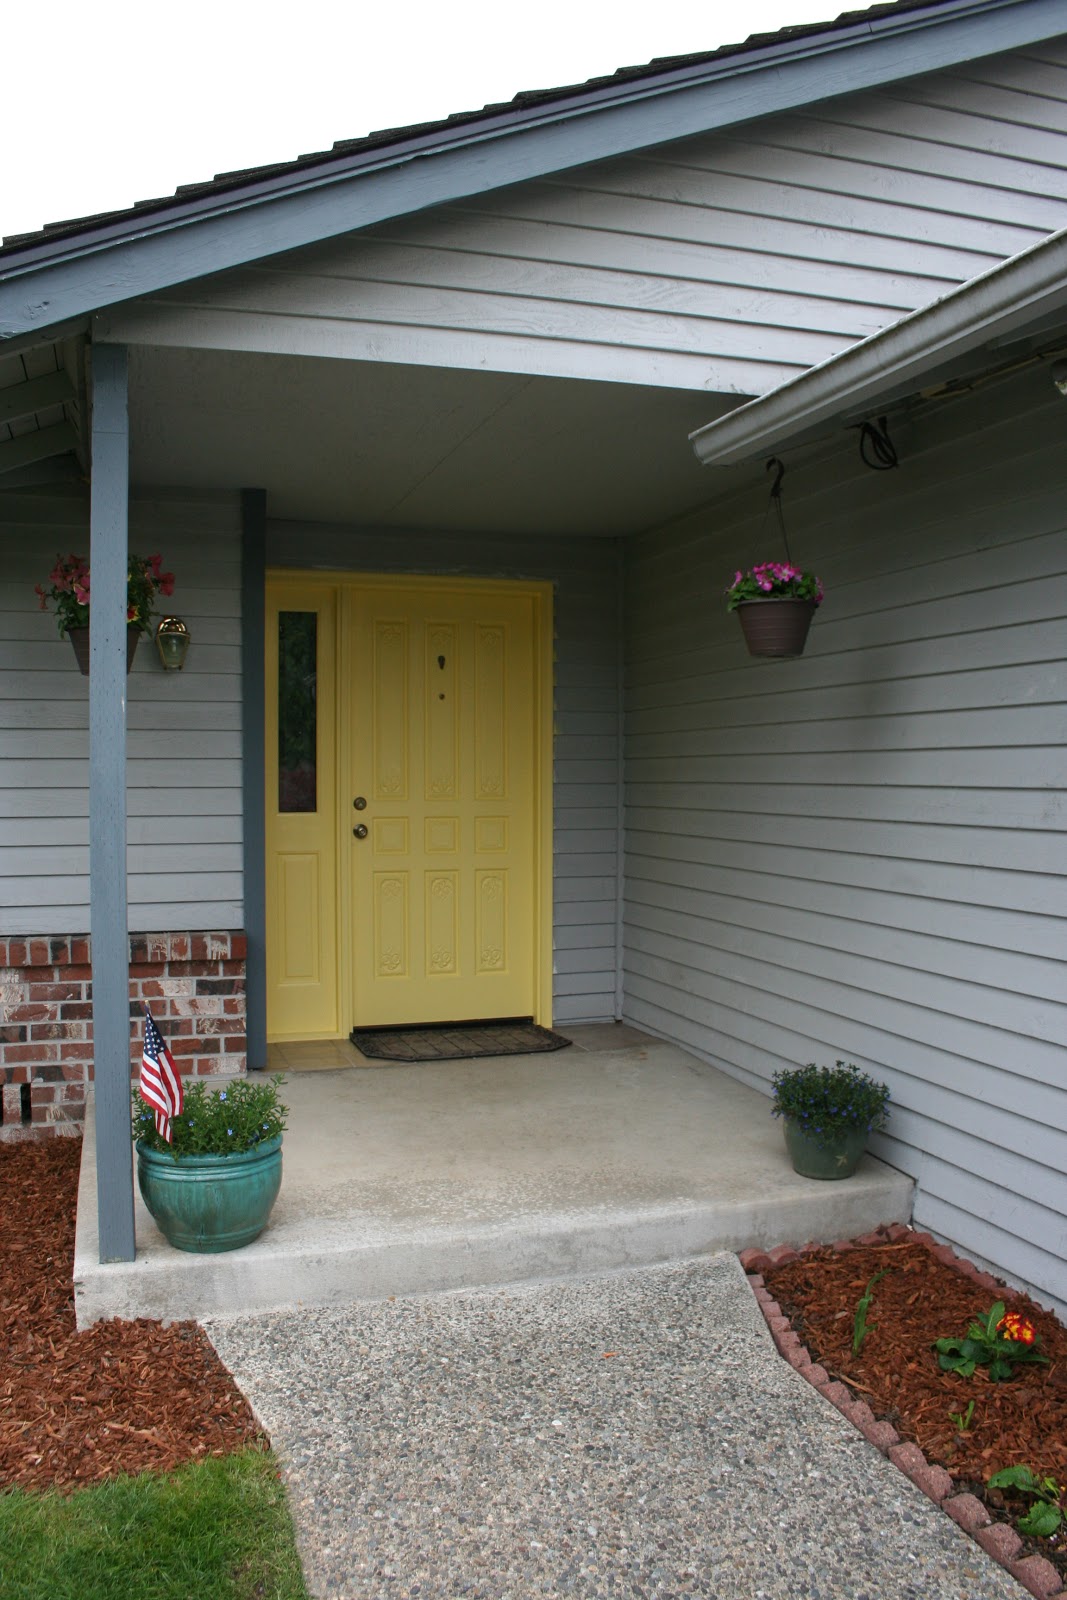
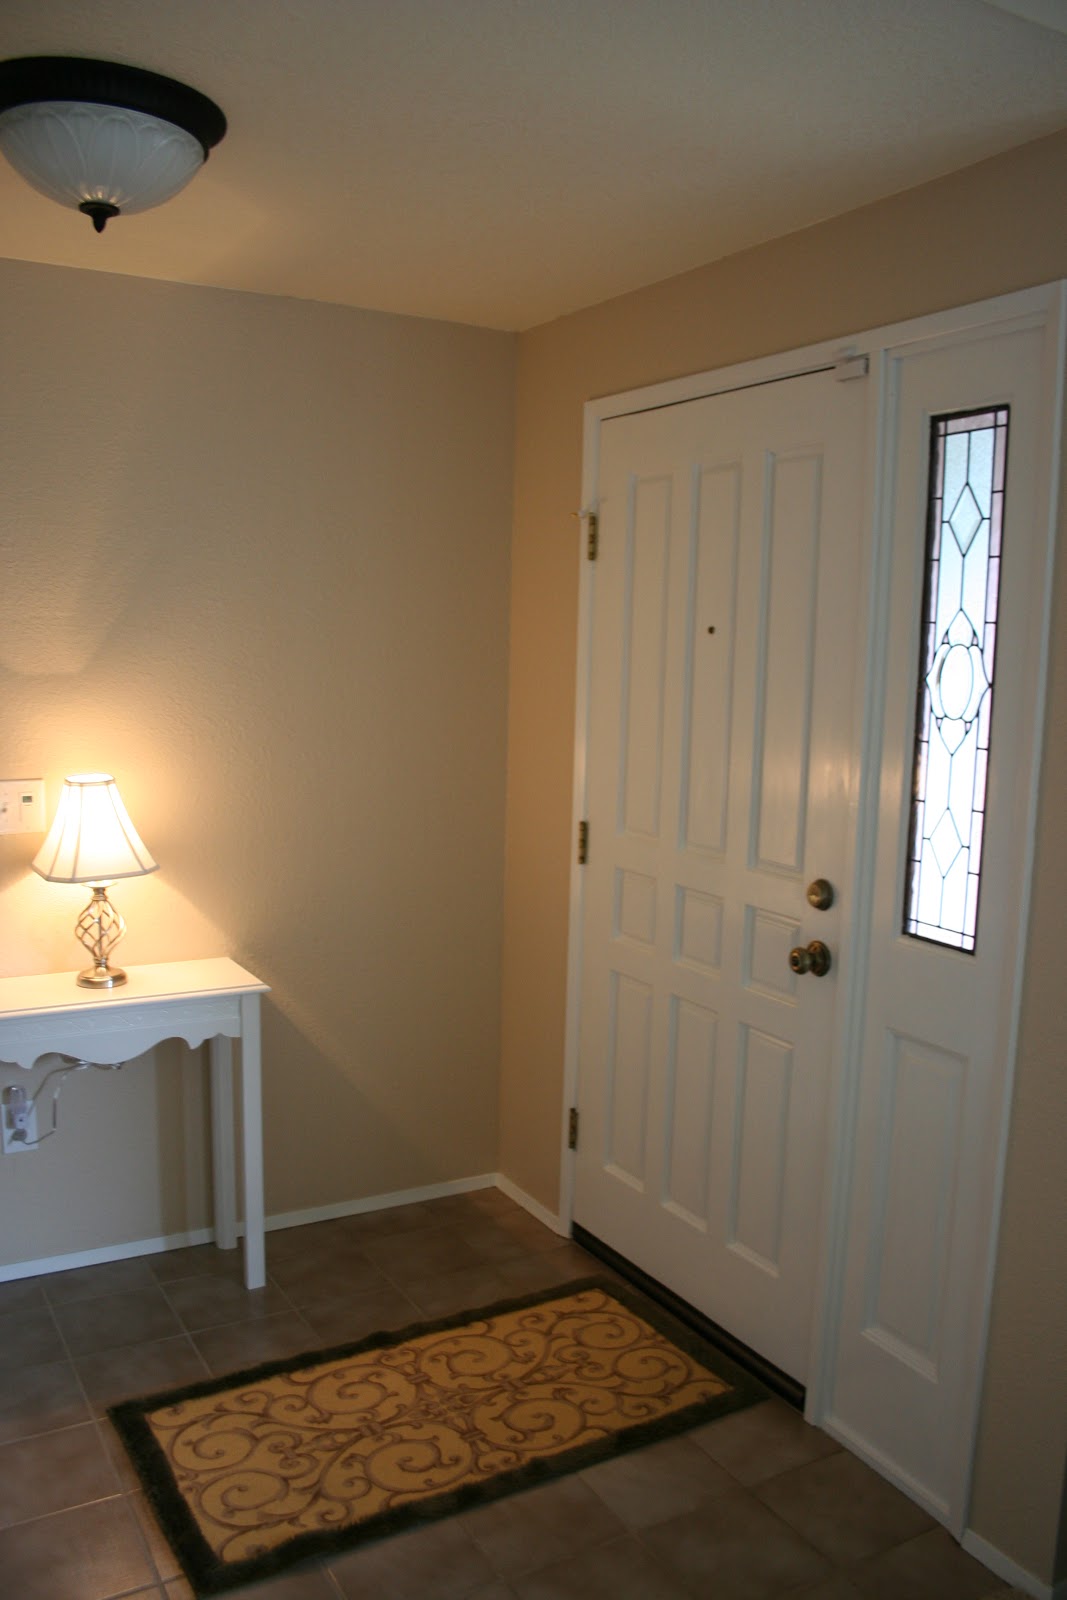
Since the primer only takes about 30 minutes to dry or a few hours if you do a thick coat like we did you can start painting the same day. The paint we used is the same Ace Hardware Cabinet, Door and Trim Simi-Gloss that we have used through out the house. It really does go a long way too. I think we have used this same can for the last seven or so projects. It really does go a long way for $30 some dollars. The only thing is you must wait a day before coats, like I have mentioned in previous posts. Last night the paint was all dry and I was so excited to pull of the tape and look at our new front door! Here are the photos of our finished door!!!
We are so excited to have this door finished it officially completes the all of the painting in the front side of our house (entry, living & dining room) It looks so fresh and clean and it also feels much bigger with the door white and bright!
Here are a few shots of the finished front part of our house! Eventually we will add a few more knick-knacks and a few framed photos and we will be set!
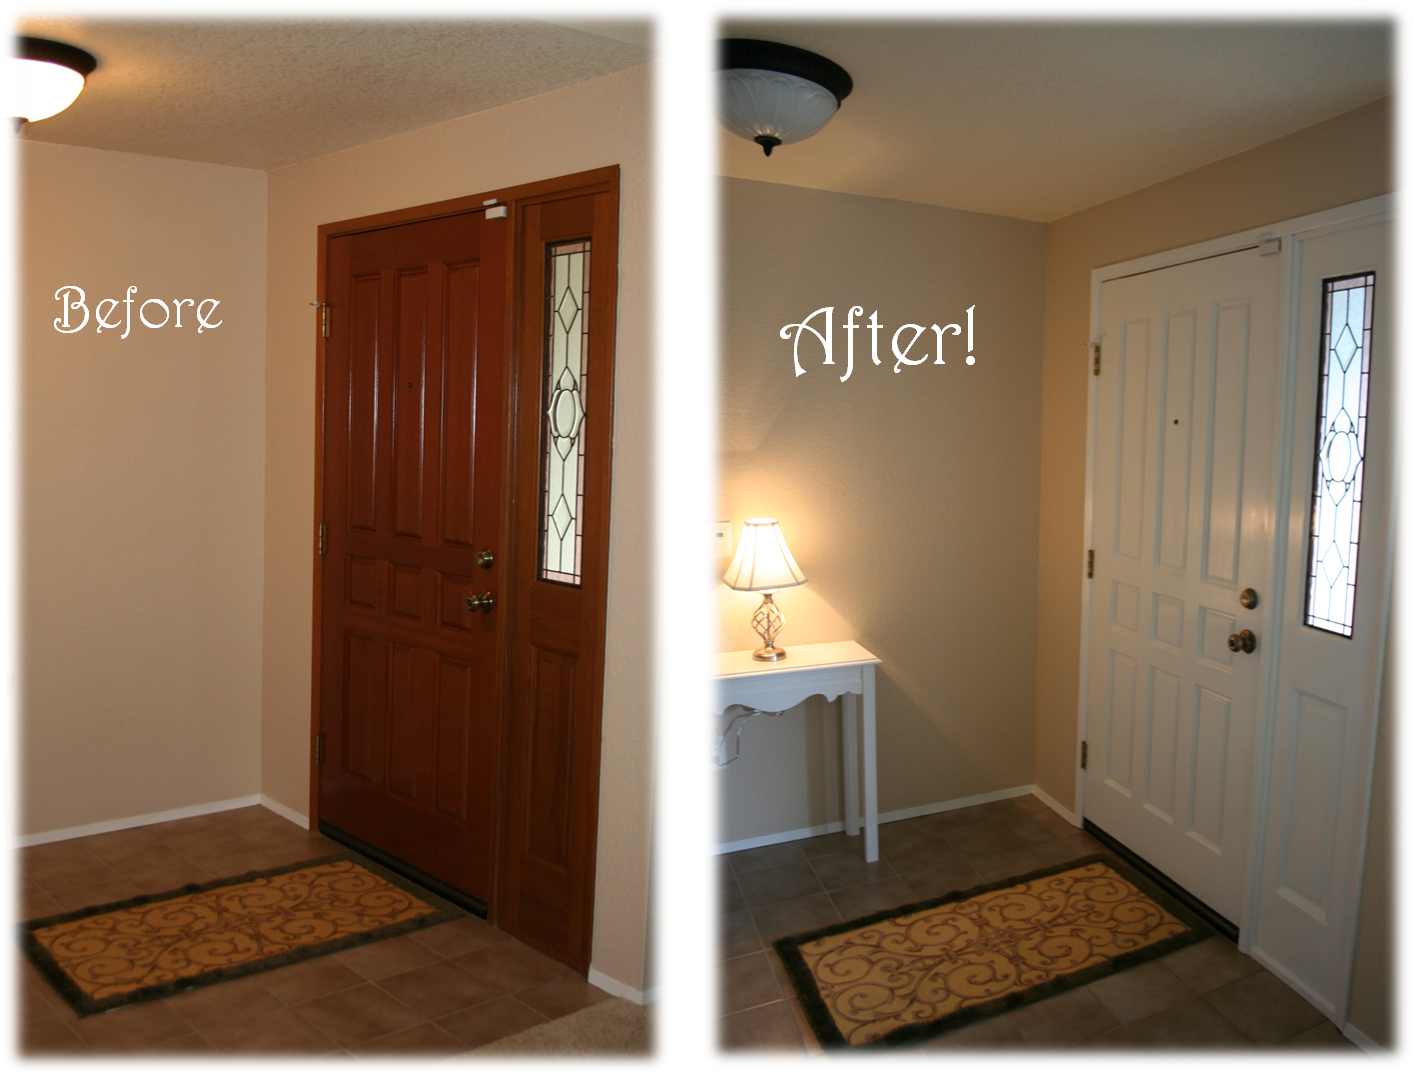
Also have to toss in my normal side by side compairison shots of the before and after! The stained glass window in the door has a bit of pink it it and we really noticed it before we painted the door and now we hardly notice it at all.
We just think that this quick project really did improve our entry way so much more. I just cant get over how much bigger and brighter it all is. So delighted!