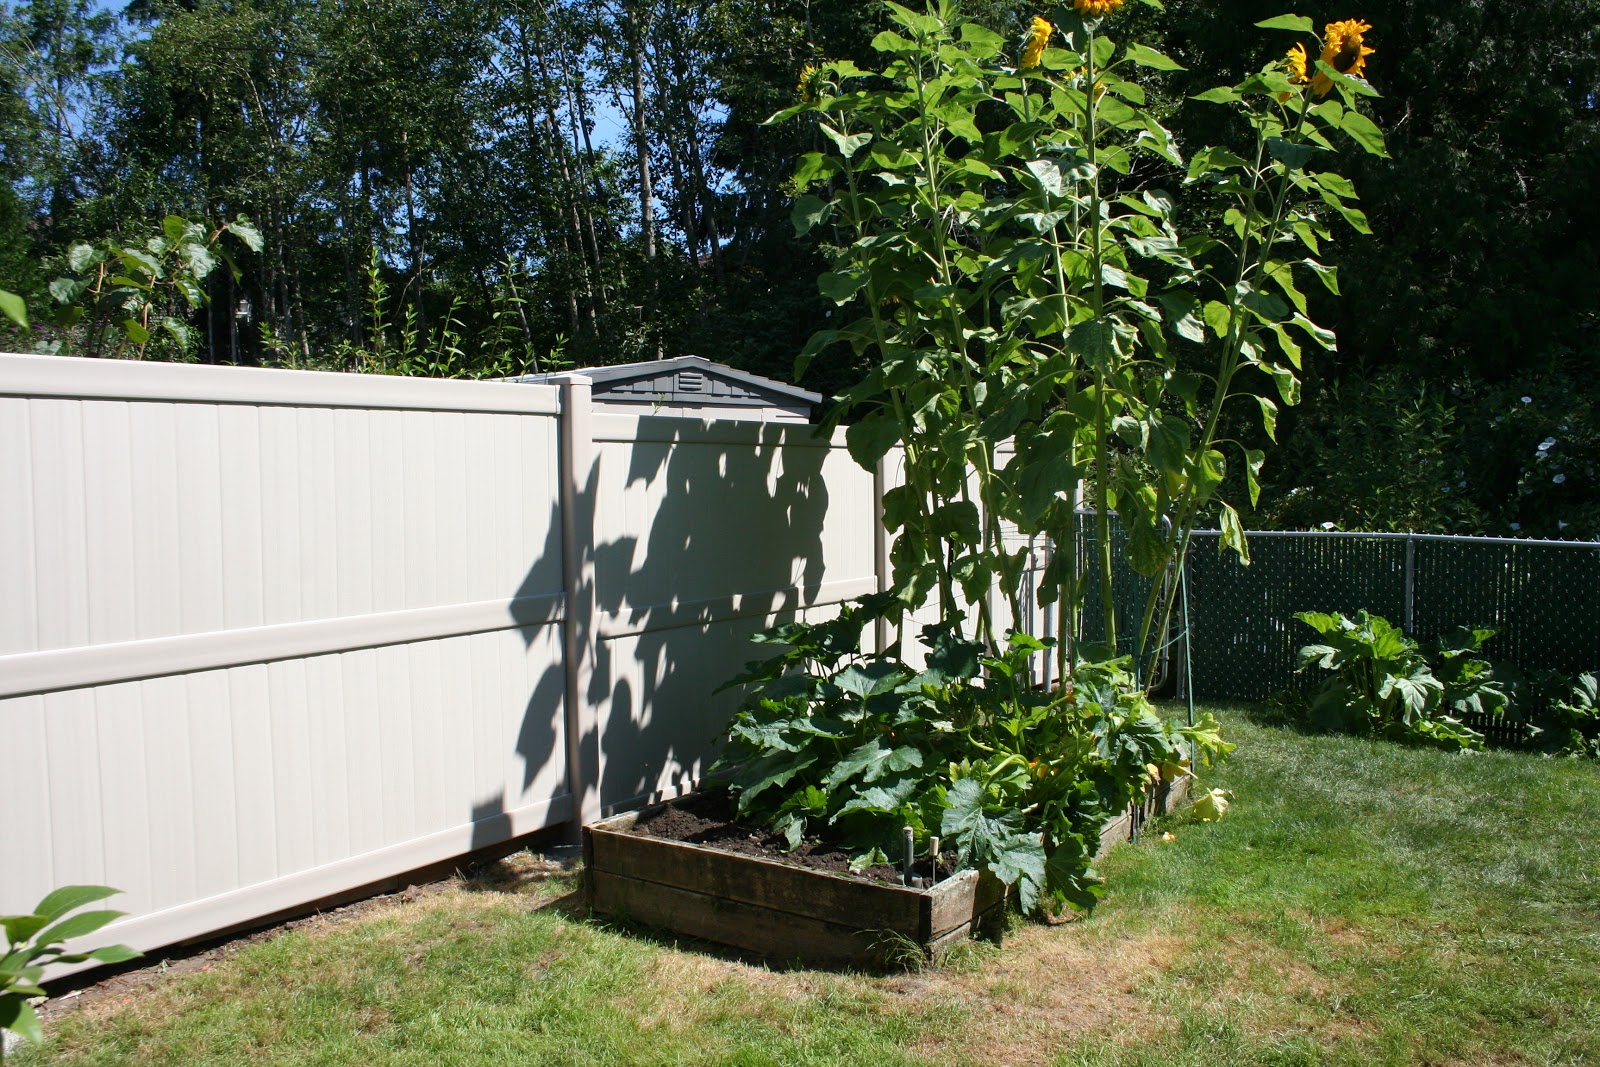
Our side fence was in desperate need of repair and looked like this! You cant see it from the photo but it was leaning into our yard and about to fall over.
Over the past month we have been doing research on who had the best deal on vinyl fencing and our lovely local Costco won! We were able to get a box of 3 panels for $199 a box and each box covered about 24' and needed two to get the entire fence done. So our crazy behinds ended up scheduling our fence rebuild with our neighbor on the hottest weekend of the summer. We took off Friday from work and were done by Sunday morning. It was so hot that we were only able to work in the mornings and evenings! I felt so bad for Terry. He had sweat pouring off of him! He is such a hard worker.
The old fence was so rotten that it only took about 20 minutes to get all of the old wood panels down. The pressure treated posts that were cemented into the ground we just kicked over. It indeed was time for a new fence!
The reason it took us almost 3 days to complete is becuase you had to set each post in concreate and let it dry for 6 hours before you set your next post. Thankfully the heat was on our side for that process and we were able to set 3 posts in the first day.
Each hole had to be dug down 30". We had tons of left over dirt to fill in all the holes Cooper digs in our yard looking for moles :)
Progress:
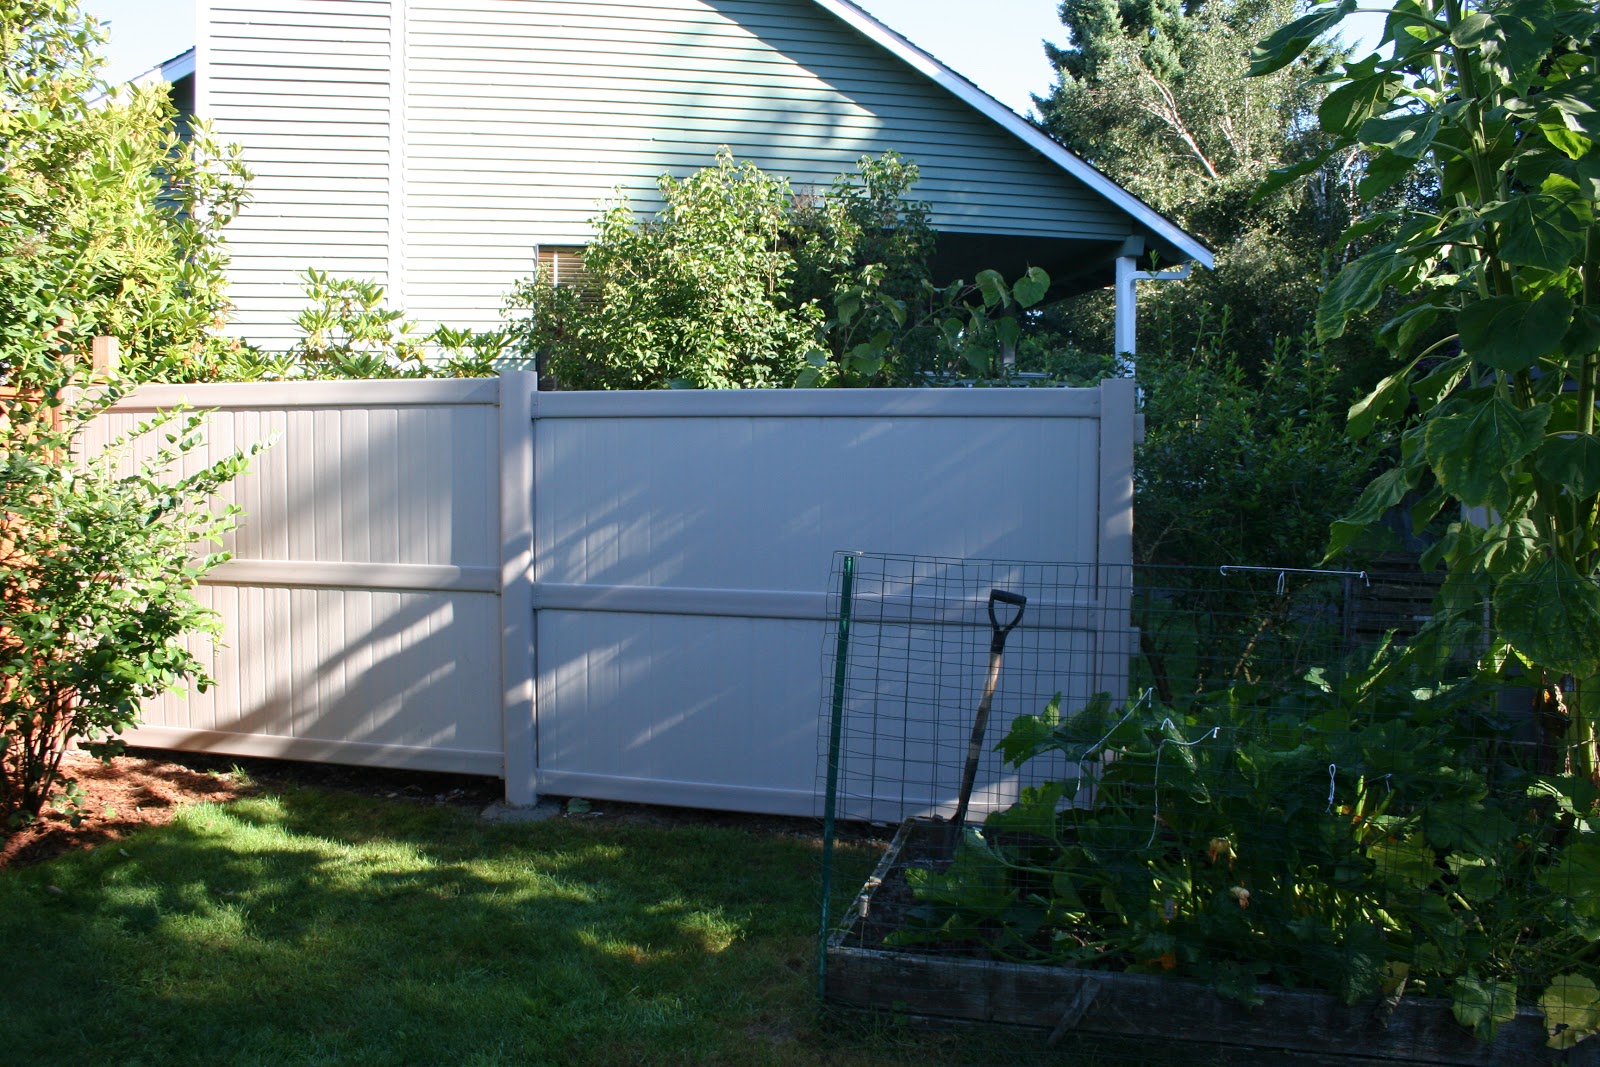
And finally on Sunday morning we were able to put in the final panels and this is the final product!
We are so happy with our new fence! It just looks SO much better and cleaner. We are happy that we dont really have to do a bunch of maintence like a wood fence. We dont have to paint or stain it. Just maybe pressure wash it every few years and it will last a very very long time! We are very happy with it!
.
.
Showing posts with label fence. Show all posts
Monday, August 6, 2012
Tuesday, July 17, 2012
Greenbelt...green fence
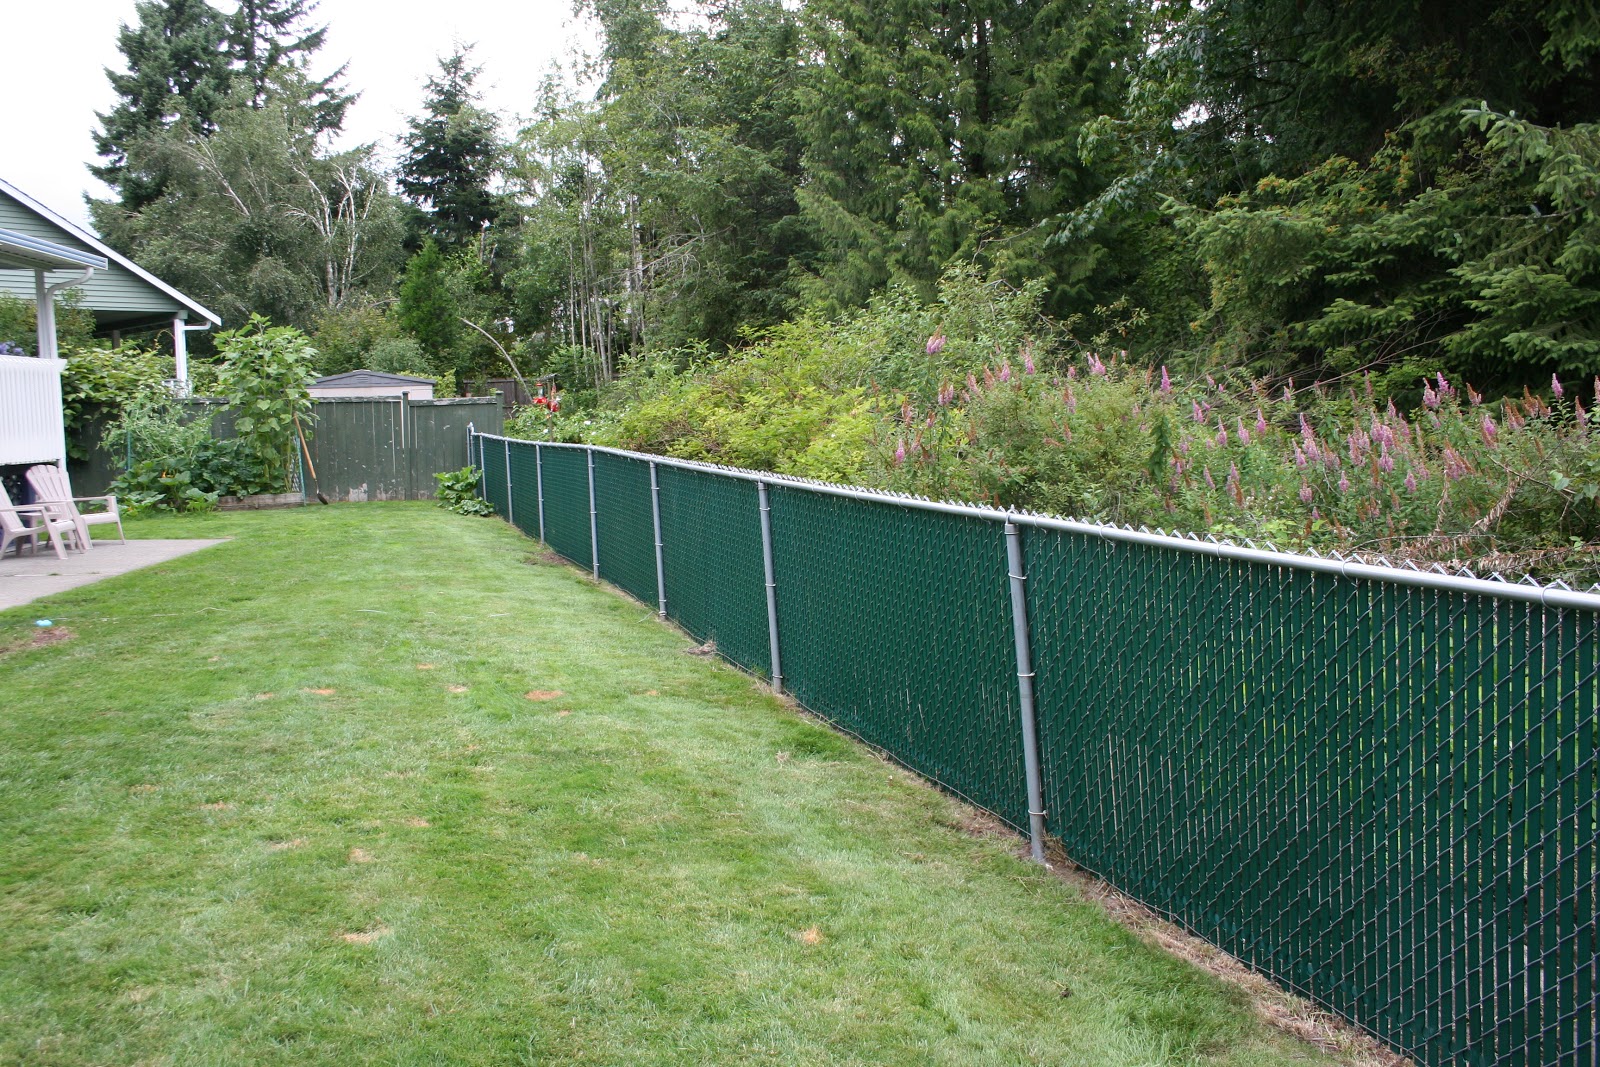
We have been going back and forth on whether or not we wanted to tear down our 4ft chain link fence and rebuild it with a 6ft vinyl fence. Since later on this month we will be replacing one of our side fences with vinyl and it would be nice to have it matching.
After looking at the cost to rebuild the fence ($900+) and the amount of labor it would involve (digging out old cement posts, and redoing them all also working around rock wall) we decided to just go with the green privacy slats ($360). The other thing we didn't like was the rust on top of the fence. So we cleaned it all up and added some rust stopping spray paint then a coat of silver spray paint to the bar. So it would look nice and new!
The greenbelt is just awesome in the summer time. Everything is blooming and its so lush and pretty but in the winter it doesn't look as glorious. So we figured adding in the green privacy slats would help make it look nicer all year long. This project took us most of the afternoon on Sunday and was really easy to do. We are loving the new look. The yard and fence look much cleaner. Here is our new green fence!
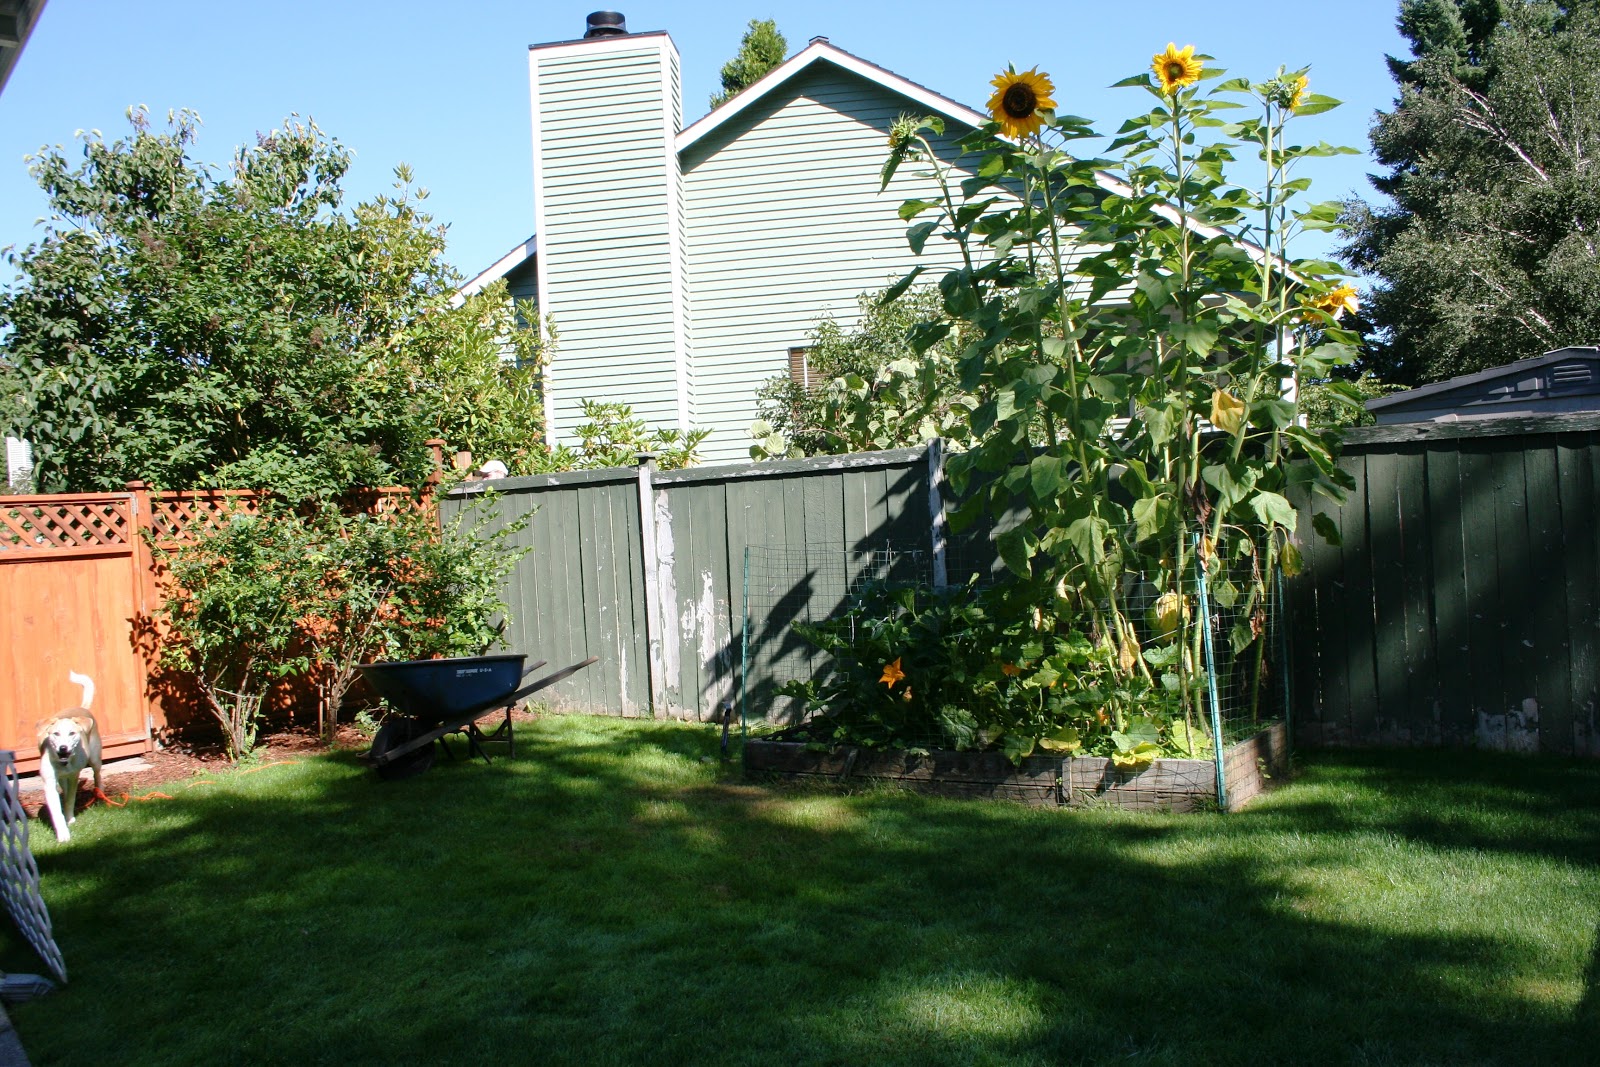
Up next on our project list is to replace this fence!
We got some nice vinyl fencing from Costco the other day and will be starting that project here soon! Did I say that we were going to relax for the rest of the summer?? ha ha yeah right ;)
Sunday, February 12, 2012
Gone with the Wind...
On Monday, 2/6, a little wind storm finished off a section of our fence that had survived January's snowpocalypse storm. We knew this fence was on borrowed time when we bought the house, but thought that it would last until summer. The fence posts were rotted off in the concrete footing, which was buried under about 6-in. of dirt and only about 12-in. deep. It's also my opinion that wood fence posts should not be buried in the concrete footing as the concrete traps the moisture next to the wood and will not allow it to drain away. This results in the post rotting off just as fast or faster than dirt, except now you have 120-lbs. of concrete to dig out when you replace the post. Here is what the fence looked like in September 2011.
Front Side
Back Side
Well the demolition for this project basically included dragging the fence out of the way and digging out the old concrete post footers. This sounds simple, but getting the old concrete footer out isn't easy. After a few hours of work with an 8-lb. sledgehammer and a shovel and I had the old footers out and a wheel barrow of concrete chunks.
Next a run to the hardware store to buy supplies. We decided to go with pre-fabricated wood panels as we wanted to get the fence repaired quickly. We poured a 10-in. diameter by 2-ft. deep concrete footer, but rather than setting the post in the footer directly we used a steel column base insert that we set into the concrete footer (see below). This keeps the wood above grade where it can remain dry, avoiding future rot damage.
We covered the footers and let them set overnight to cure. The next day we were ready to start setting our posts and panels. For the posts we used 6-ft. pressure treated 4x4s. We held the post off the bottom of the steel column base by about 1-in. to ensure that the base of the post wouldn't sit in any water that pooled on the footer. The post was then bolted into the base using two 1/2-in.x5-in bolts. After we set the first post and tied it into the two existing fences it was time to attach the prefab wood panel so we could set the second post in the exact position we wanted it.
As we started drilling the bolt holes for the second post my trusty cordless drill battery died... So Rachael ran to the hardware store to pick up a corded drill while I proceeded to cut down and reassemble the second prefab panel into a custom gate. To add rigidity to the gate and prevent it from sagging out of alignment I installed four corner brackets.
I finished the gate by the time Rachael got home with the new drill, so it was time to finish setting the second post and attach the gate. A tip for the other DIYers out there, go buy a corded drill before a drill intensive project. Not only will the battery not die on a corded drill, but they have a lot more power.
After we hung the gate we set the third post and attached the gate latch to finish the fence.
After Front
After Back
Now we just have to wait for a few days of dry weather, so that we can apply a waterproof stain to the wood.
Subscribe to:
Posts (Atom)