
A while back I saw a cool idea on Pinterest on making your own step stones. I quickly read through it (aka-looked at the photos) and sent it onto the hubby and told him I wanted to do this at some point. So while we were rebuilding our fence a few weeks back Terry remembered that I wanted to do this and purchased an extra Sonotube to use as our mold.


We laid out some tarp because I really didn't want to slop any concrete on the grass or patio. Then put a layer of garbage bags over the rings.

I had to add some stones to make them all pretty and special. Then we added the concrete...
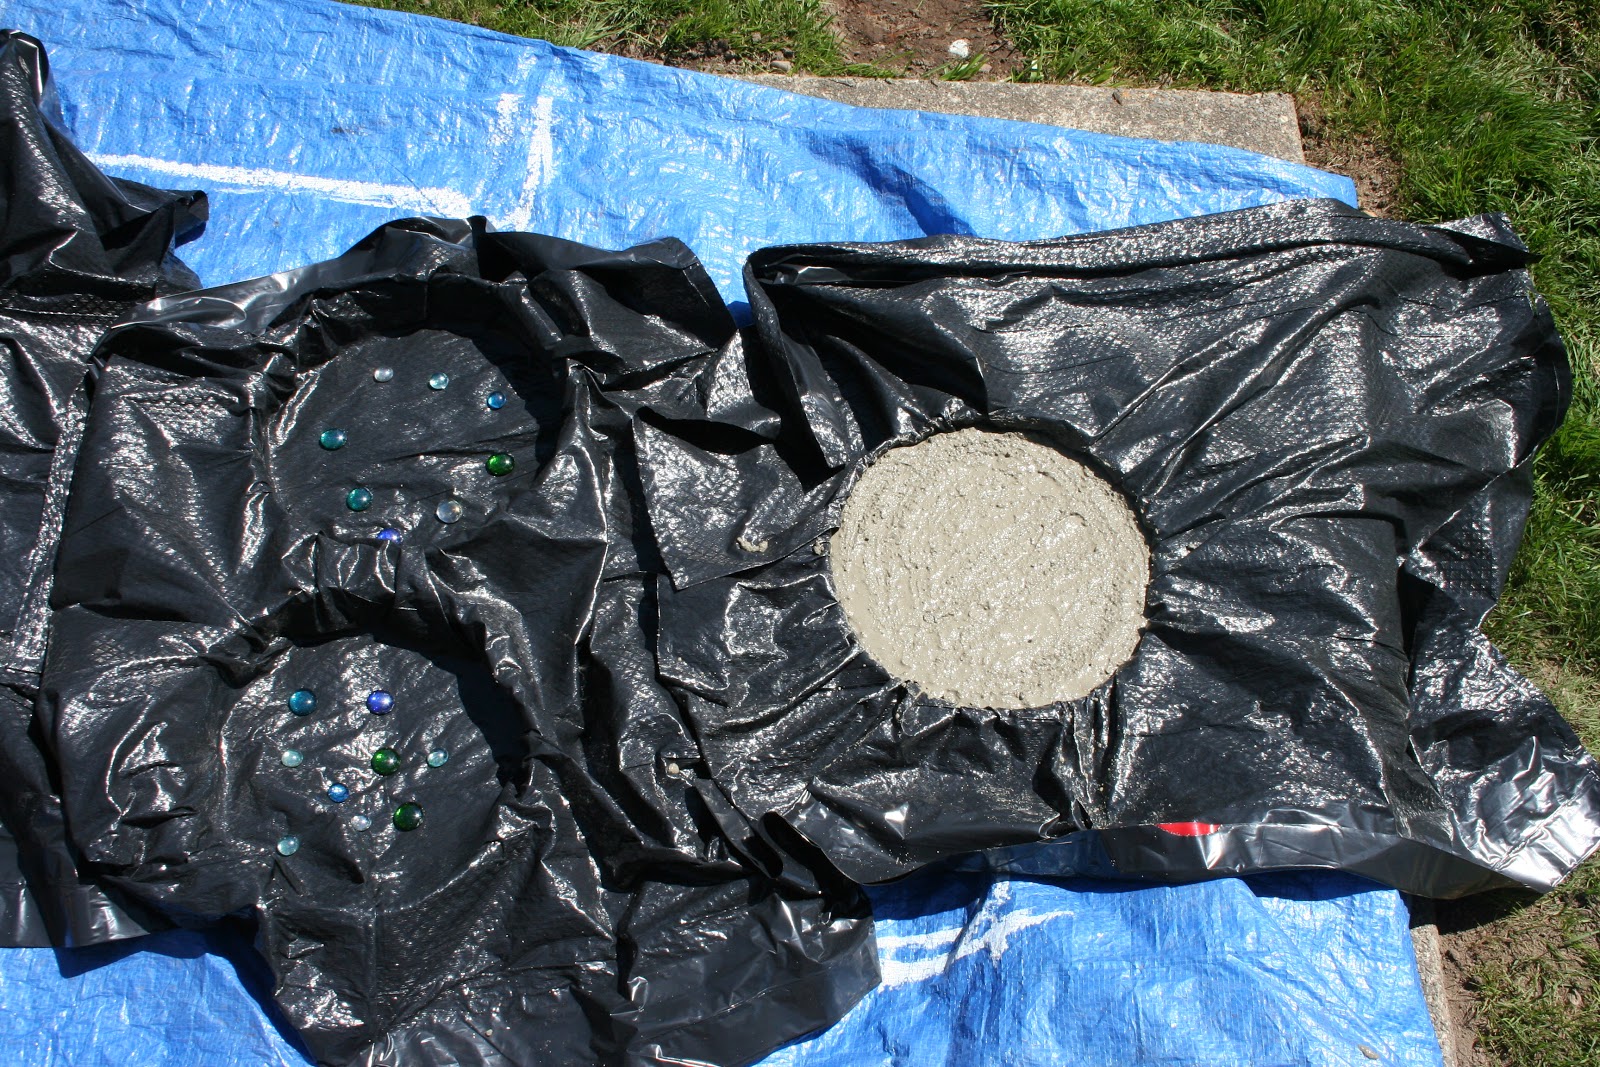
....but since I didn't read the directions from pinterest and was just wingin' it....they didn't turn out right. The weight of the concrete sucked the stones into the mold.

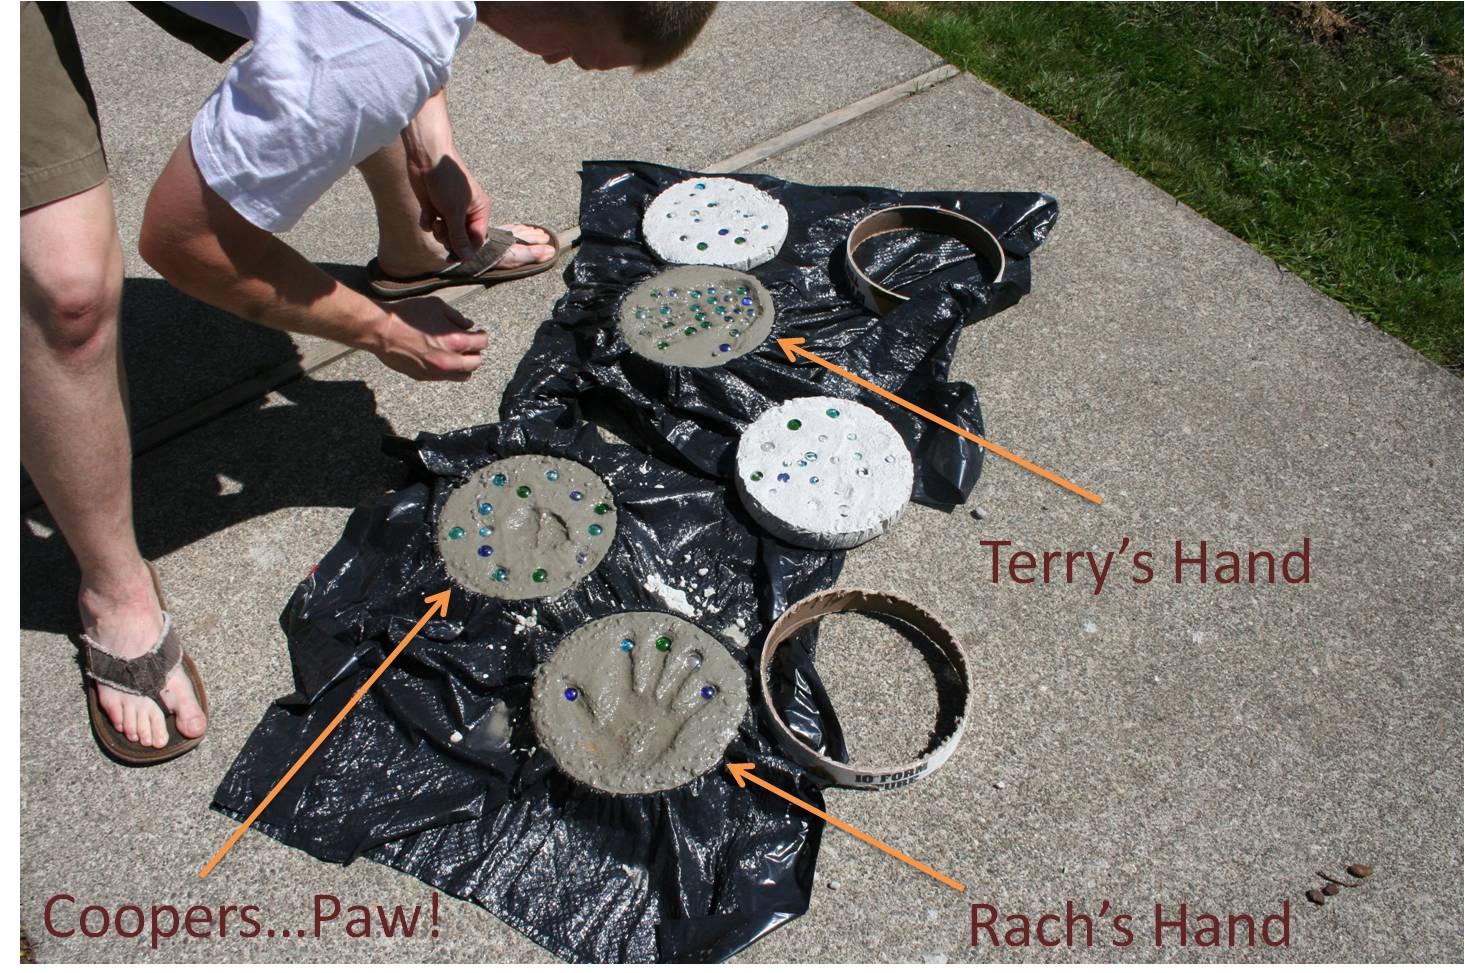
Good thing we only did one tester because I forgot the part where you don't put the stones on the bottom first. You first pour the concrete into the mold... then wait about 20-30 minutes (depending on how runny your concrete is) then place the stones on TOP! At that point you can do fun little hand prints...or dog prints like we did.
Here they are dried and placed in our walk way. It takes about 24 hours for them to cure out so you can step on them. They are a bit smaller than I wanted but they get the job done! I just need to make about 6 more and they will go all the way to the gate.


Coopers paw....that is the cutest! I am sharing this w/ Richard- this is a must! (for when we get a house)
ReplyDeleteThey were so super easy to make girl! Infact that reminds me we made about 10 more a few weeks back that I need to add to the pathway.
Delete