.

.
Showing posts with label Paint. Show all posts

Friday, June 15, 2012

My thrifty June makeover

I have been on the hunt over the past few months for some new bar stools in our kitchen. The ones we inherited with the house I was not too fond of. They were very heavy and I didn't like the way they looked. See below shot of our old bar stools:


So last month I headed over to Habitat for Humanity and found these wonderful bar stools that would look fabulous in our newly painted kitchen. They were only $12 a piece and all they needed was some cleaning and a fresh coat of paint!


Last Sunday I scrubbed and sanded them down and added a new coat of white paint and this is how they now look in our kitchen.


Someday I have visions of painting the seat and back slats a red color to add a bit more red hints to our our kitchen...but for now I am totally and completely painted out and am looking forward to taking a break!

Thursday, June 14, 2012

From Purple Dragon to Dragon Slayer!

Remember when I first started this blog and we first started redoing our home...we started in the back in our master bedroom. I really wanted a purple bedroom (See this post) and I got one! (See below photo) I liked it and it was OK for a while...but then I started to kind of feel like it was a kids room. So our plan was to paint it something different after we finished everything else in our house.


So this past weekend we painted over the purple color and transformed it into a light grey. We also got the grey on super clearance at Home Depot. It was a color that someone made and didn't like so it was in their clearance bin. The great thing about it was that it was a high quality paint called Behr Premium Plus Ultra its one of those primer and paint all in one cans. I must say I was very impressed with this product. It went on very well! The first time we painted it we used the cheap Olympic paint and barely got by with one can and we really needed two gallon cans! On the Behr product we only used about half of a gallon can and only needed one coat! The other awesome thing is since we got it on clearance we got it for 35% off! So around $21. That made me very happy. Since the color was a made up light grey color, we don't know what its called....but I have decided to name it the "Dragon Slayer" Yes, I know I am a nerd! Anyways here is our bedroom now!!!


We really do like this color so much more. Its very calming and the best thing is that it feels more like an adult room now. :)

Tuesday, May 29, 2012

Laundry Room Make Over...so fresh so clean

We started in on the laundry room over the long holiday weekend and transformed it into a nice new clean space. We had left over kitchen paint and decided to paint it the same yellow. It really did brighten up the whole space. Terry also decided that he wanted to paint the cabinets in there white to match the rest of the house and I am glad that we did too because it really does make it look much nicer and cleaner.

Here is how our laundry room looked before:


 The best part of the whole weekend was that we decided to get some brand new front loading washer and dryers!!!! I never have owned new nice washer and dryers before and these suckers are huge too! The washer is 4.5 cubic feet and the dryer is 8 cubic feet! We put in all of our whites and darks and still had a TON of room for more clothes. The washer and dryer are so quiet compared to the older set we got with the house! Plus when you take the clothes out of the washer they are practically dry already so you only have to dry them for like 30 minutes. I just really do love them! I could not be more happier!

And here is our laundry room now:


Monday, May 21, 2012

The Big Kitchen Reveal!!!!

OK all! The kitchen is FINALLY complete! Oh my goodness this was the biggest project and the worst project but I am SO glad its completed. Surprisingly it only took about one week start to finish but it was because I took 2 days of vacation in the middle of the week and we worked pretty much non stop on them. One good thing is that when we started working on them the temps were in the 80's which helped significantly in drying the paint quickly...almost too quickly on some days! However was not fun painting the cabinet backs inside the house with oil based primer. I was to the point of picking up the phone and hiring someone to finish it for us...but after we got through the dreaded oil based primer things went much smoother! So without further adieu here are the photos. I have been told to include more before, in process and after photos so here you go.

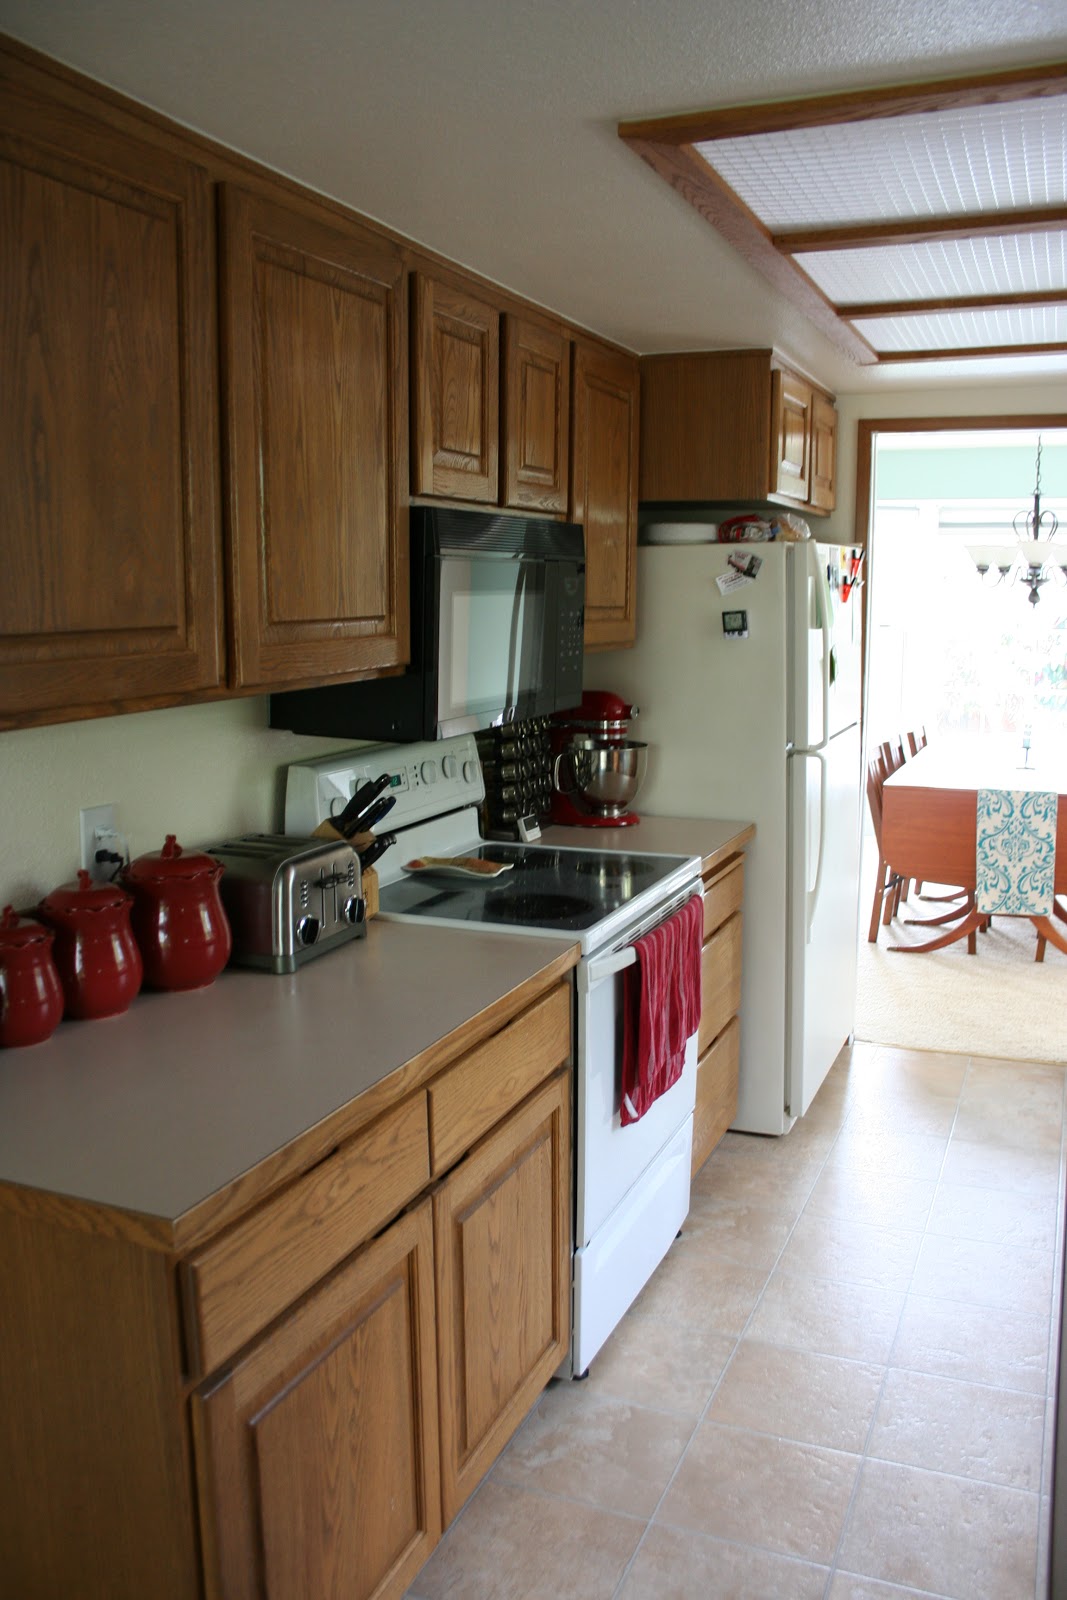
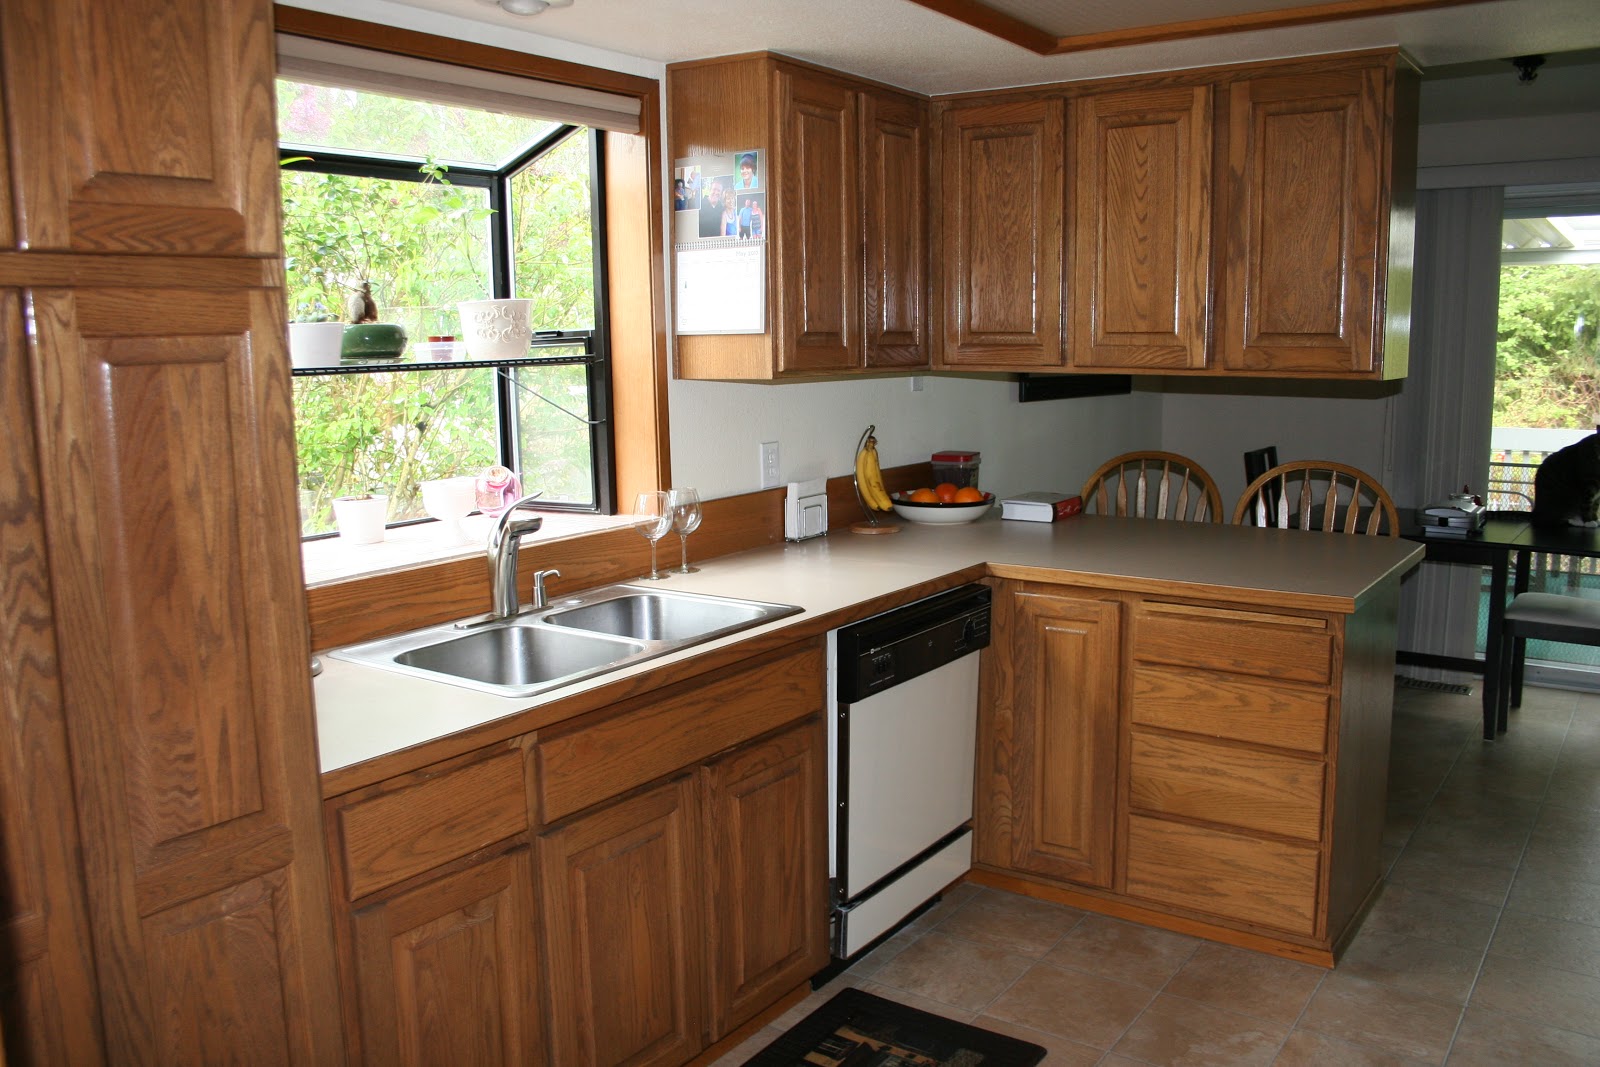
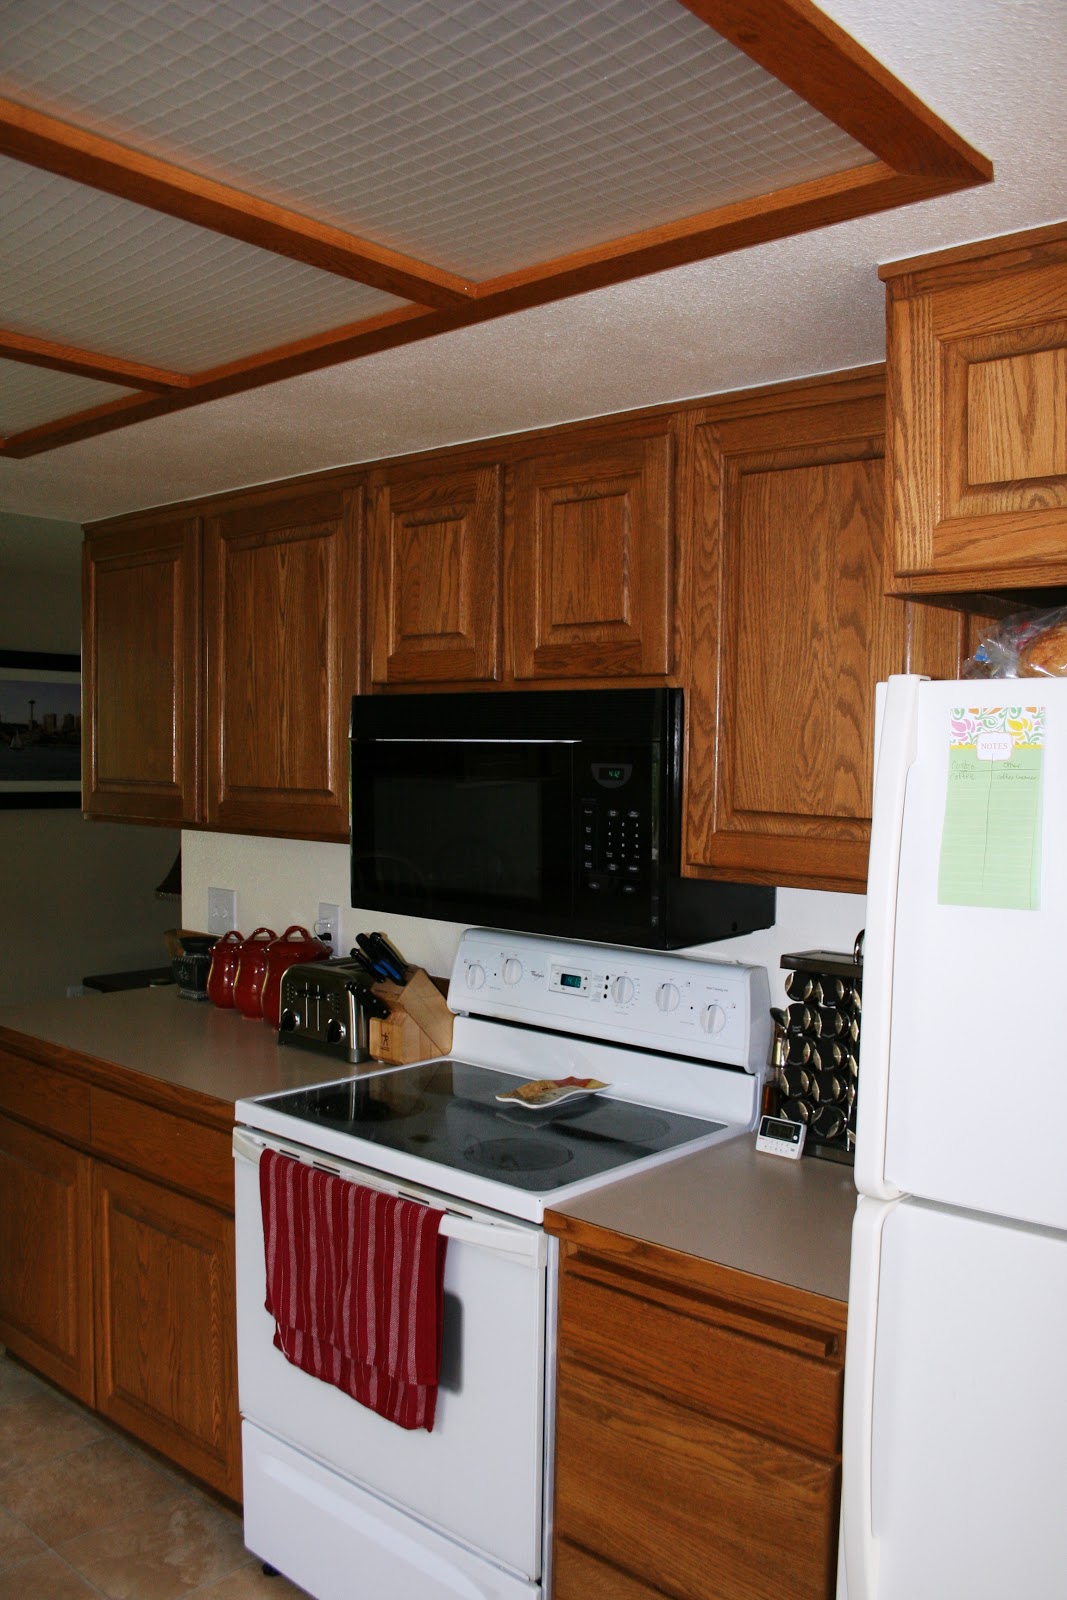
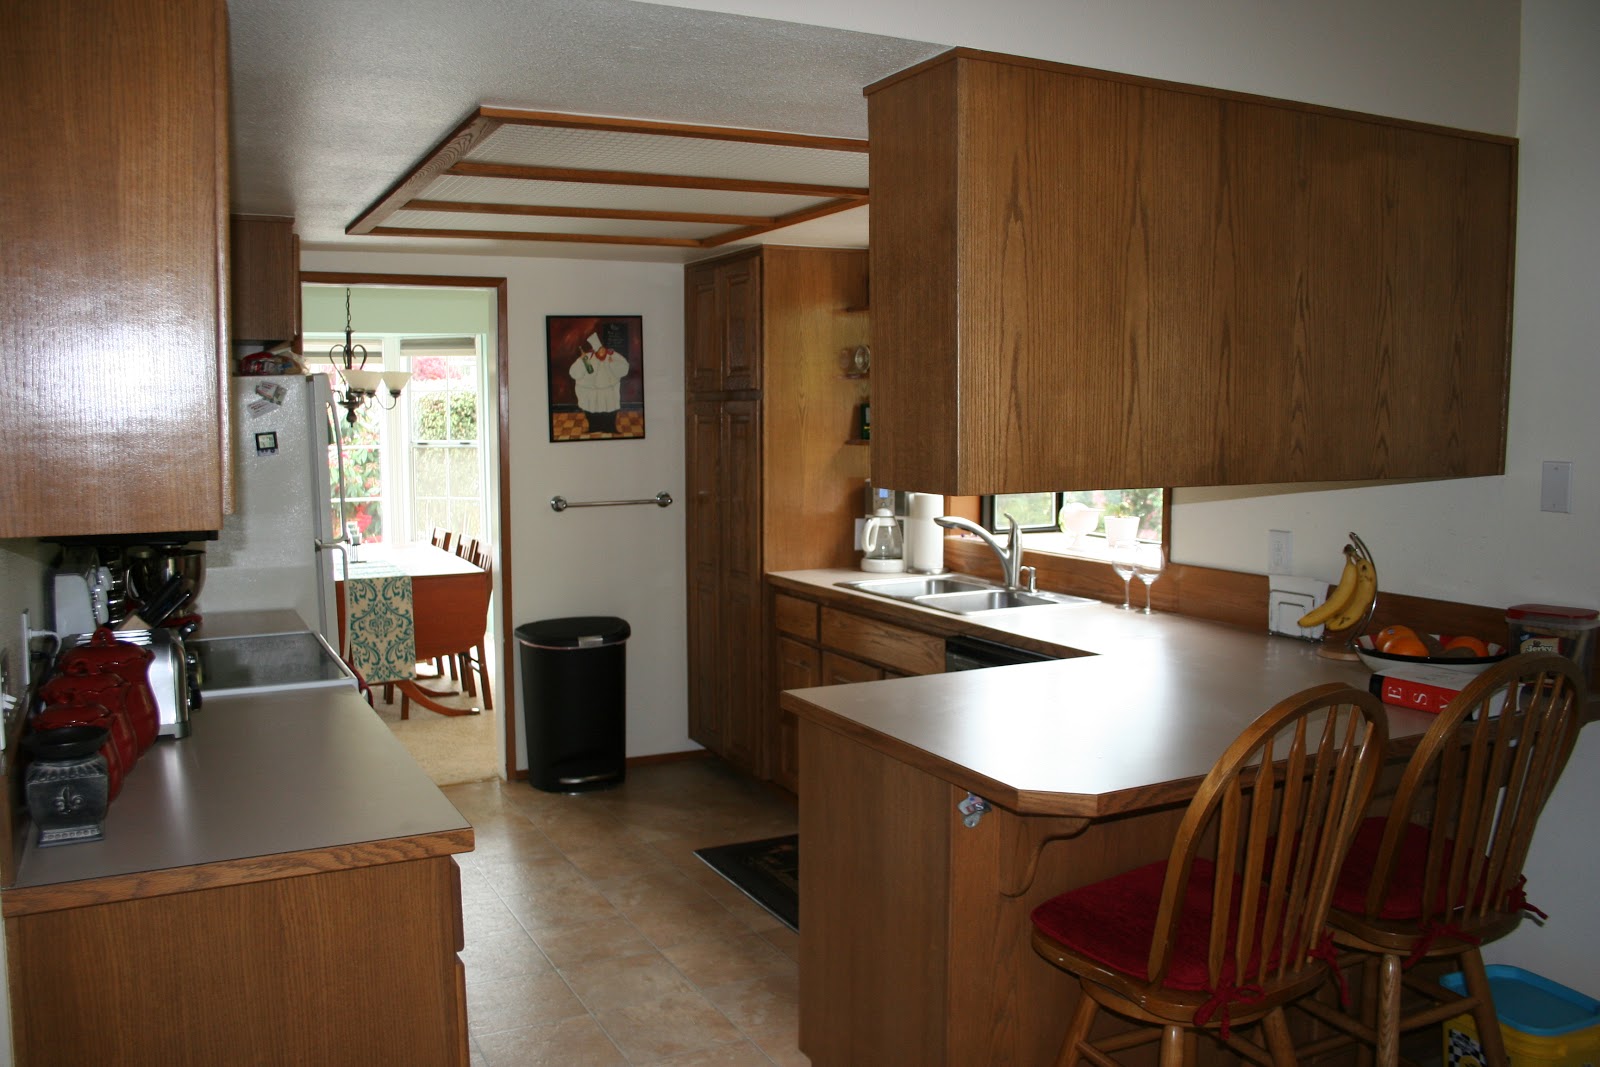
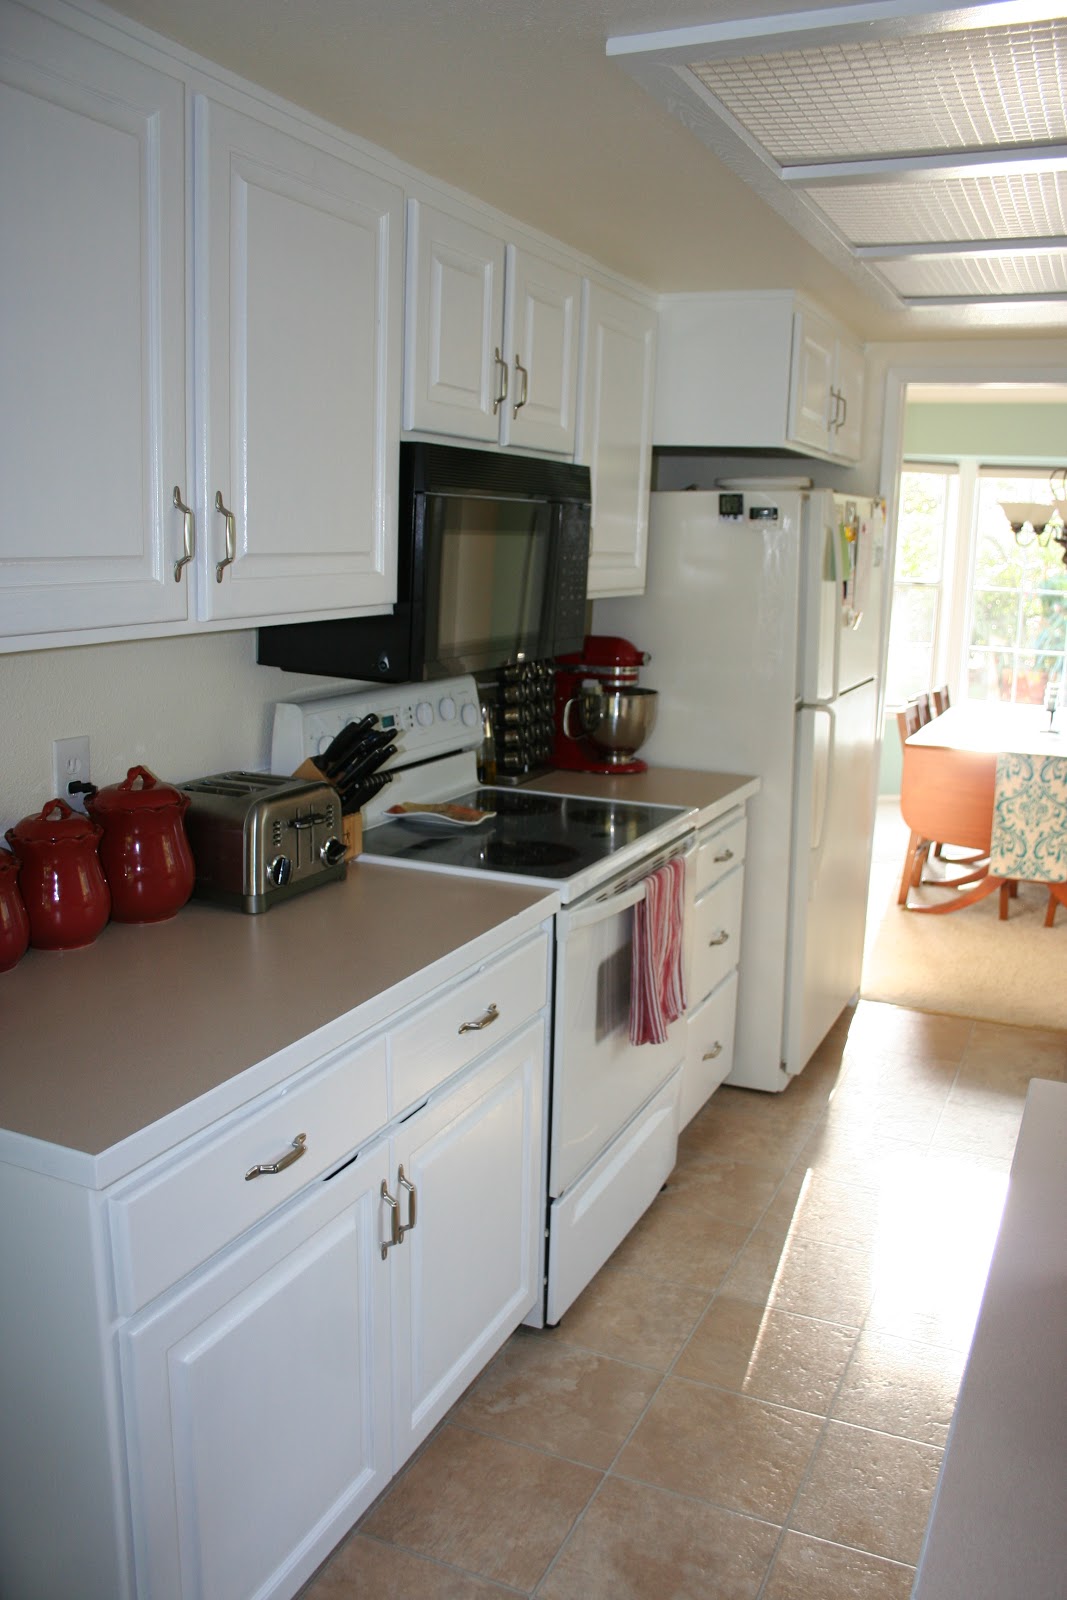
Here is what our kitchen looked like before:


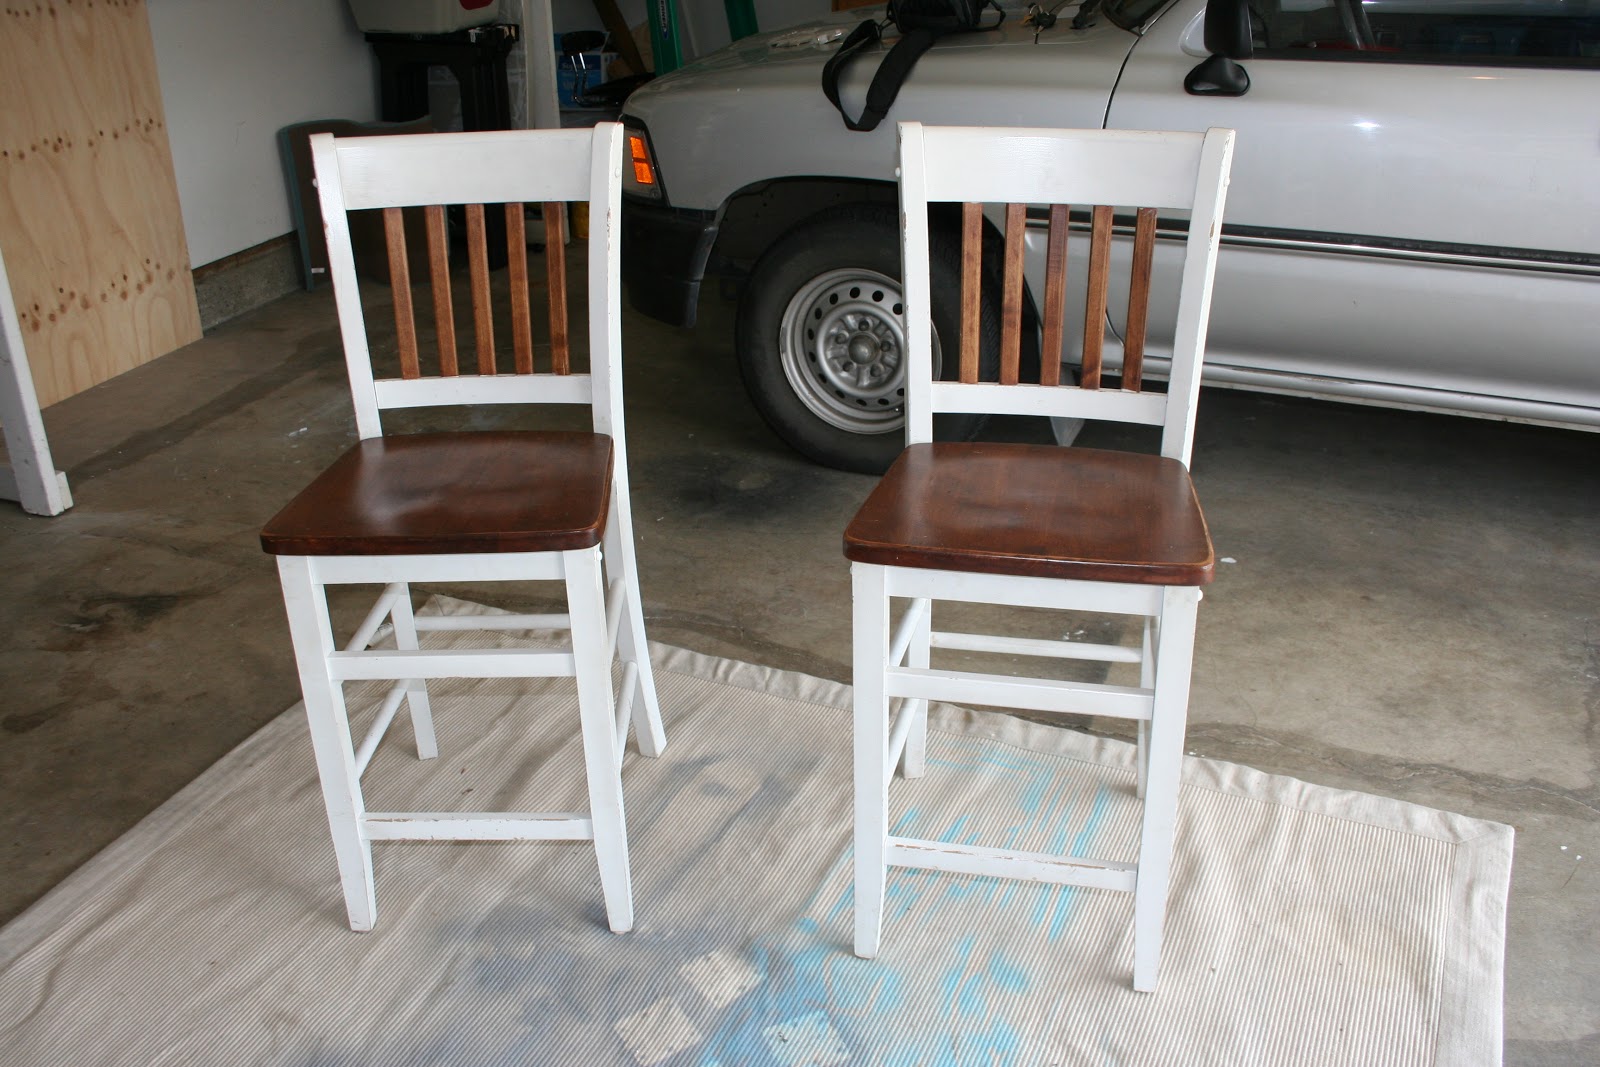
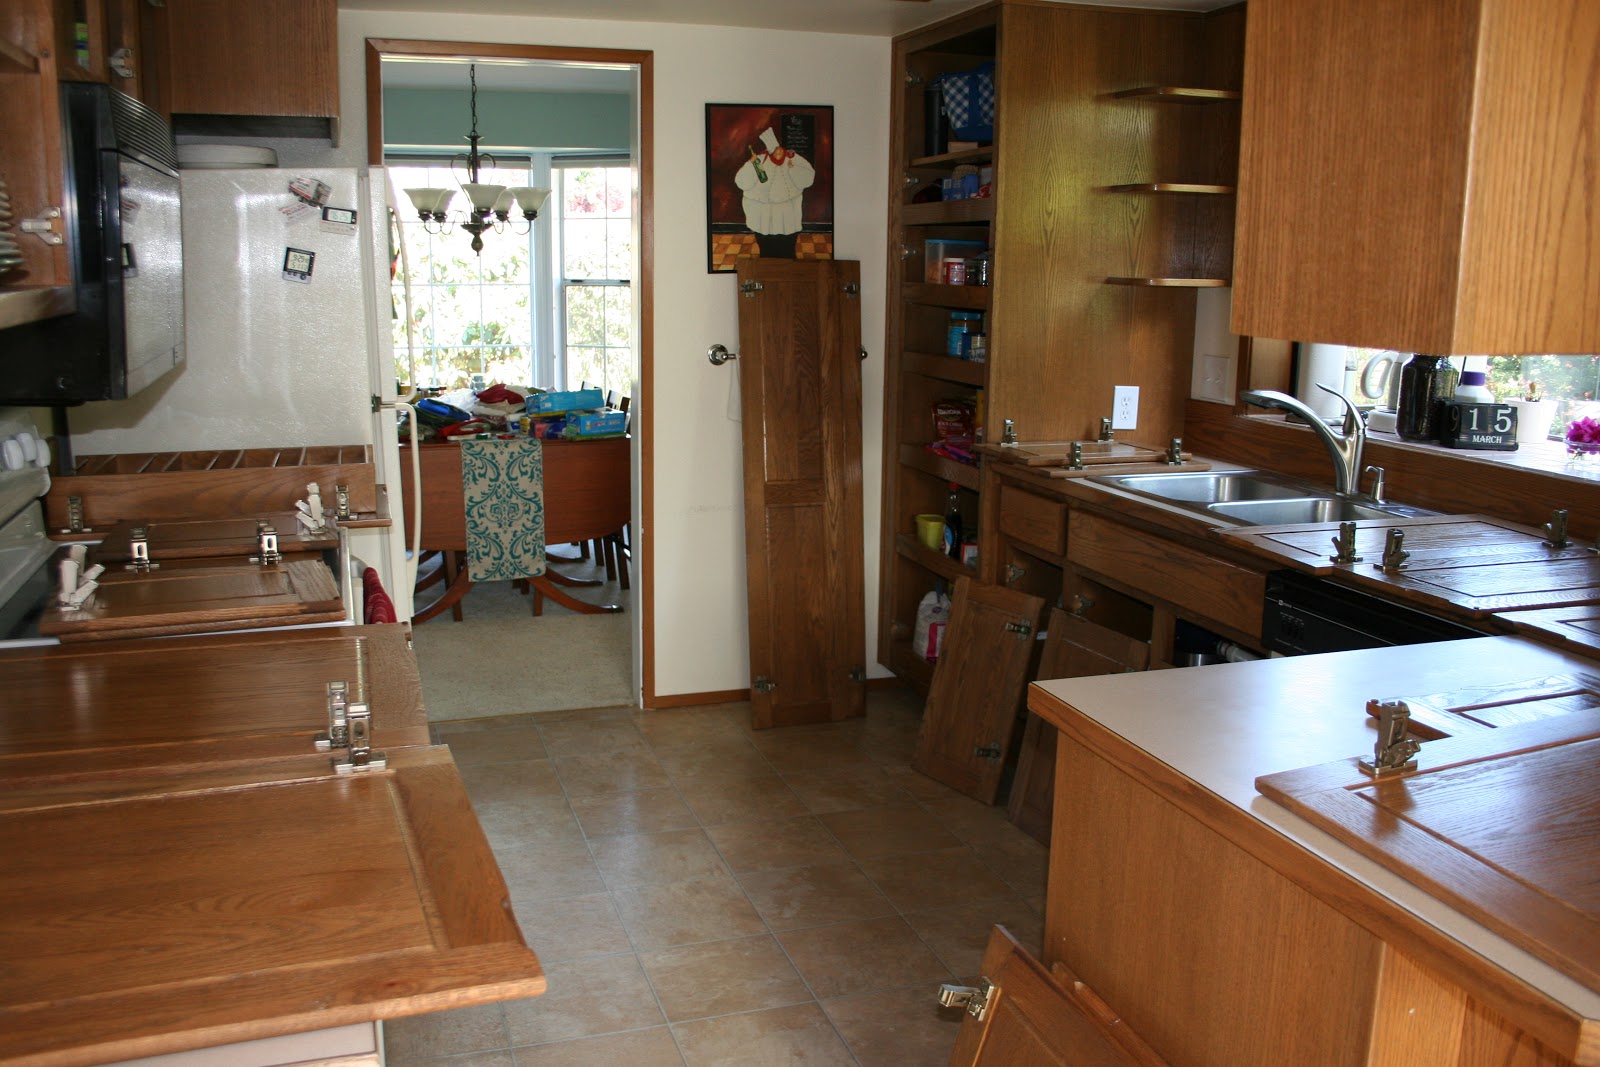
We washed everything with TSP and then used the stripper/glosser product on them all.


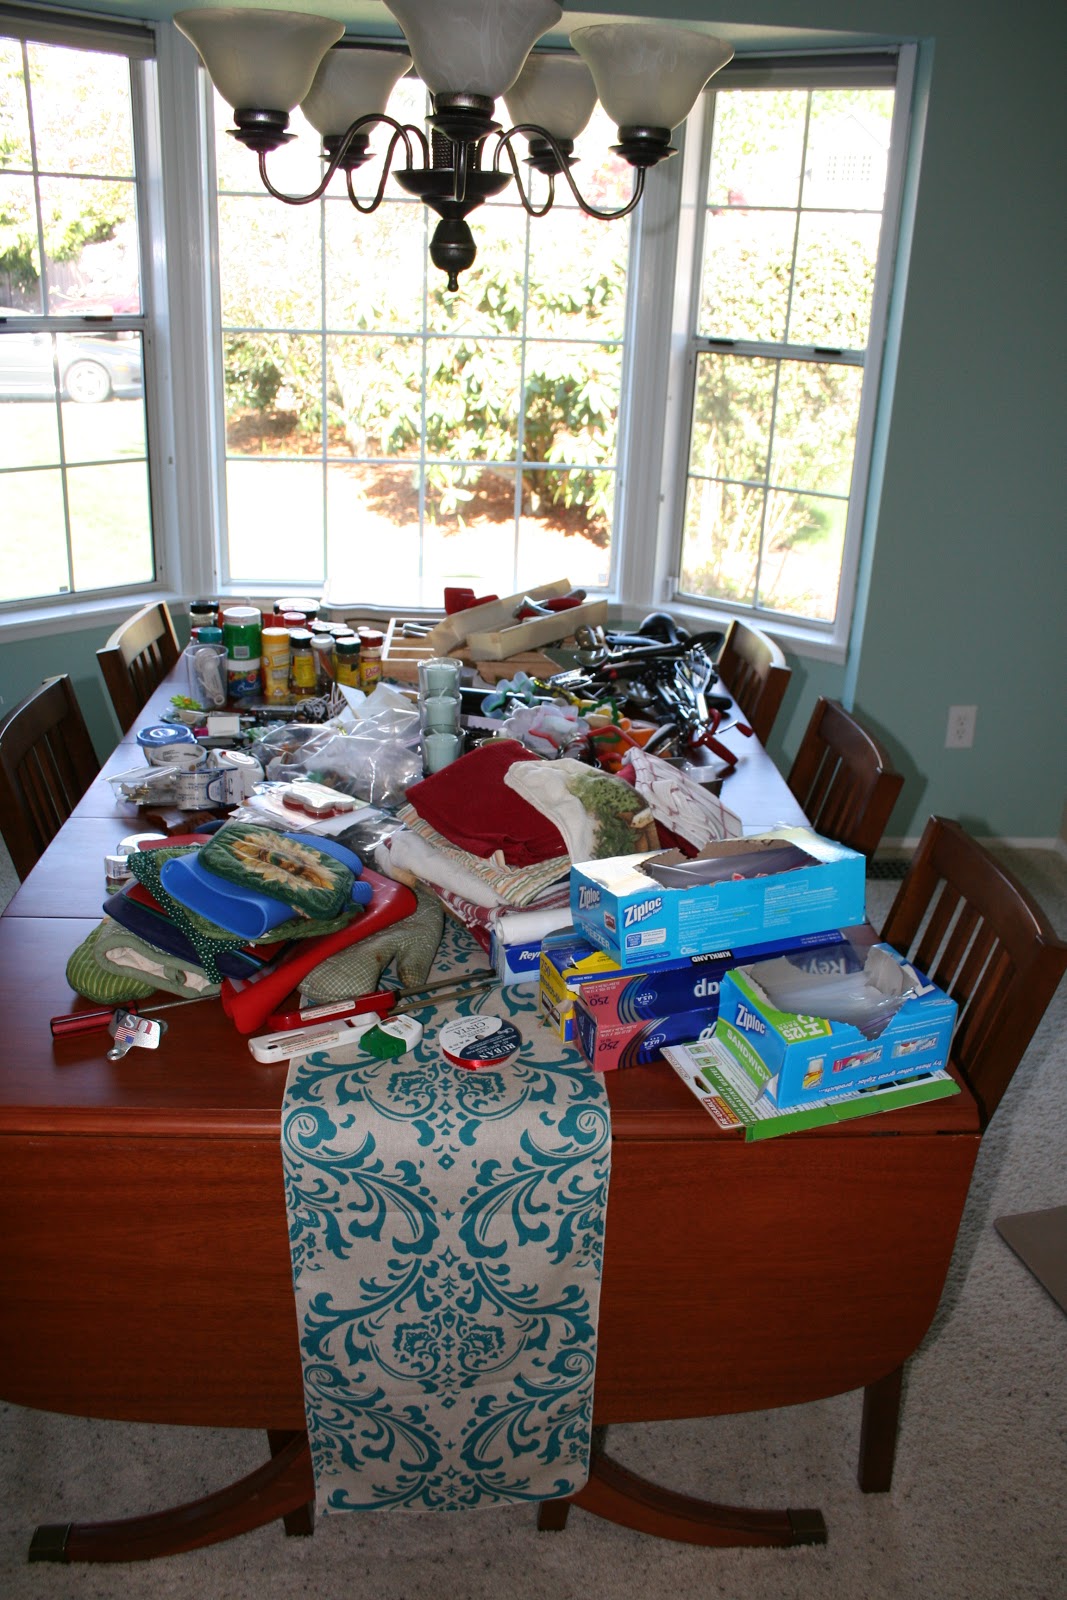
Here is my one hoarder shot after taking everything out of our drawers. It drove me nutzo to have this mess on my dining room table for a week. Don't understand how anyone could live with a mess like this always!


We pulled out the cars and brought all of the doors and drawers into our garage (33 total!)


This is after we applied the nasty smelling oil based primer! Looks so much better already!


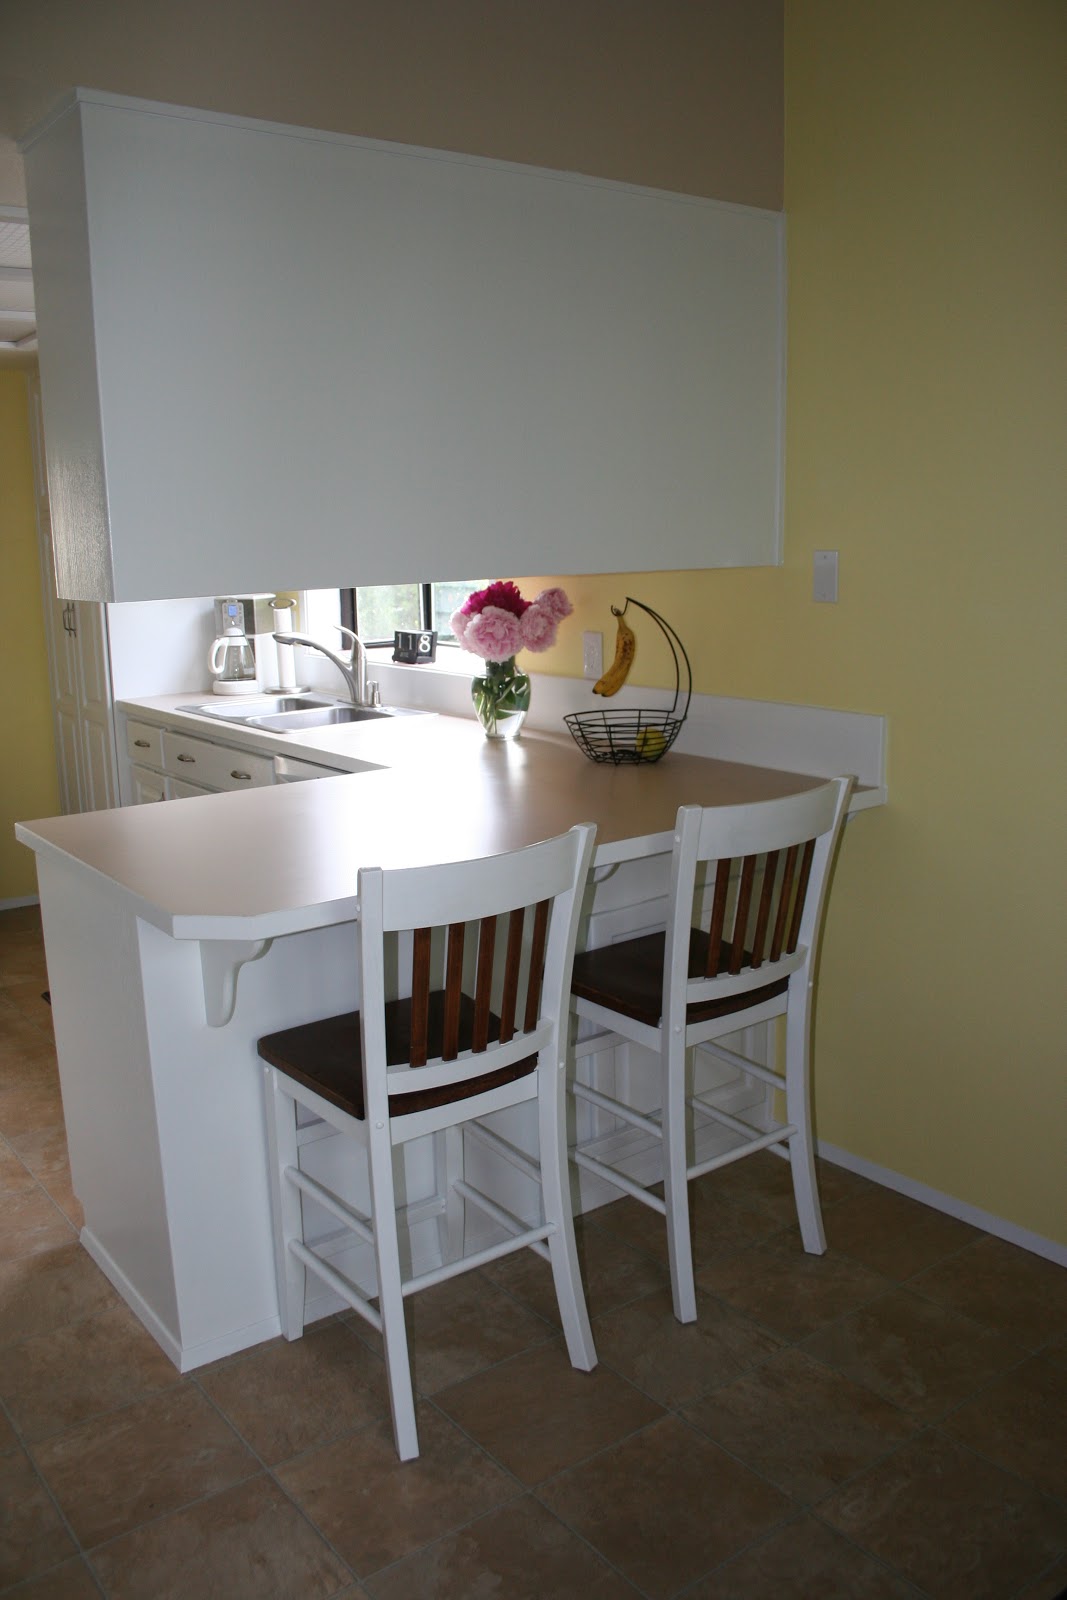
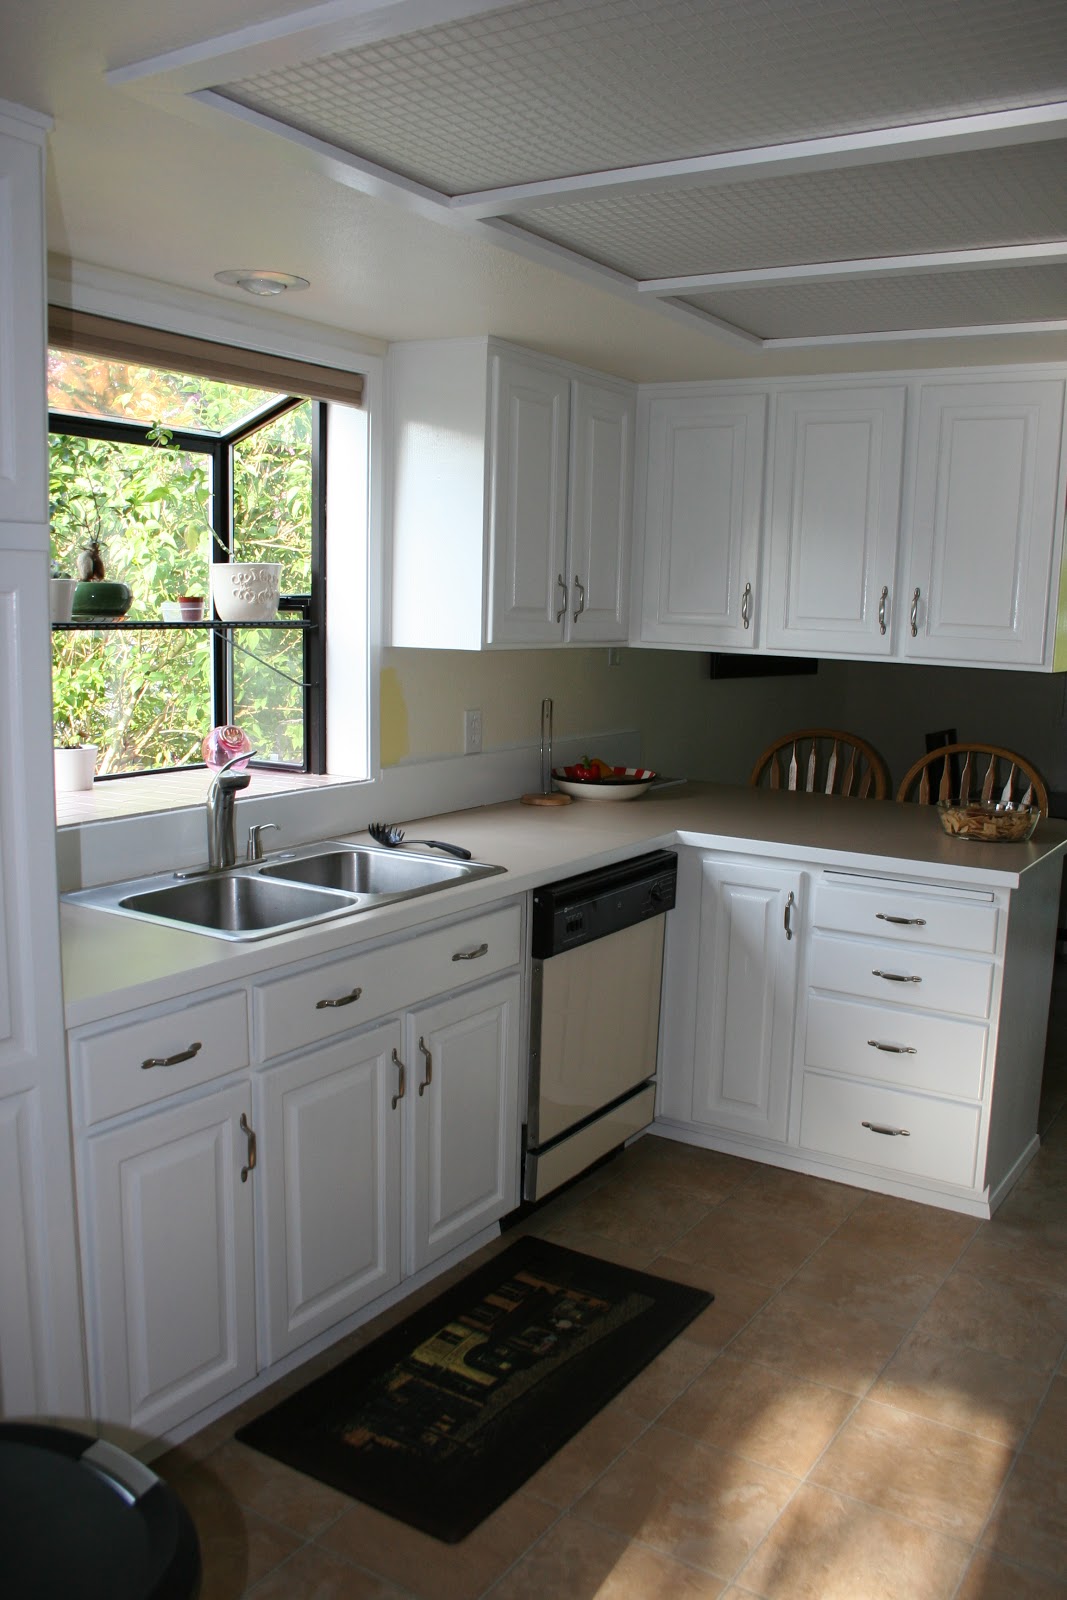
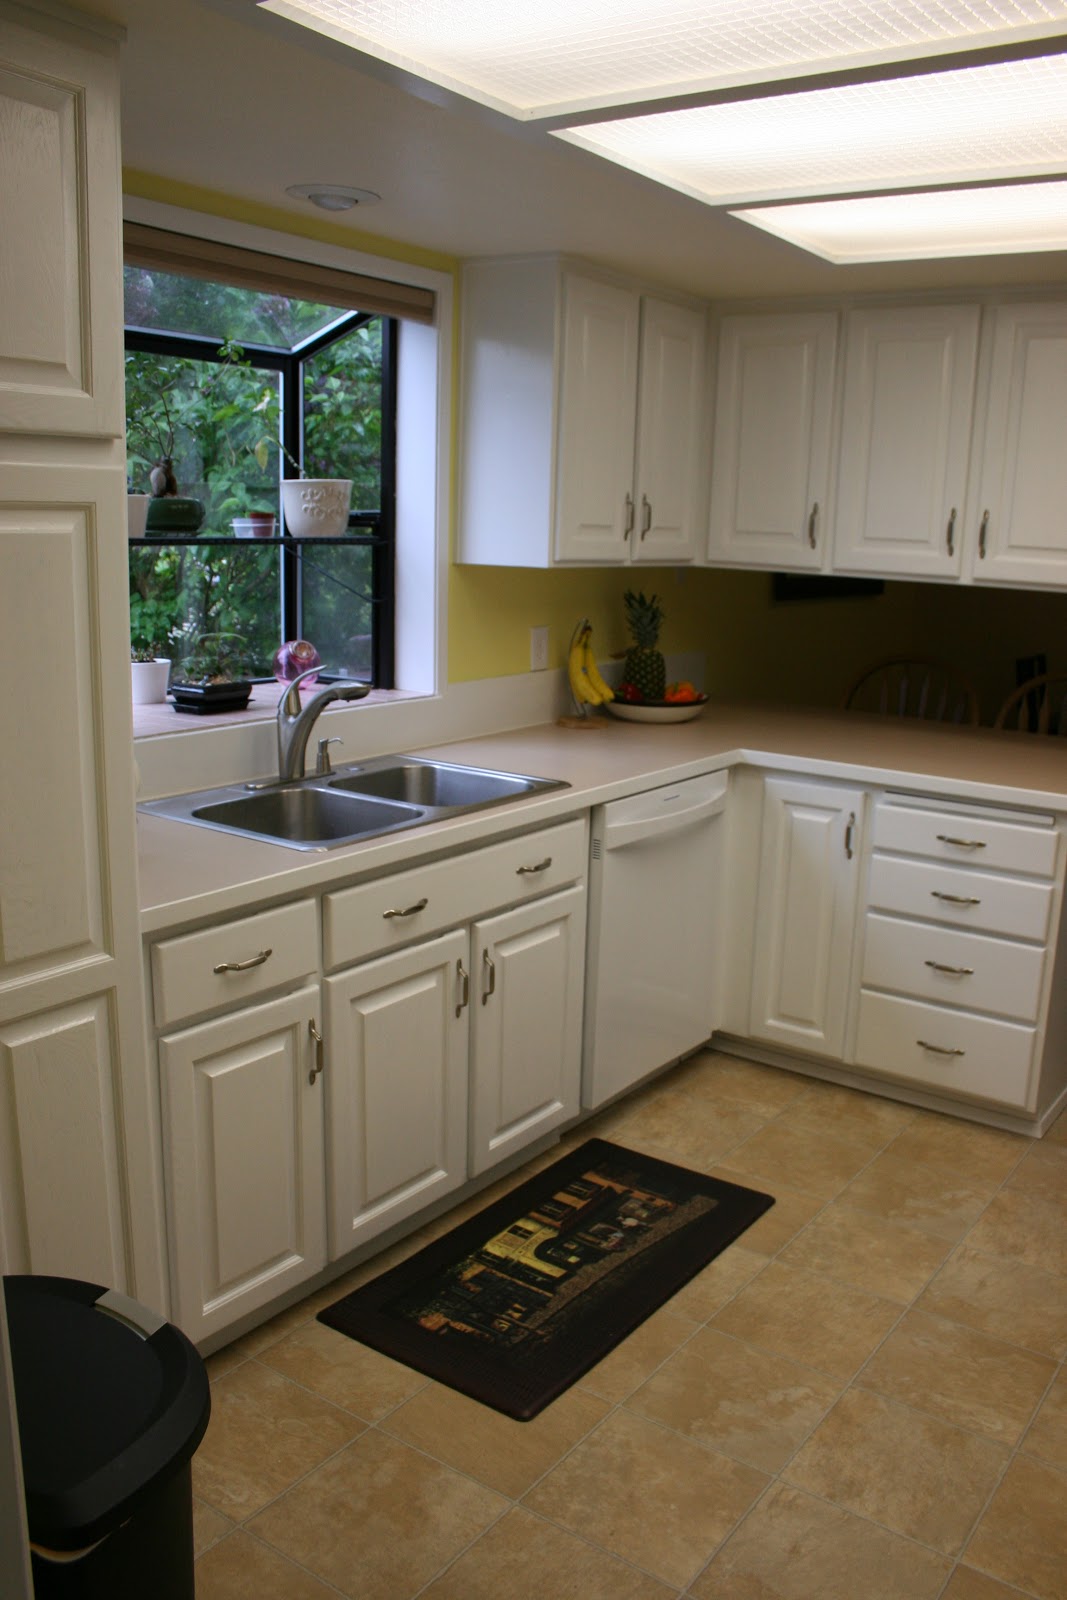
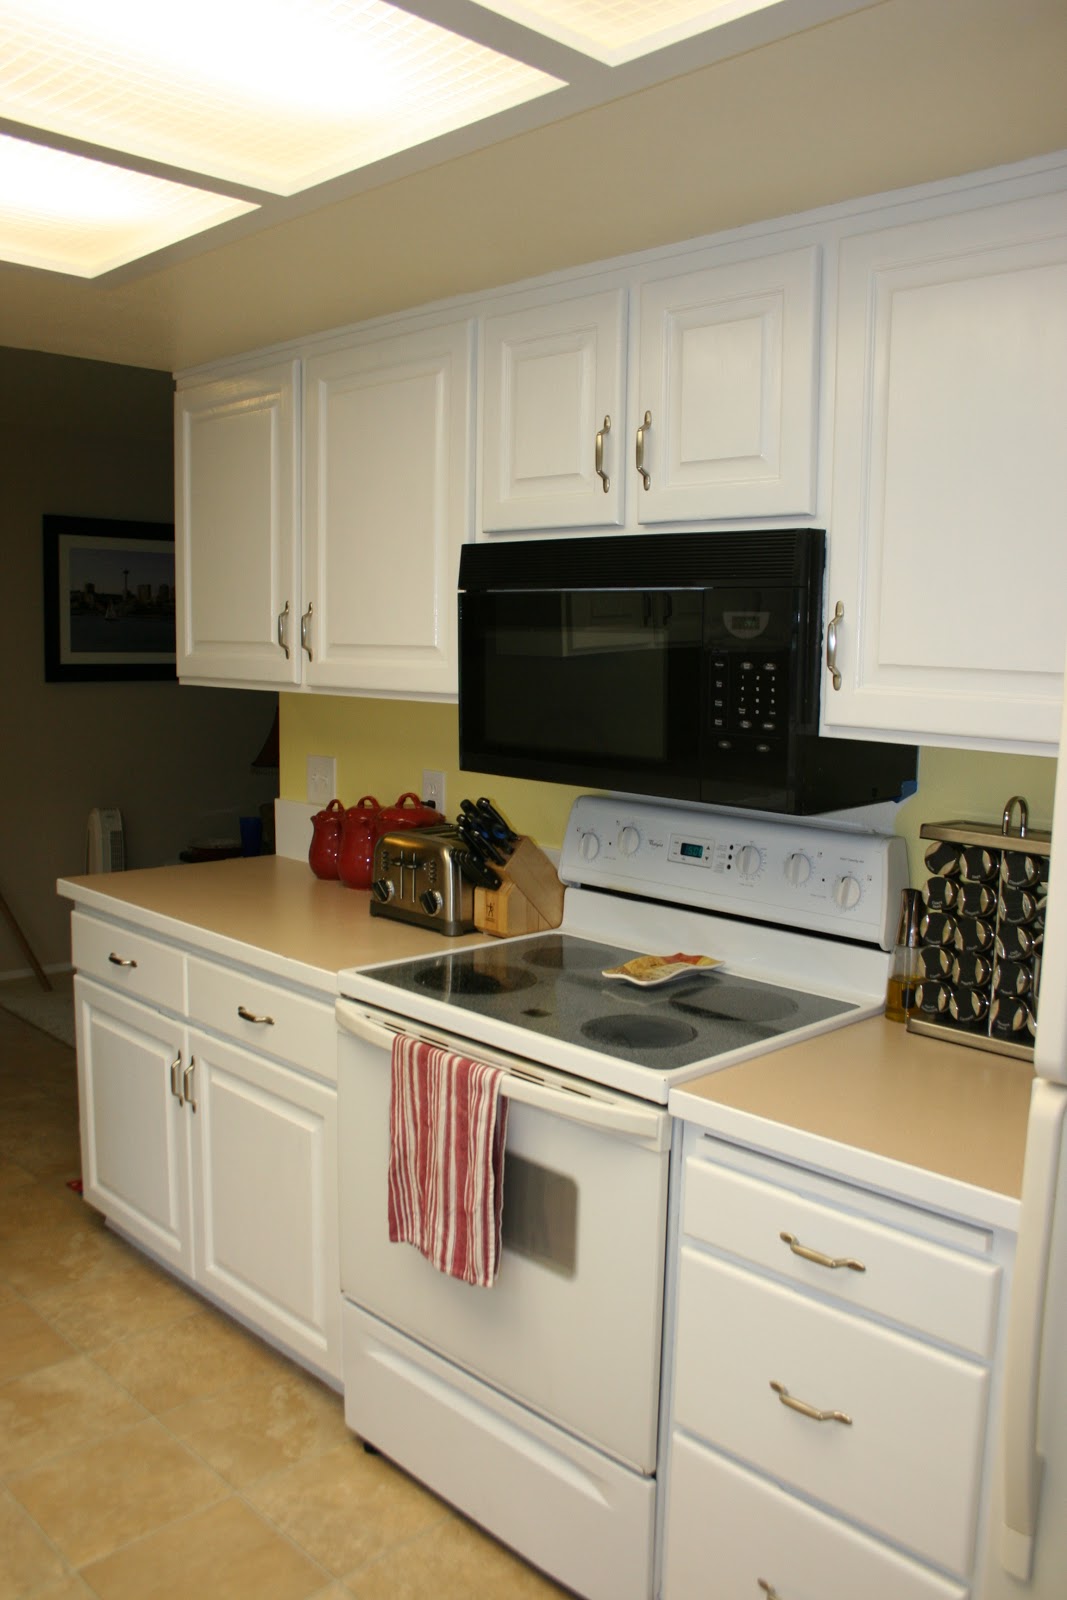
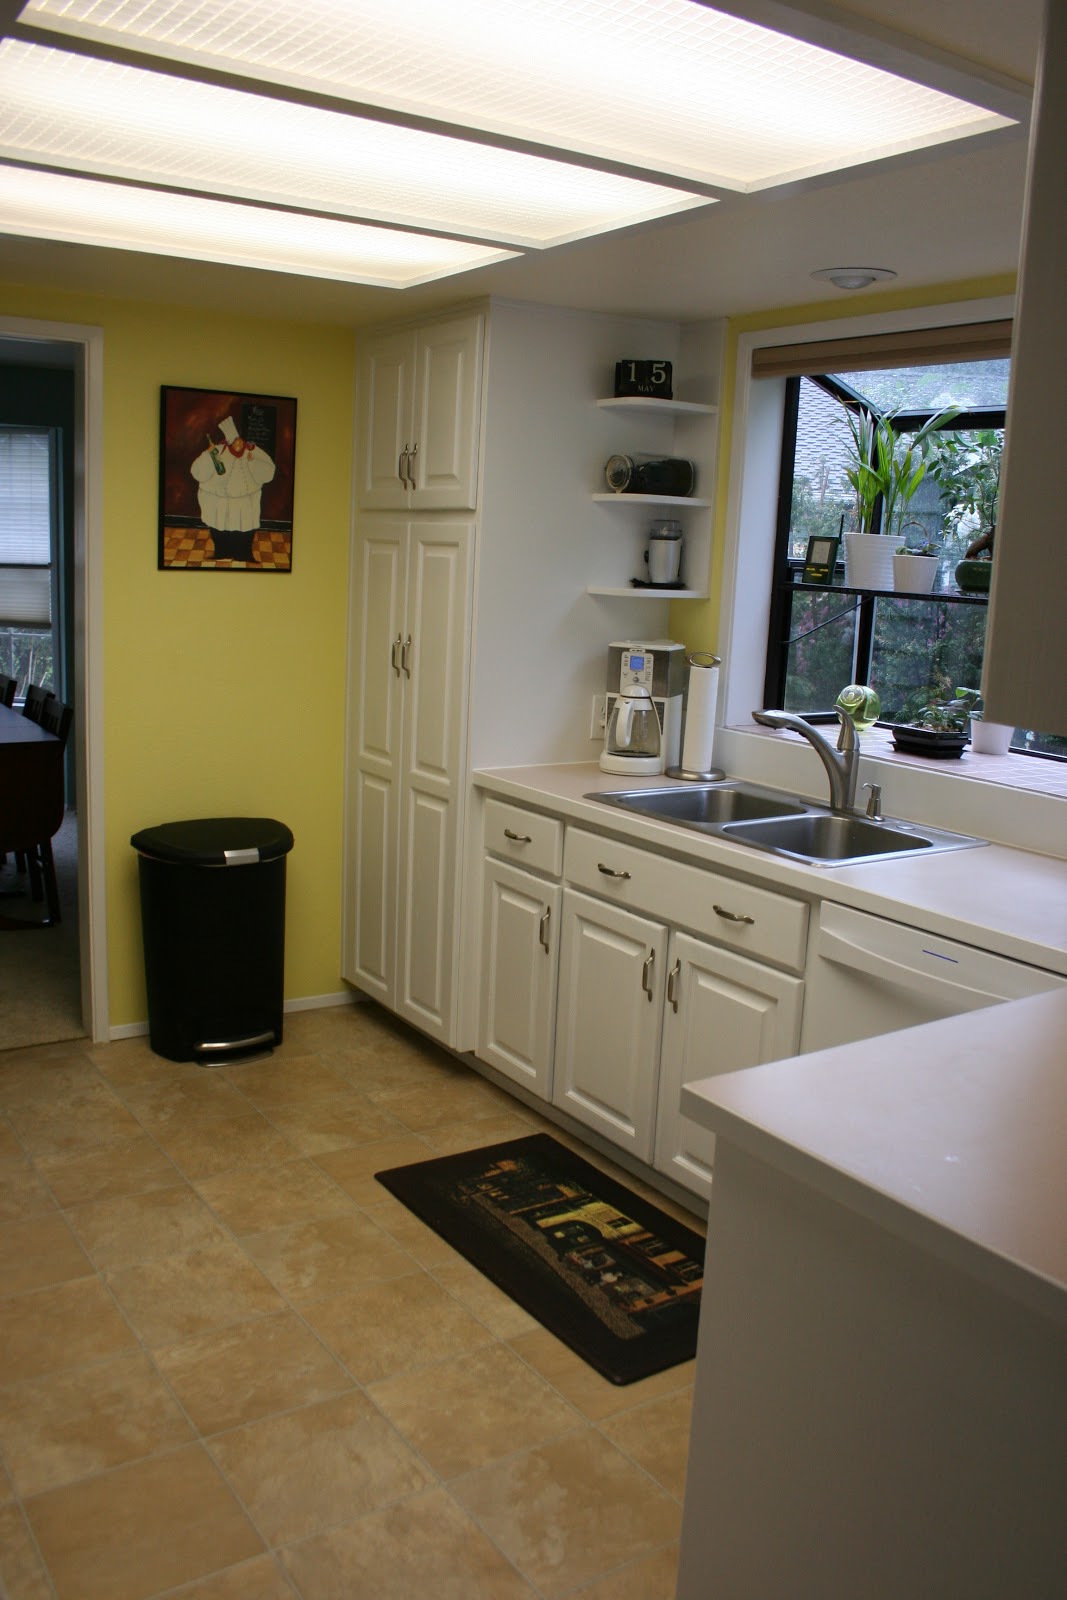
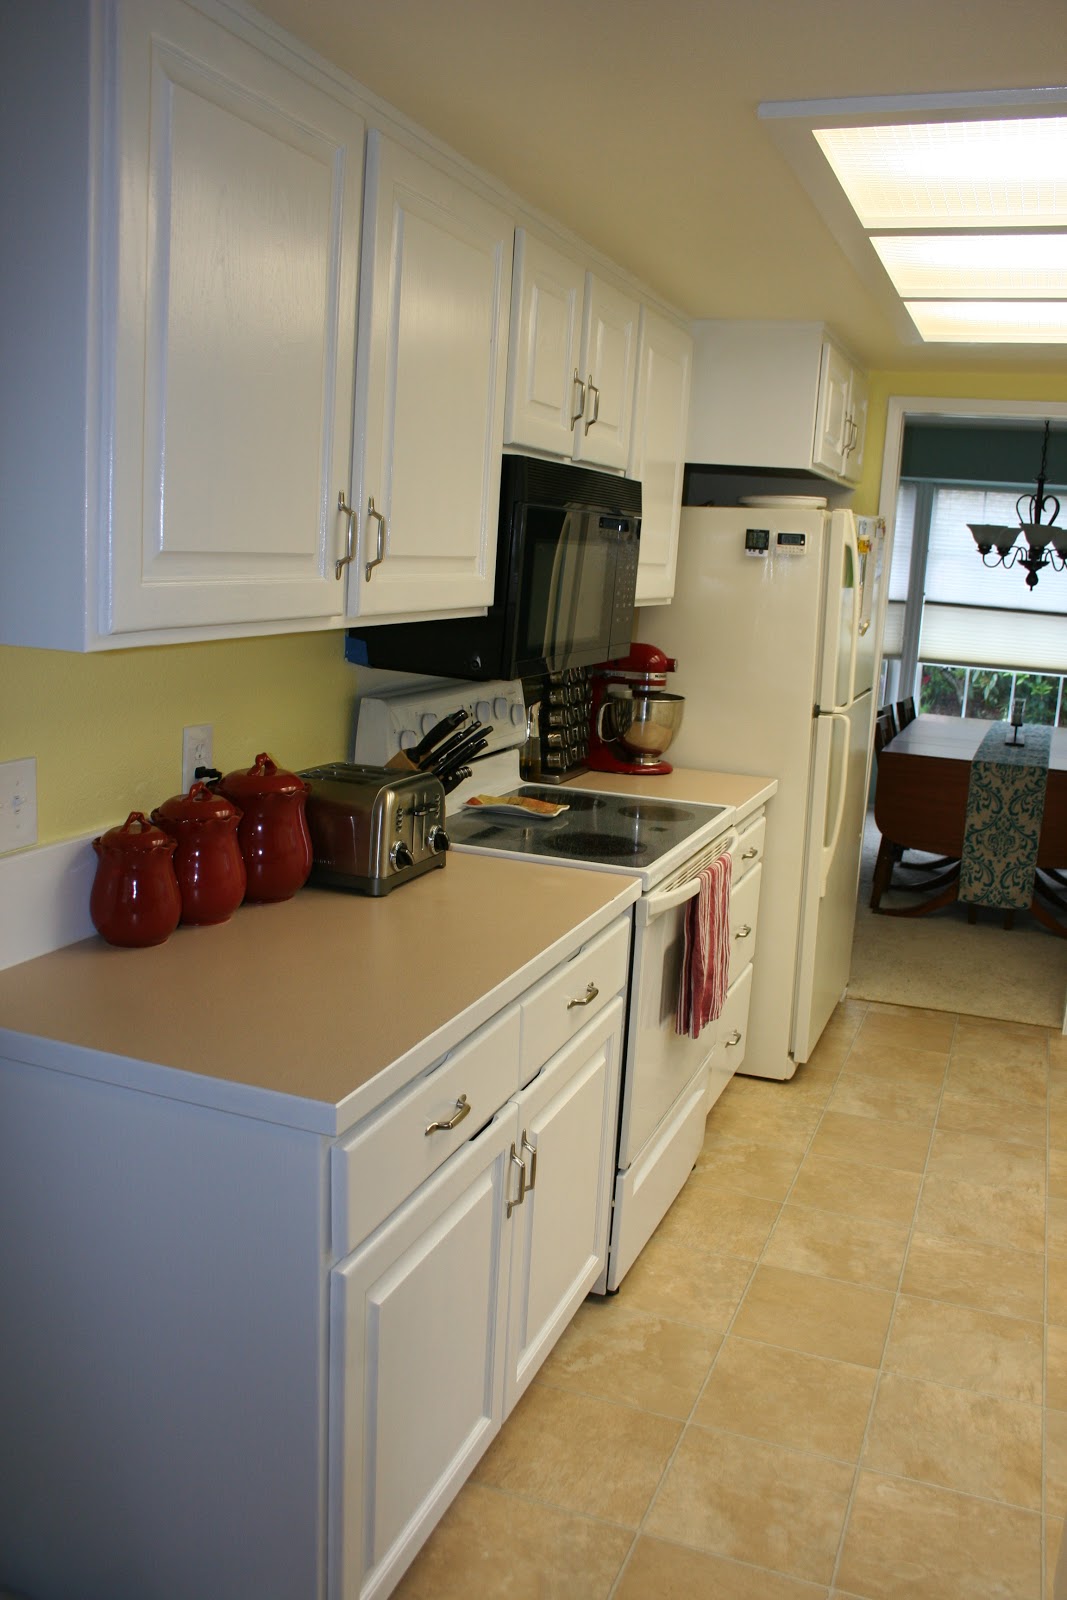
Here is how the kitchen cabinets look now. I ended up finding some pulls in a contractor box set which was 10 pulls for $15.97. So it came out to be around $1.59 each. Not too bad since most of them were going for $3-4 each.


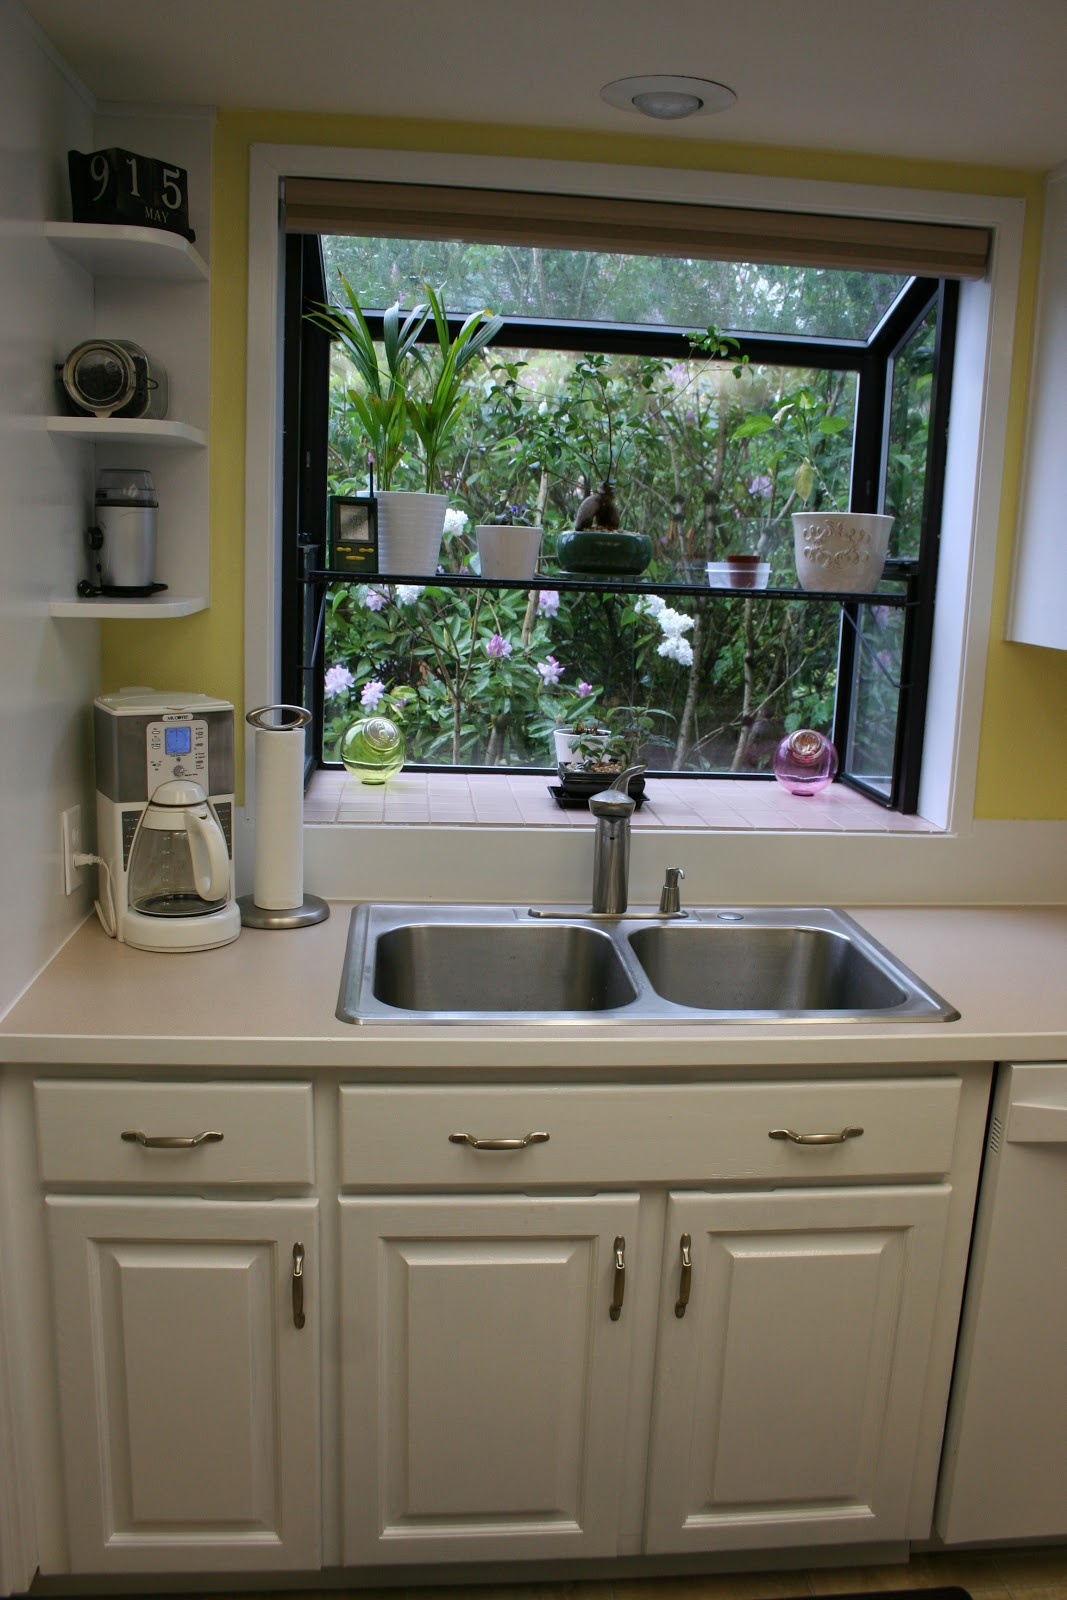
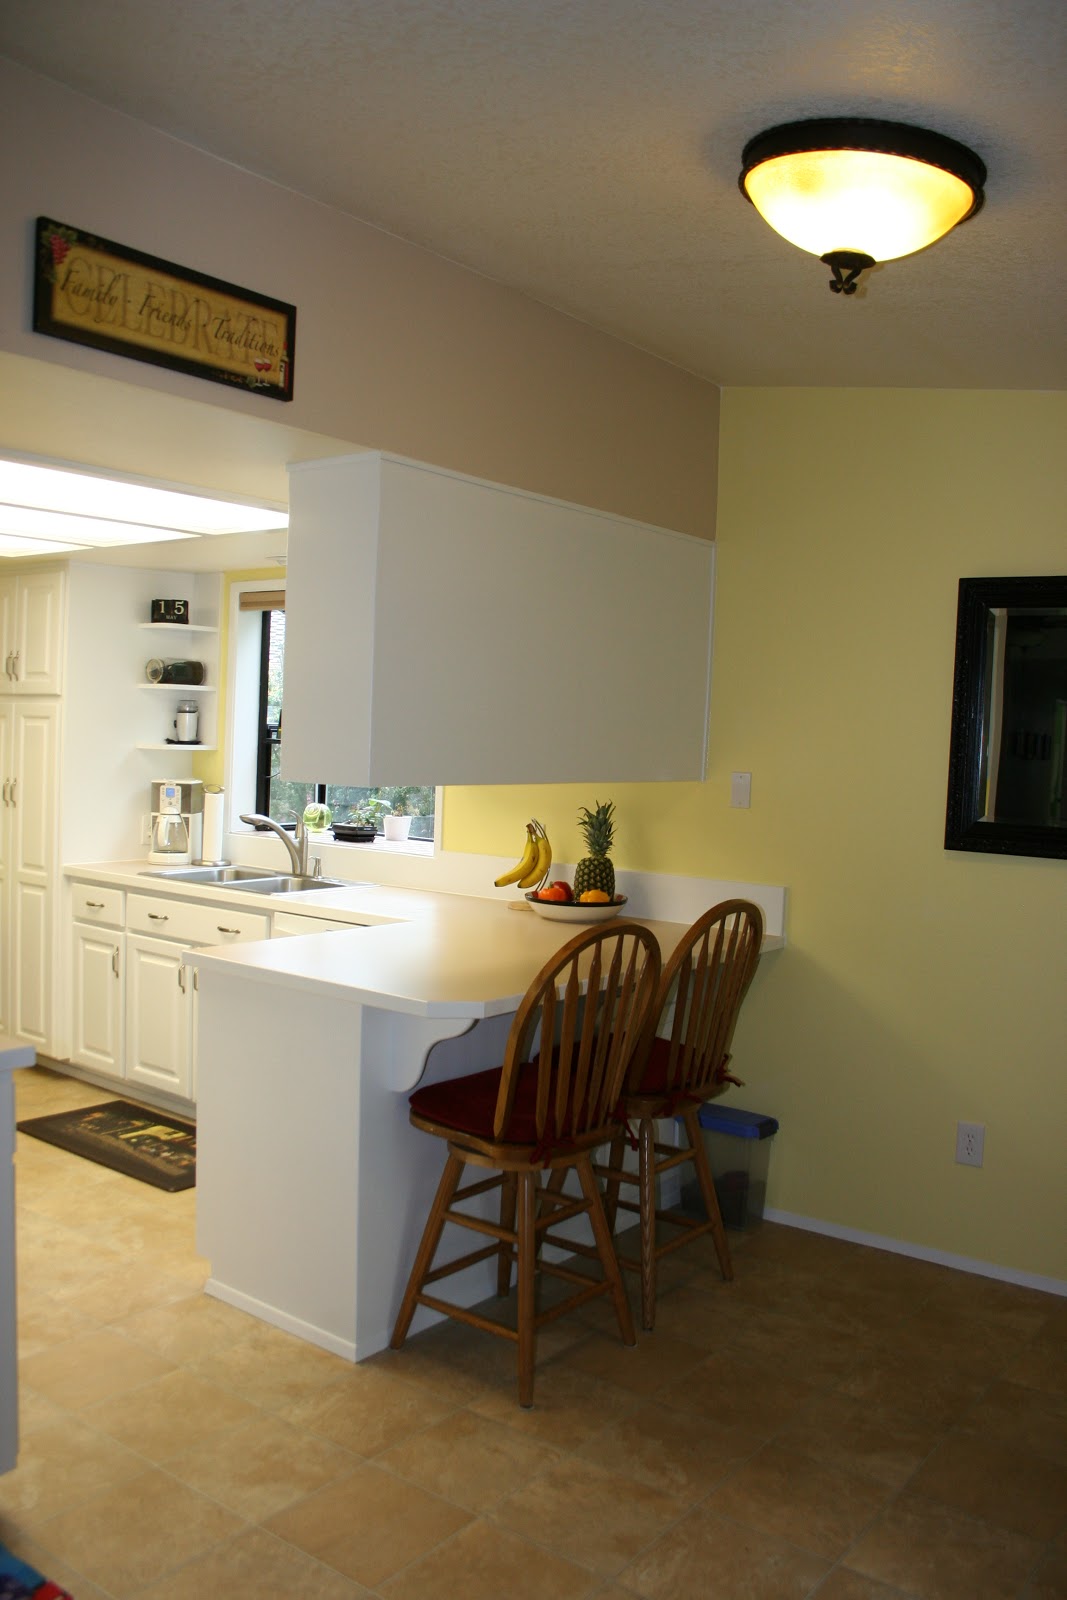
After my handy hubby added all the pulls to the cabinets and drawers I started the process of painting the walls a light yellow to finish it all off.


And now for my usual Before and After photos. I did a lot more this time so you could really see the change :)


We also ended up purchasing a NEW dishwasher over the weekend too since our old one sounded like a jet engine while running and leaked water all over or floor every time we ran it! We ended up getting a super duper quiet one and we love that the buttons are hidden. Looks so much more smooth and seamless in your kitchen that way.

In case you didn't see it in the million photos I have on this post ;) Here is our old dishwasher and our new one!

You have no idea how good it feels to have this project done and off our todo list. We just love the new look in our kitchen. It definitely got a face lift and for the cost of a few cans of paint and some cabinet pulls it was well worth it! I think this project ended up costing us just around $130.00! When you think about the cost it would be to remodel your entire kitchen it would be many thousand dollars. I think we will stick with this option!! 

Monday, February 6, 2012

What you can accomplish in 15 hours!

This past weekend we worked our behinds off! We accomplished SO much and are thoroughly pleased with the outcome. Below is what we accomplished in working 15 hours one Saturday!

We painted all of the trim on the windows and floor trim white.


The Fireplace mantel, all the trim were painted white and we also painted the fireplace wall a neutral light brown color. This is the color we will use throughout the house.

Before


And After


We also finished Terry's office. We initially wanted to paint it Yellow....but the color we picked out was way too bright! It was like a super lemon color. So we ran to the store just before closing and switched to a light green shade. I think it was called "Spring Time Green". We are just thrilled at the way it turned out and Terry is glad that his office is completely finished now :)


Related Posts Plugin for WordPress, Blogger...