Recently we have been looking around for a sectional couch for our family room. In the past it was always harder when we had guests over with our old set up because it we really only had room for four people on the furniture. One in the chair and three tightly fit on the couch. Then we would have to bring out folding chairs or bar stools etc. And the other thing we didn't like is you couldn't cuddle side by side and watch a movie on our old couch!
So the other day our wonderful Costco had a ton of furniture in and we found the perfect couch for our family room. It came in three HUGE boxes and we loaded up two of the boxes in our old grandpa truck and the other fit in our car. It was quite hilarious leaving Costco and going up the huge hill to our house. Our truck looked like that Volkeswagon in from the IKEA commercial...
but we did make it home just fine, unpacked it and here is how it looks now!
We ended up getting a seven piece sectional. Its soooo wonderful we can move the two ottomans around and push them all together to make this huge cuddle like bed. It will be great for over night guests too. We love that we have room for a bunch of people now! The cool thing is that all the pieces can unhook and you can move the couch around in like 15 different positions. (Which is good for my OCD self since I am always rearranging things).
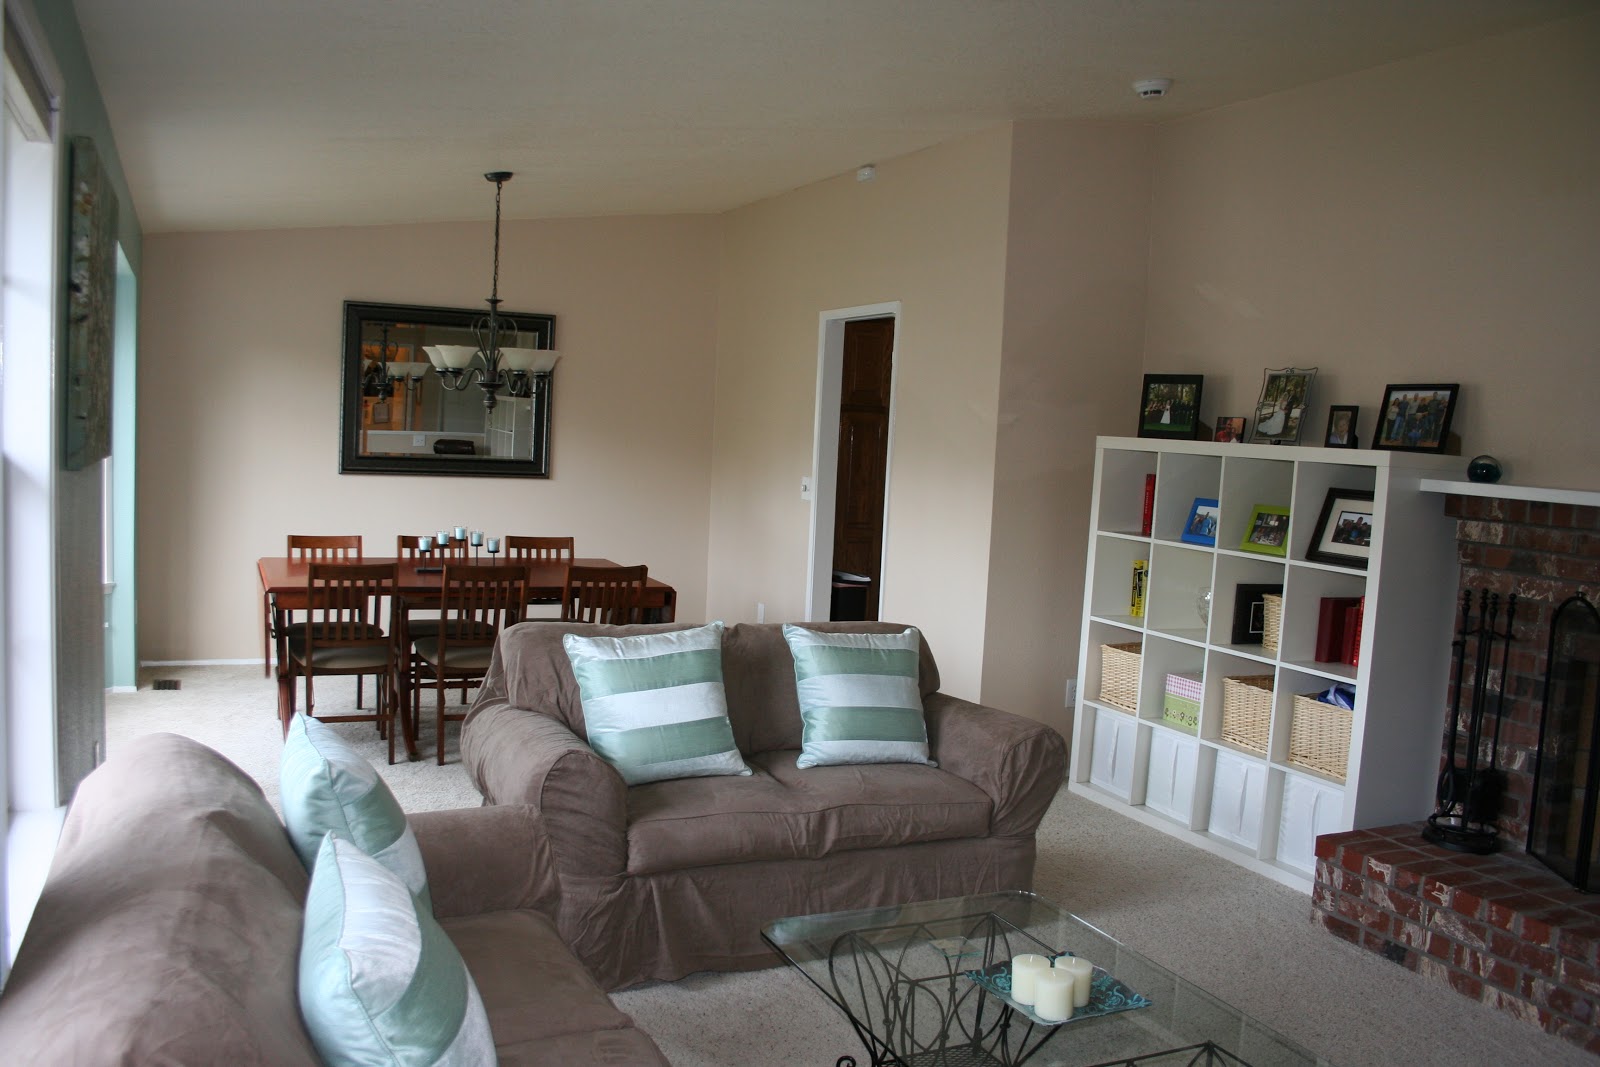
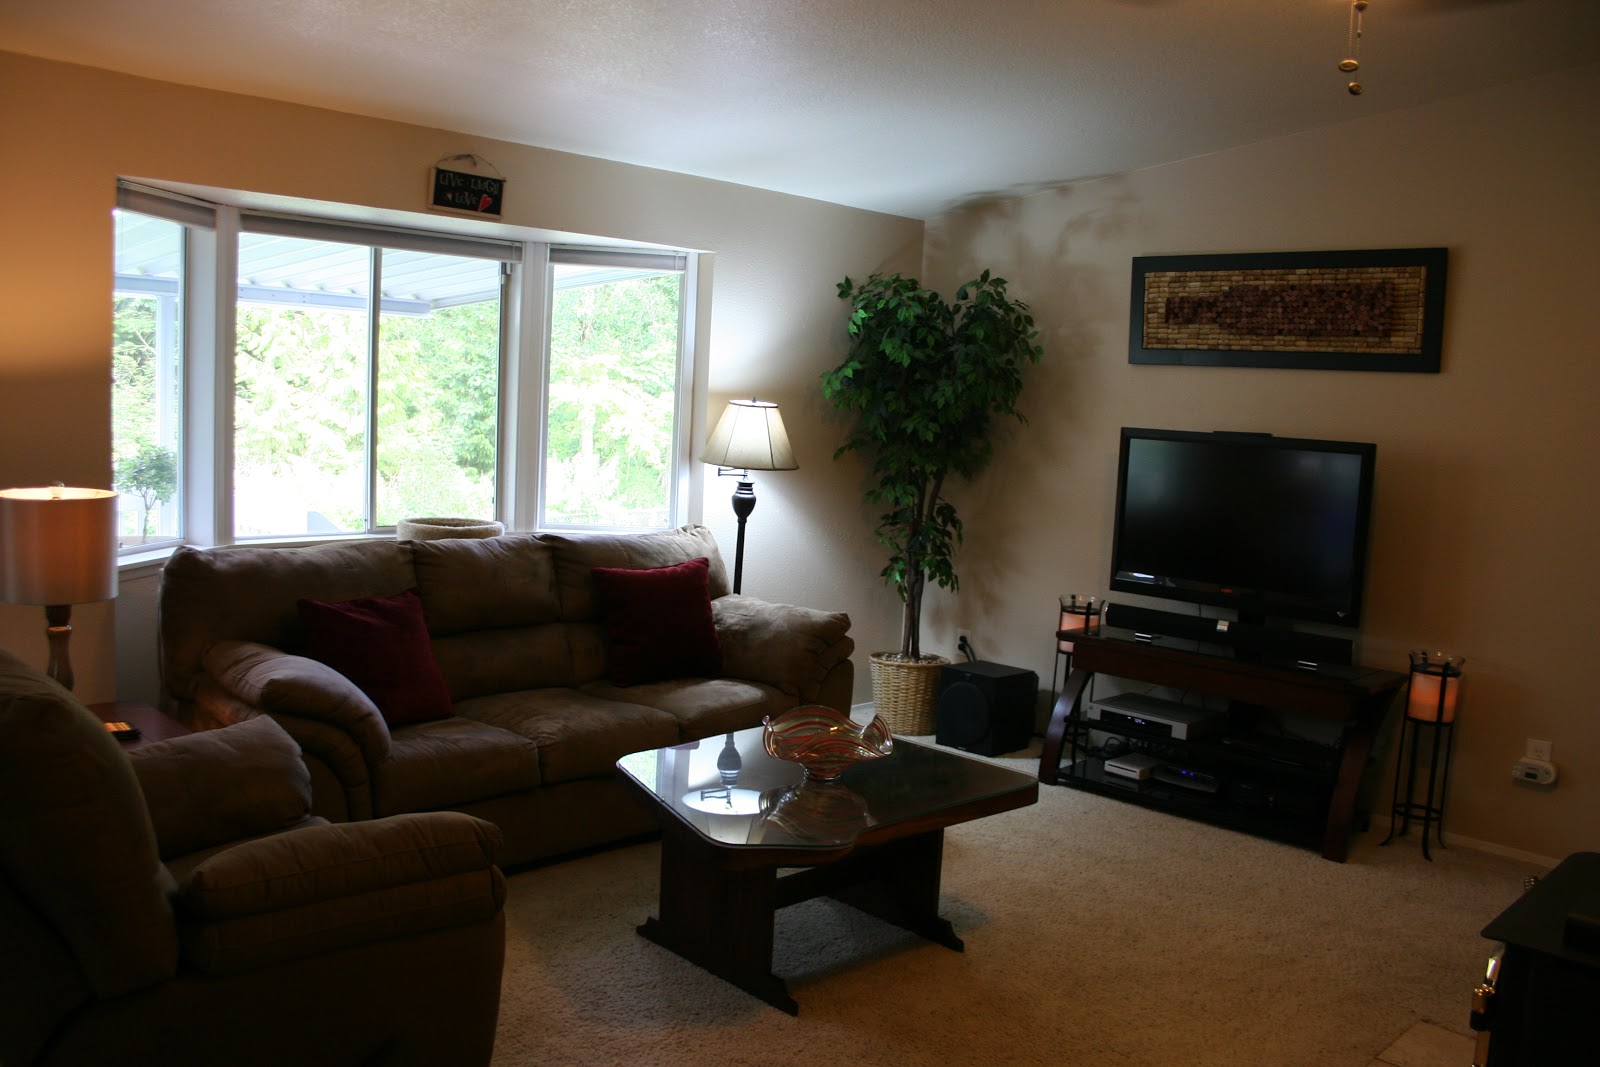
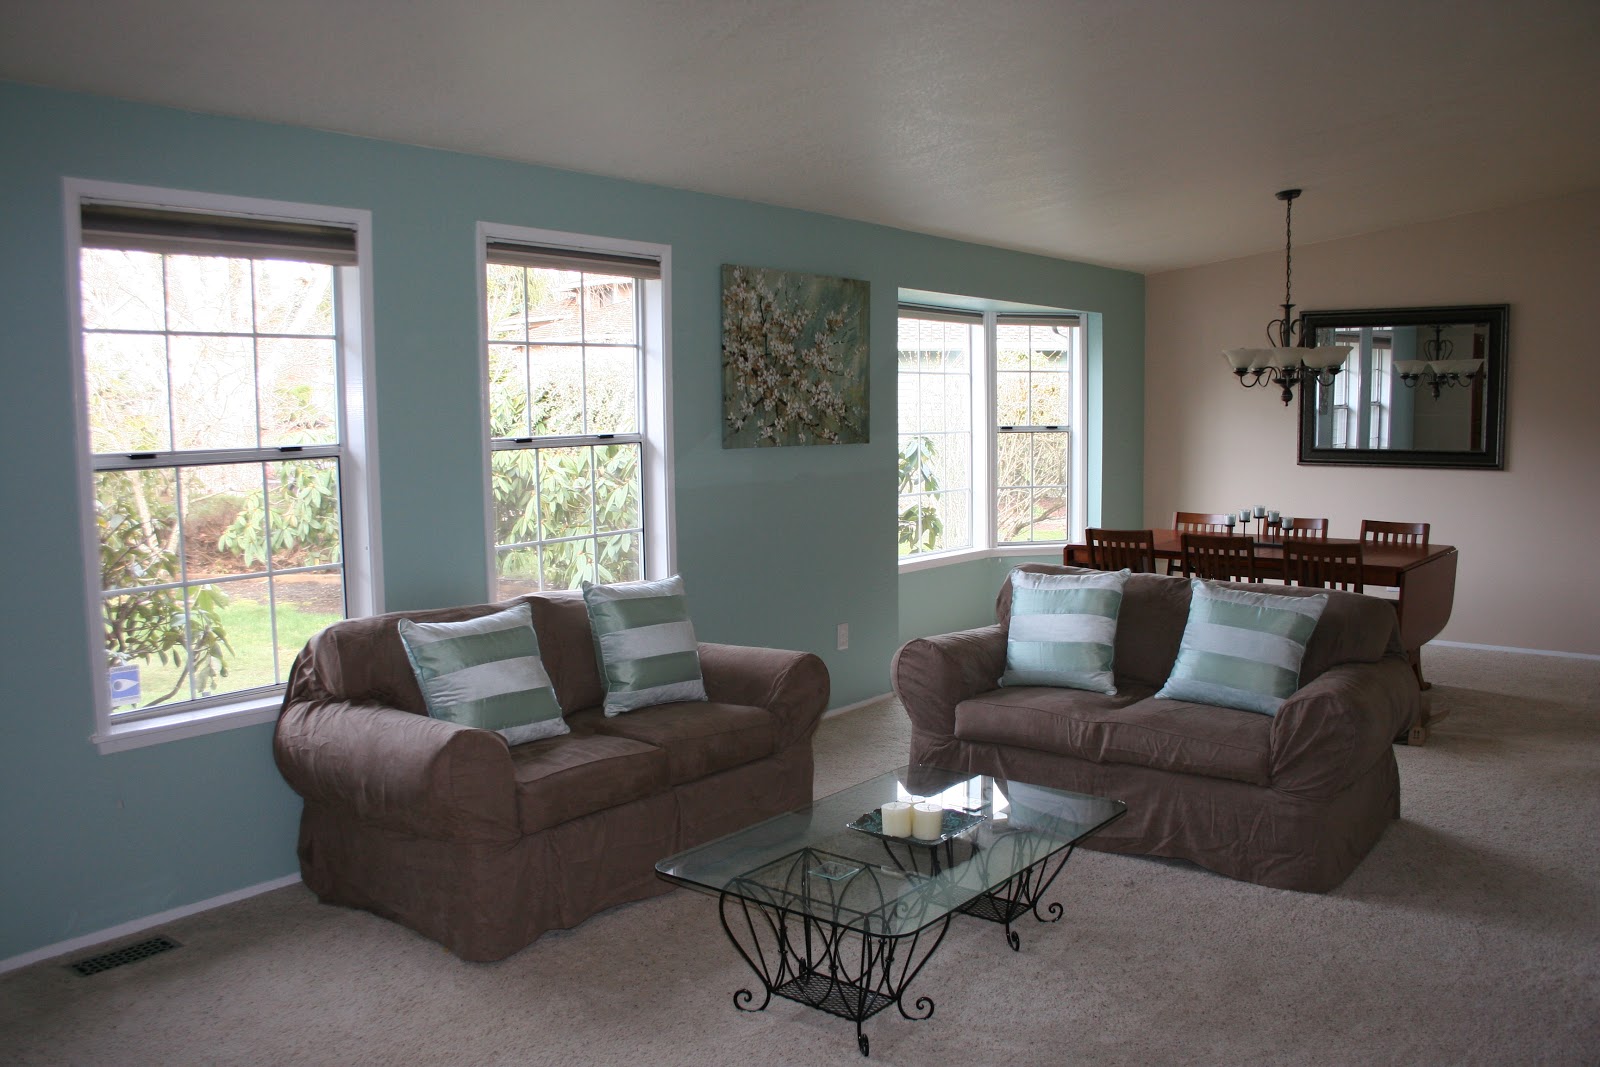
So after we got this new furniture we had to find places for our old furniture. We decided to move it into our living room area...and make it more guest seating friendly as well. BUT for the last few weeks its been driving me nuts. It was not fitting right and the room felt sooo small! Here is how the room looked before. It was open and didn't feel cluttered.
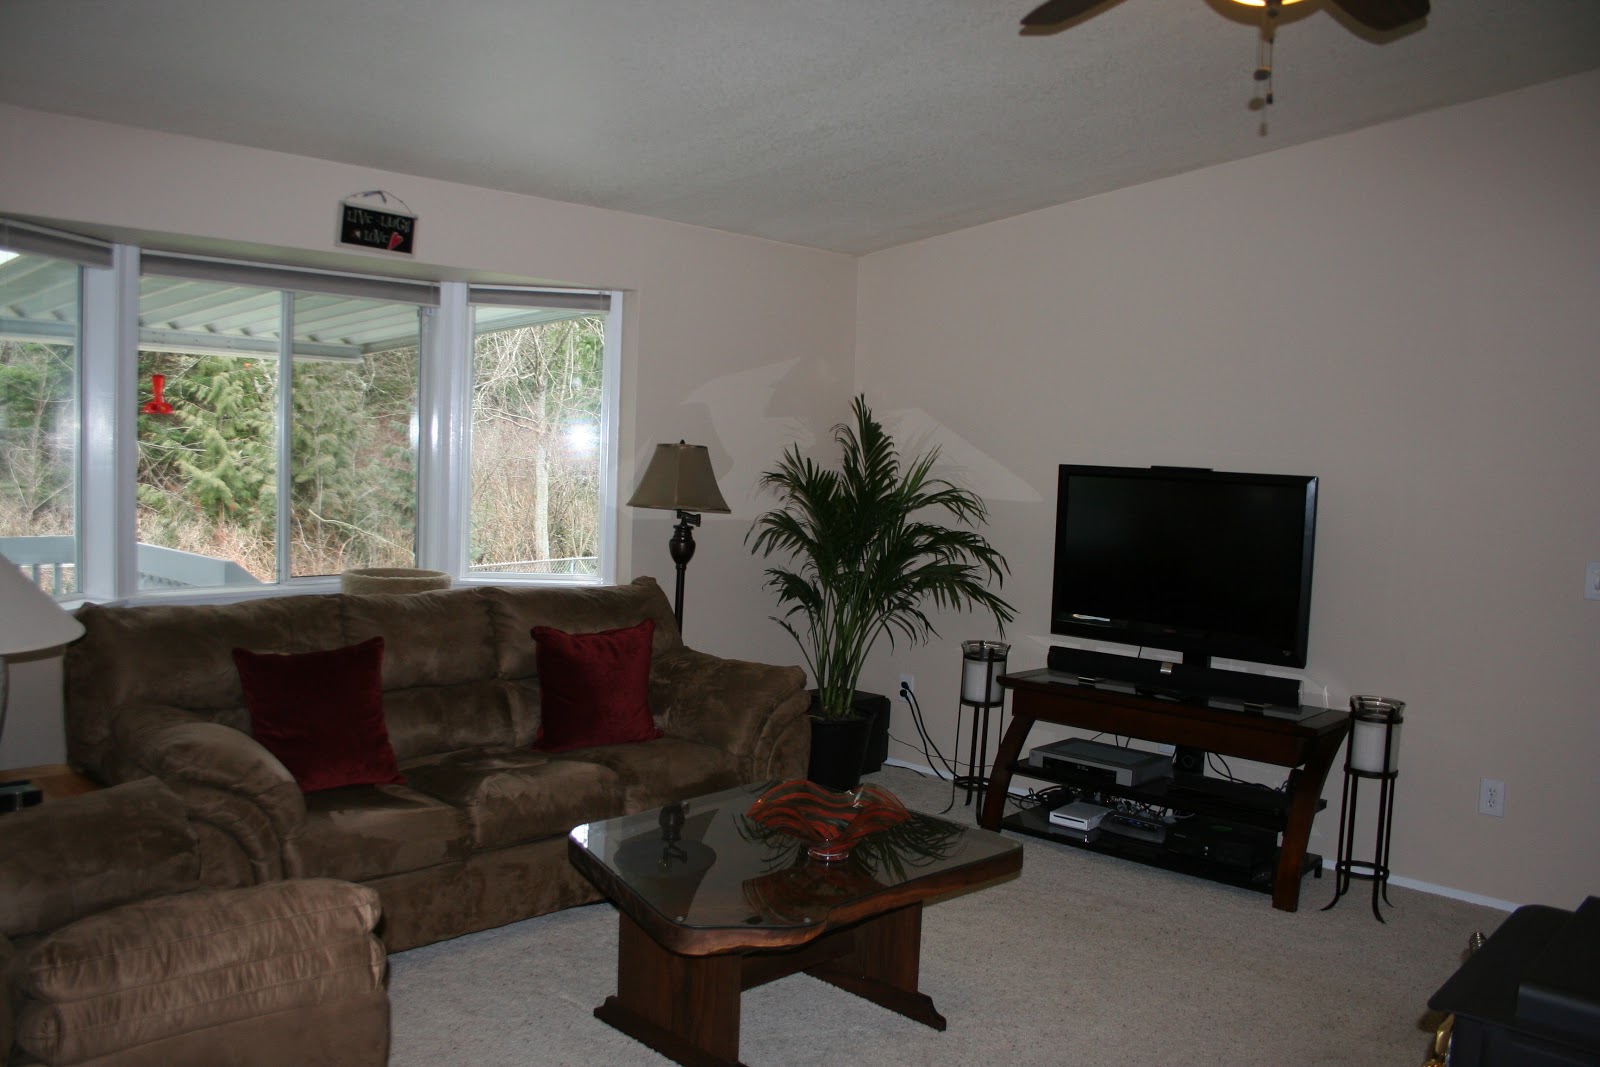
Here is how it looked after we moved the couch over. Sorry for the bad photos they were taken with my phone! It also doesn help I had all the blinds closed to keep out the heat last weekend too!
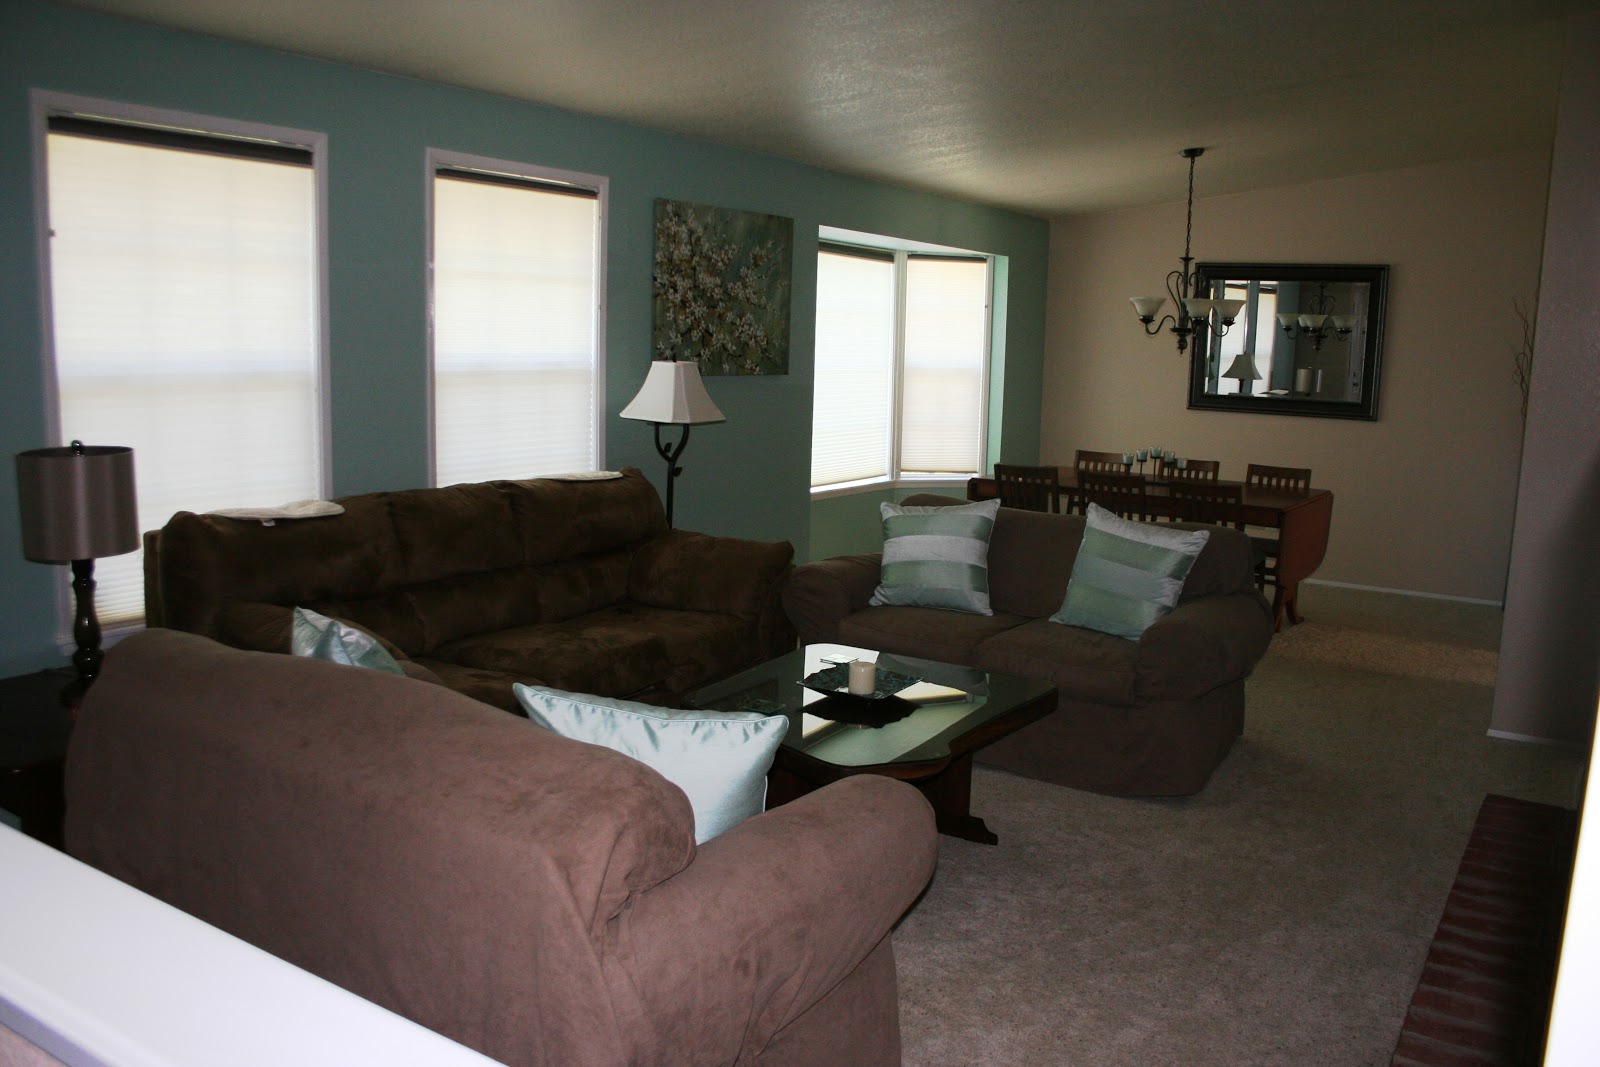
The little wing wall at the entry way was driving me crazy and having that extra love seat there. It really just closed off the room too much. Then my couch covers were driving me nutzo too. I like that all the furniture is a close match but it just felt cramped. So last night I ended up moving the couch further into the living room and pushing the love seats in closer to the window and ripped off my couch covers to make it look like this.
It does feel more open and I do feel a little better about it but it doesn't flow quite right to me. I think what I am going to have to do is get rid of the love seat closest to the front door and move our reclining brown chair (use to be in the family room, now in our guest bedroom) into that position. It will for sure open up the area so much more and hopefully complete the room and we will still have adequate room for lots of people to sit in this room as well.
What do you think? Am I crazy or does this not look right? If anyone has any other ideas or suggestions please let me know. :)
Other than figuring out the living room furniture we sure have been enjoying our new family room furniture and are very happy that we got it. Now we just need to start inviting people over now that we can entertain more easily.
.
.
Showing posts with label Living Room. Show all posts
Friday, August 10, 2012
Monday, May 21, 2012
May Thrifty Finds!
This month I ended up going to the local Goodwill with my friend Kacy @ Artsy Crafty Cool we were in search of super thrifty fun finds and we both were in luck and ended up finding some really cute things for our homes! I was in search of something to add to our entryway to add a pop of color! I ended up finding this:
Since my name is not "Julie" and I was not a fan of the hand painted artwork I went to our local Lowe's and picked out a nice Teal-ish spray paint that I thought would match the living room colors....and 30 minutes later this is what I transformed it into:
Here it is now in our entry way. It will be our cute little umbrella holder because we only get about 10 days a year in Seattle without rain ;) Joking....but it sure does rain a lot here.
The other thing that I picked up was these cute little candelabras for our bedroom. I just love! Especially the little sparkly gems on them. I added some candles I had left over from our wedding 3 years ago and voila! Just them and they do look so wonderful!
Wednesday, May 2, 2012
How to repaint the inside of your front door and turn it from dull to delightful!
The final project we started last Sunday and completed earlier this week was the transformation of our front door. It was just so dark before and was not matching the rest of our newly painted interior so I was itching to get this project done and off our paint list. Which by the way is only down to just 3 more projects! We can finally see the light at the end of the tunnel folks and it feels wonderful! Anyways, here is the process we went through in painting the front door.
Here is what the door looked like before we started. Its a beautiful door, don't get me wrong...it just doesn't match the rest of the inside of the house and needed to be painted! The door was cleaned first with the TSP product I noted in earlier posts. We use this product to clean and de-grime everything before we slap some paint on it.
Then this time around since the front door had a thicker varnish on it than the other items we have painted in our house. We wanted to get our primer to really bond and stick to the door. So we found this product called Klean-Strip at our local Ace Hardware that you wipe on and it sands and de-gloss all at once. Highly recommend following the directions on the back of the bottle and wearing protective gloves/eye wear. You might also want to open a door or window as it is quite smelly!
Also get some Frog Tape and tape off around everything you that you don't want stripped or painted. We have been cheap on our tape for most of our painting projects and we wish we would of just spent the extra money and purchased the green Frog Tape. This stuff is well worth the extra money. It sticks so much better than the blue painters tape and you get less bleeds too. I have spent many hours with my little craft paint brush touching up all the walls and molding that had bled through on the blue tape.
After the Klean-Strip product dries (10 mins) you can start your priming process and start priming away. One thing you have to remember is to put on a good thick coat. That way you don't have to end up doing two coats of primer and two coats of paint. One of the major pains about this project was I had to sit for an hour or so after I applied each coat and watch for and wipe off all the drips on the door. Mostly because left the door on while we painted and all detailed squares in the door like to catch the excess paint then slowly drip down the door.
Since the primer only takes about 30 minutes to dry or a few hours if you do a thick coat like we did you can start painting the same day. The paint we used is the same Ace Hardware Cabinet, Door and Trim Simi-Gloss that we have used through out the house. It really does go a long way too. I think we have used this same can for the last seven or so projects. It really does go a long way for $30 some dollars. The only thing is you must wait a day before coats, like I have mentioned in previous posts. Last night the paint was all dry and I was so excited to pull of the tape and look at our new front door! Here are the photos of our finished door!!!
We are so excited to have this door finished it officially completes the all of the painting in the front side of our house (entry, living & dining room) It looks so fresh and clean and it also feels much bigger with the door white and bright!
Here are a few shots of the finished front part of our house! Eventually we will add a few more knick-knacks and a few framed photos and we will be set!
Also have to toss in my normal side by side compairison shots of the before and after! The stained glass window in the door has a bit of pink it it and we really noticed it before we painted the door and now we hardly notice it at all.
We just think that this quick project really did improve our entry way so much more. I just cant get over how much bigger and brighter it all is. So delighted!
Monday, April 2, 2012
Thrifty Finds!
I have noticed the older I get the cheaper I get. I am all about getting a good deal on something and refuse to spend tons of money on overpriced items. Now don't get me wrong. I don't just buy junk that will fall apart after a few uses. I am looking for nice quality stuff at a discount. Since we purchased the house I have gone to thrift stores in search of cute nicknack's or items we might need in our home.
I have recently been on the hunt for some more lamps for our living room and family room. I looked at a few department stores and refused to pay $80 or more for a lamp! I knew that if I kept searching I would eventually find a great deal at one of the local thrift stores and a few weeks ago I came across some pretty decent lamps. I ended up picking up these two lamps for under $30 at my local Goodwill!
Overall I am mighty pleased with them both. They both tie into each room very well with all the other accents we have.
Be sure to stay tuned. We will be unveiling a new reveal hopefully this week. Very excited to show you the before and after photos of what we have been working on!!
Monday, February 27, 2012
What color is that?
We have had a few people ask what colors we have been using inside our I have finally got around to grabbing the swatches. So without further ado...
Main color used throughout the house
Living room Accent Wall
Hallway
Master Bathroom
Office
Tuesday, February 21, 2012
President's Day Weekend Accomplishments
We got a lot help from Terry's parents this weekend and we sure were thankful for all they did in helping us complete the rest of the wall painting in our home. Thanks a million for all your help! We did a lovely light sea foam green accent wall in our living room & dining room.
We also finished painting the rest of the walls the neutral light brown color.
The hallway leading to the bedrooms we painted a grey blue color. It was hard to get some good shots of this color because the hallway is already so dark.
After we finished all of that painting we decided that we wanted to rebuild our laundry room wash sink and transform it into a place we can put our litter box for our three crazy cats. In the past it was in our formal living room....NOT an ideal place for a litter box. We tried fitting it underneath our old wash sink in the laundry room but it was too wide/tall. So my genius husband and father in law ended up purchasing a new larger wider wash sink. They then designed and built a taller stand for it to sit on. Leaving room for the litter box underneath it. I am just so happy about this I could scream. It was such an eye sore for me in the living room.
Old wash sink |
Inprocess |
Putting in the stand |
Finished Product! |
We are very happy to say that pretty much all of the major wall painting is done in our house except for the built-in cabinets in our family room, kitchen cabinets, laundry room, guest bath and our guest bedroom. Even though it seems like we have a lot left to still paint... now that I am typing it out but we still feel like we have accomplished a lot in just 4 short months!
Monday, February 6, 2012
What you can accomplish in 15 hours!
This past weekend we worked our behinds off! We accomplished SO much and are thoroughly pleased with the outcome. Below is what we accomplished in working 15 hours one Saturday!
We painted all of the trim on the windows and floor trim white.
The Fireplace mantel, all the trim were painted white and we also painted the fireplace wall a neutral light brown color. This is the color we will use throughout the house.
We also finished Terry's office. We initially wanted to paint it Yellow....but the color we picked out was way too bright! It was like a super lemon color. So we ran to the store just before closing and switched to a light green shade. I think it was called "Spring Time Green". We are just thrilled at the way it turned out and Terry is glad that his office is completely finished now :)
We painted all of the trim on the windows and floor trim white.
The Fireplace mantel, all the trim were painted white and we also painted the fireplace wall a neutral light brown color. This is the color we will use throughout the house.
Before
And After
We also finished Terry's office. We initially wanted to paint it Yellow....but the color we picked out was way too bright! It was like a super lemon color. So we ran to the store just before closing and switched to a light green shade. I think it was called "Spring Time Green". We are just thrilled at the way it turned out and Terry is glad that his office is completely finished now :)
Subscribe to:
Posts (Atom)